A while ago, I bought a beautiful clock at a thrift store! It's made of real wood, stained and glazed, and I just thought it was a really unique piece. However, even after I cleaning it up and replacing the battery, the actual timekeeping function was just completely busted. The clock sat neglected in a corner of my room for a few months... until I decided to try replacing the clock mechanism! It was a lot easier than I thought, so if you're curious about fixing up a broken clock, here's how :)
The tools you'll need for this DIY, as shown in the above pic, are:
- An awesome clock that you want to actually work
- Clock mechanism (I got
this one at Michael's)
- AA battery
- Craft glue, wood glue, or glue gun
- Slip joint pliers, or some kind of pliers
- Ruler
- Pencil, marker, or some marking tool
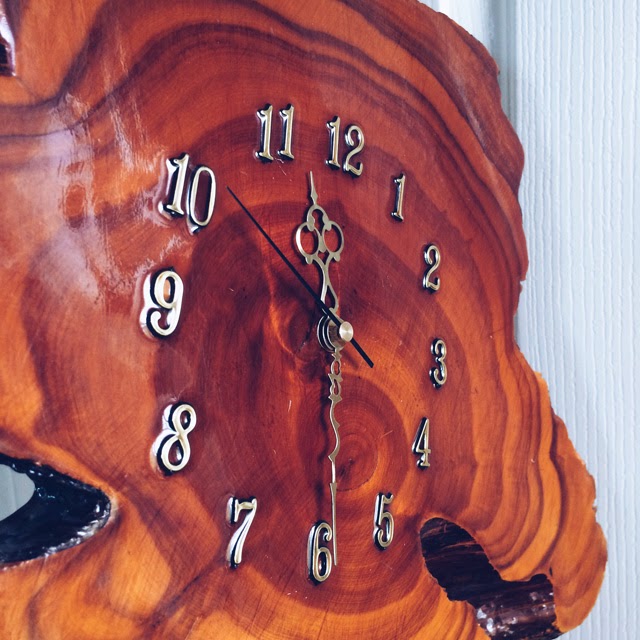
Here is the clock! It's gorgeous, but it's nonfunctional because it doesn't move at all... on top of that, the hands were all bent as well. Time to take it apart!
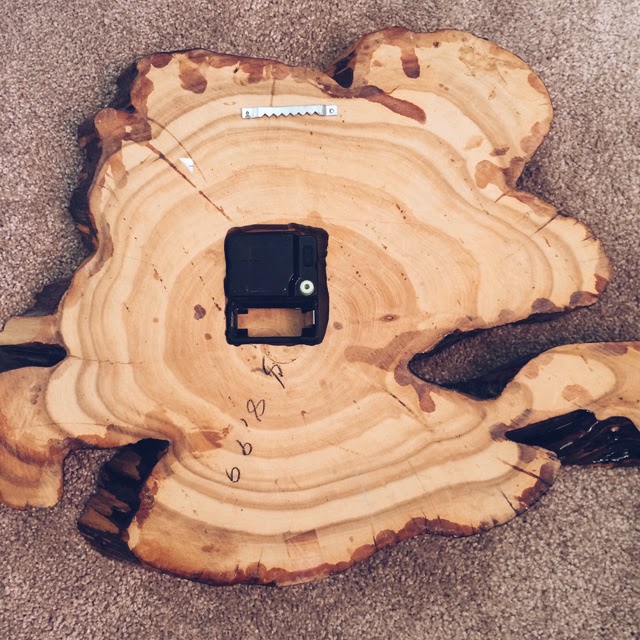
The back side of the clock, which shows the natural wood color, plus the carved part that houses the mechanism.
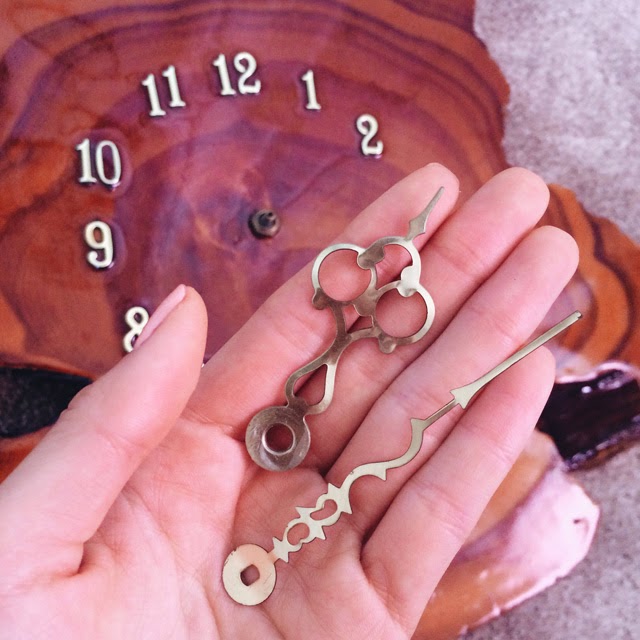
First, I removed the hands and put them aside. They're bent, but since the material is so thin, I was able to straighten them out a bit by hand.
Using your pliers, remove the hex nut carefully!
Once the hex nut is removed, you can just pop the old mechanism out and put it aside.
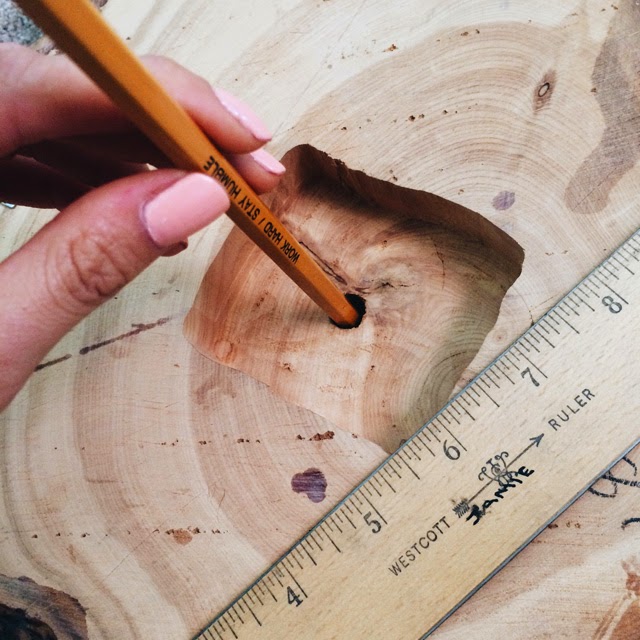
You need to know the width of the clock face in order to buy the correct size mechanism. Since the hole is too narrow for a ruler, I used an unsharpened pencil and marker to see how long the screw needs to be.
When you go to the craft store, you'll likely see many different models of clock mechanisms -- some with ornate hands, some with simple hands, and all in various sizes. The size is printed on the package, and refers to the length of the bolt that will go through your clock face. The mechanism I bought was the 3/8 inch measurement, but I probably should have bought the 5/8 inch version for more allowance.
Your mechanism will come with these components! Before attaching it to the clock, I did a test assembly just to make sure everything worked. Here is the order of assembly:
1. Clock mechanism
2. Rubber ring
3. Clock face
4. Washer
5. Hex nut (the old hex nut I removed didn't fit the new mechanism, so I omitted this)
6. Hour hand
7. Minute hand
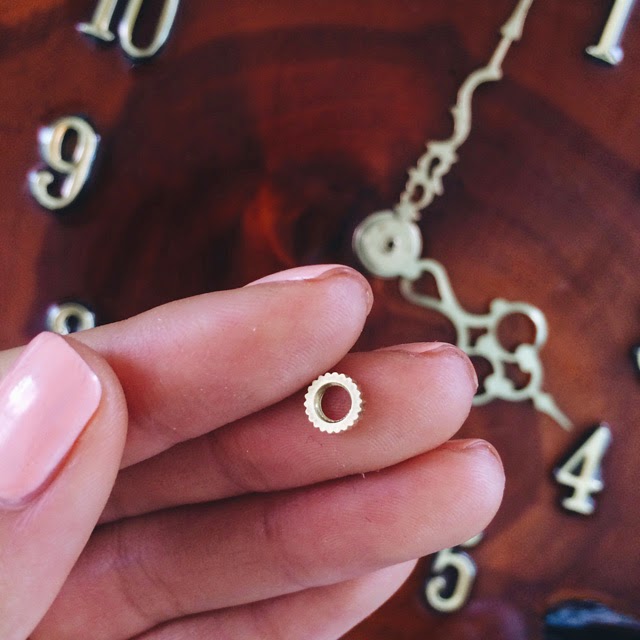
8. Nut
9. Second hand
I chose to use the original hands, because I was able to straighten them out so they weren't bent. However, if they had been damaged beyond repair, the new hands would have worked as well! I just wanted to keep as much of the original aesthetic as I could :)
Gluing the mechanism into the wood. I used a combination of craft glue and a glue gun around the edges, to make sure it was really secure.
At first, I thought I was doing it wrong, but it turns out that the hour hand is just very snug and you really do have to use some force to attach it to the bolt. It might feel like you're about to break it, but that's just how it's supposed to work. The minute hand is much easier, and it just slips on.
After the minute hand, you have to carefully and tightly screw this teeny tiny little nut on top of it!
Press the second hand on top of the bolt. Like the hour hand, you have to push down slightly harder for this component as well.
Then, all you have left to do is pop a battery in, turn the dial to the current time, and watch your new clock start ticking away!