Sunday, April 12, 2015

Vocabulary Volume #8

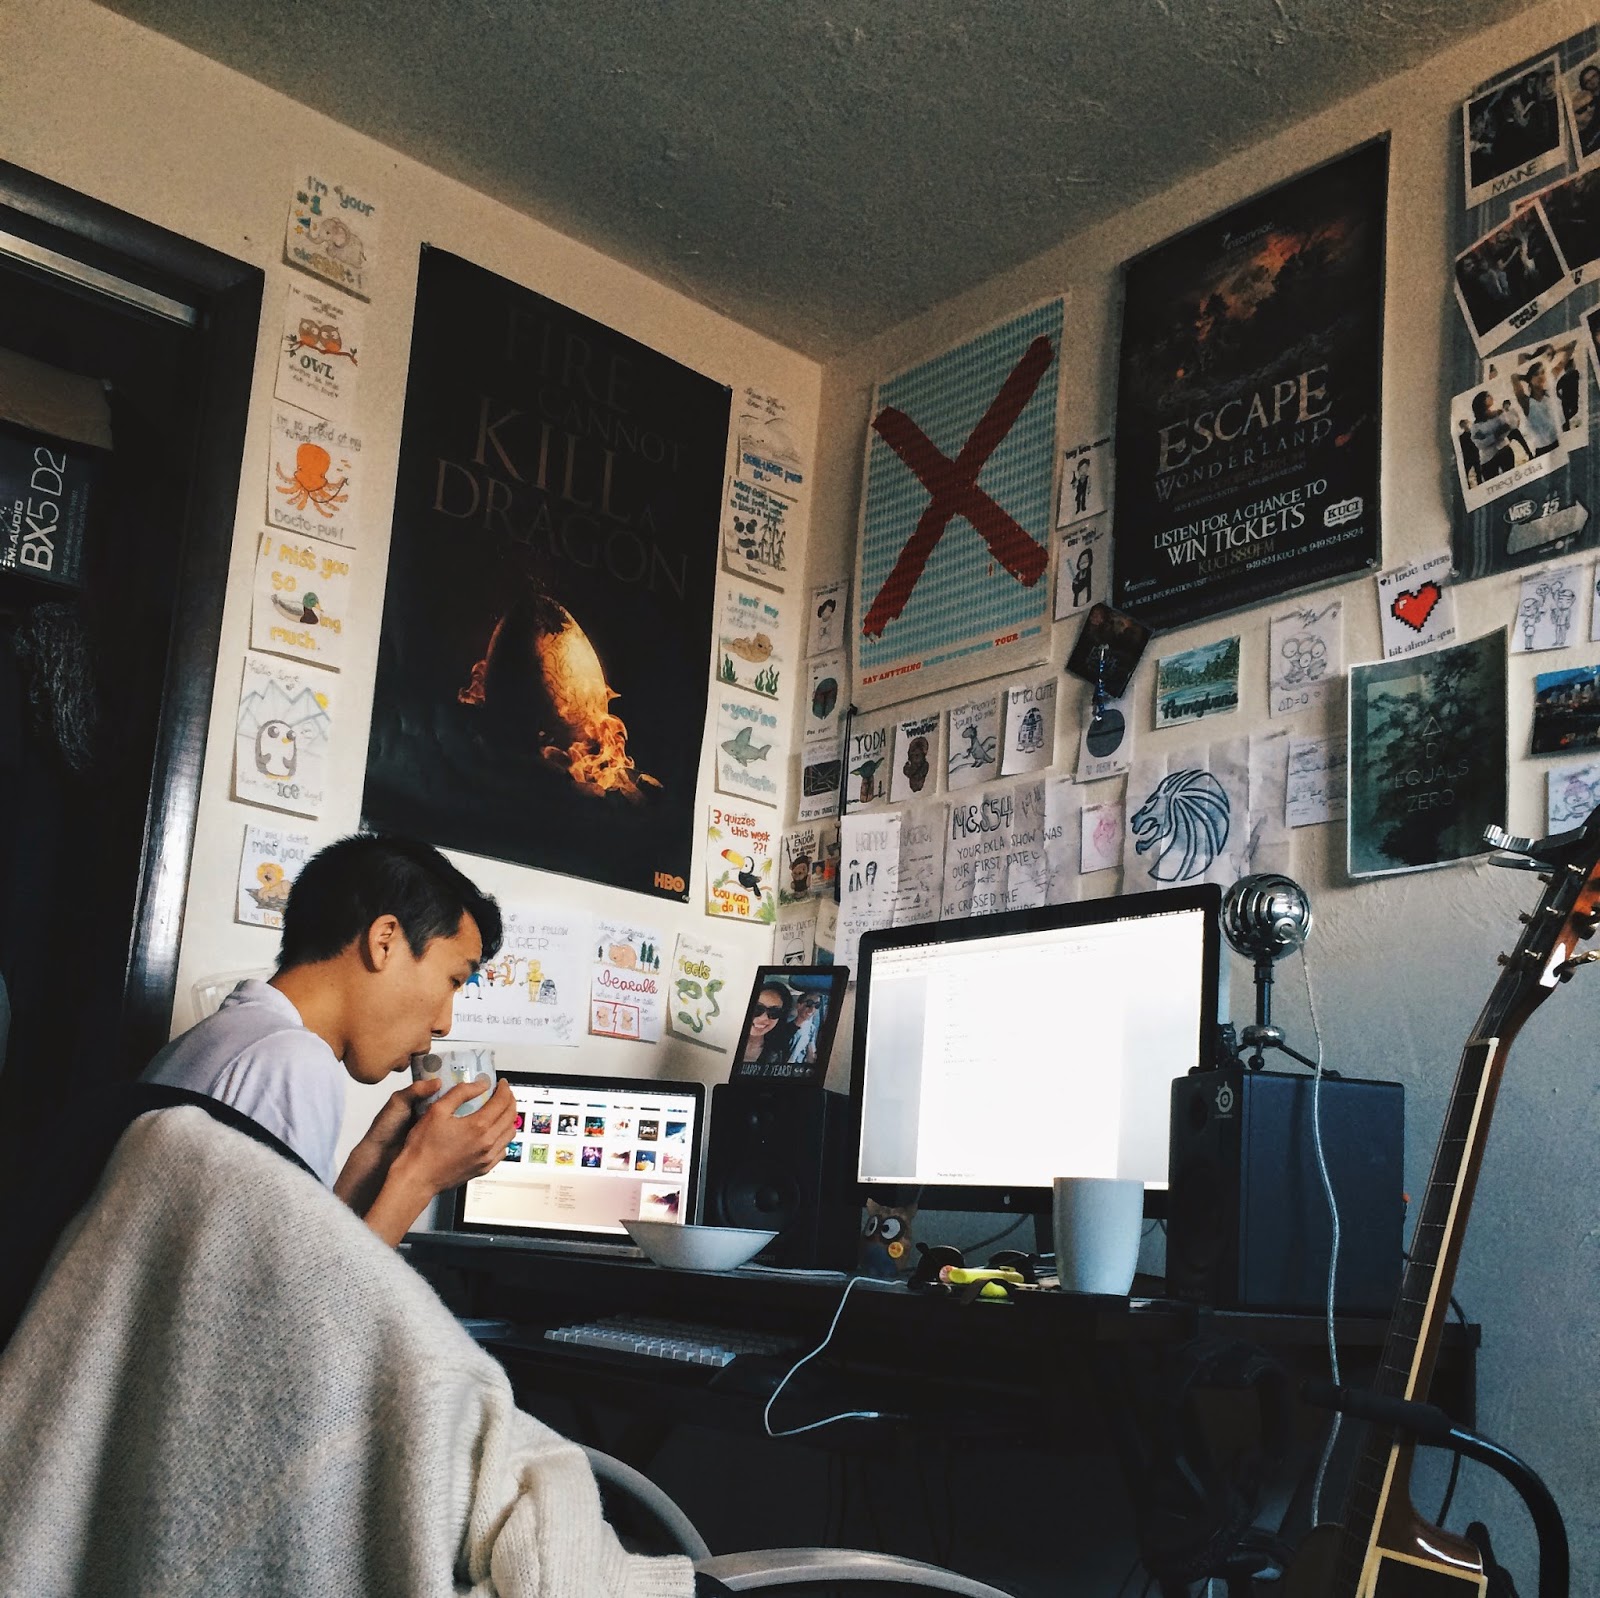
It's been a while since I've posted a Vocabulary Volume, so this is an extra long update! Here are some notable new words from books I've read recently.


From WICKED, by Gregory Maguire

unctuous: (adj.) greasy or oily. Or, when describing a person: a groveling kiss-ass type

apothegm: (n.) a concise saying or maxim, an aphorism

etiolated: (adj) weak, feeble, and pale

amanuensis: (n.) a literary or artistic assistant of manuscripts 

terpischorean: (adj.) related to dancing

pince-nez: (n.) old-style glasses held up by the bridge of the nose

sostenuto: (adj.) musical descriptor for a "sustained" note or style

terricolous: (adj.) living or growing in or on the ground

fulsome: (adj.) excessively flattering and fawning

sfumato: (adj) smoky style of painting with soft lines 

doyenne: (n.) the most respected woman in a particular field

scree: (n.) small stones covering a mountain slope

assignation: (n.) secret rendezvous, typically for affairs

lambaste: (v.) harshly criticize

tripartite: (adj) of three parts or involving three parties 

fascia: (n.) a thin piece of flat material that covers rafters of a house

moue: (n.) a pouting, annoyed expression

trapunto: (n.) a decorative raised quilting style 


From SNOW FALLING ON CEDARS, by David Guterson

lissome: (adj.) thin, supple, graceful

effusive: (adj.) gushy and expressive

torpid: (adj.) lethargic

effluvium: (n.) unpleasant odor of decay

austelle: (n.) couldn't find a real definition, but it might be a type of fabric

creosote: (n.) oil-based wood preservative

portents: (n.) omens, augury, or forewarnings

interstices: (n.) small space between two objects, like branches or walls

hypoid: (n.) a beveled gear in a vehicle transmission mechanism


From FROM THE MONKEY HOUSE, by Kurt Vonnegut

angstrom: (n.) 10 to the -10th of a meter length

ptomaine: (n.) a biological compound that causes food poisoning

yawl: (n.) a type of two-masted boat

depredations: (n.) attacks and plunders

seraglio: (n.) Turkish palace quarters for women concubines

humidor: (n.) a jar for keeping tobacco moist

parvenus: (n.) an obscure person who recently gained fame or status, a social climber

maudlin: (adj.) self-pityingly sentimental and emotional, lachrymose

bivouac: (n.) a temporary camp with no tents


From THE LEFT HAND OF DARKNESS, by Ursula K. Le Guin

aphelion: (n.) point in a planet's orbit where it is farthest from the sun. "at aphelion"

oviparous: (adj.) egg-laying

fumaroles: (n.) openings in a volcano where sulfurous gases emerge

semiotics: (n.) the study of meaning, making, and the philosophy of signs and symbols

susurrus: (n.) whispering, murmuring, or rustling

invocation: (n.) summoning incantation to a diety

paraverbal: (n.) messages transmitted through tone of voice. How something is said or implied, as opposed to what is said. 

educe: (v.) to bring out or develop something

blotto: (adj.) completely drunk

cyanotic: (adj.) turning blue or purple from lack of oxygen

caromed: (v.) to strike and rebound

Saturday, April 4, 2015

Pennsylvania!


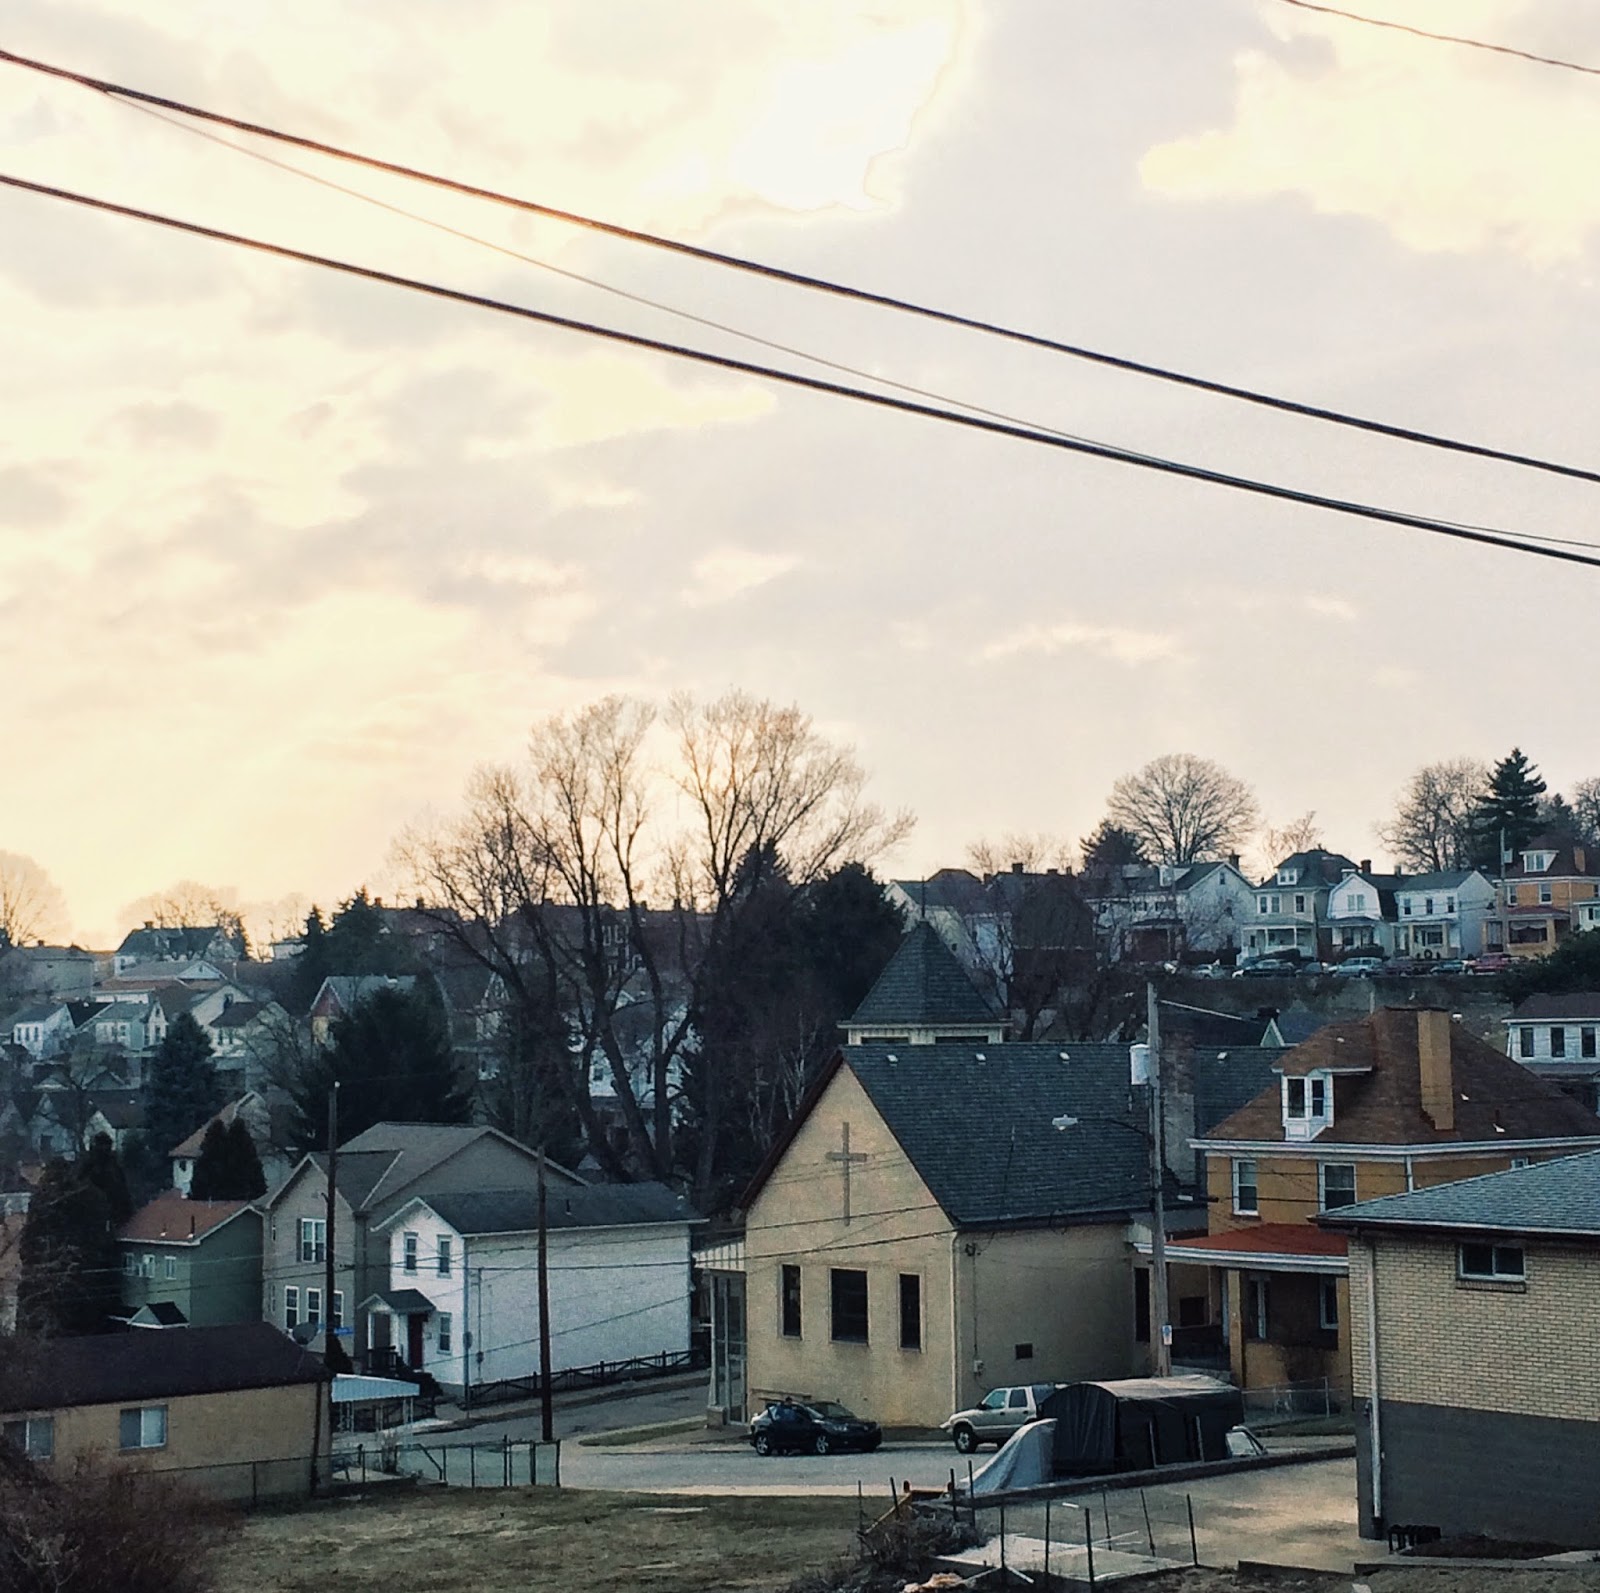
Recently, I took a trip to Pennsylvania! Here are some highlights of the trip :) I've been to Pennsylvania twice, but only for one or two days. This time, I was able to spend 4 full days exploring Pittsburgh, Greensburg, and other small towns nearby!


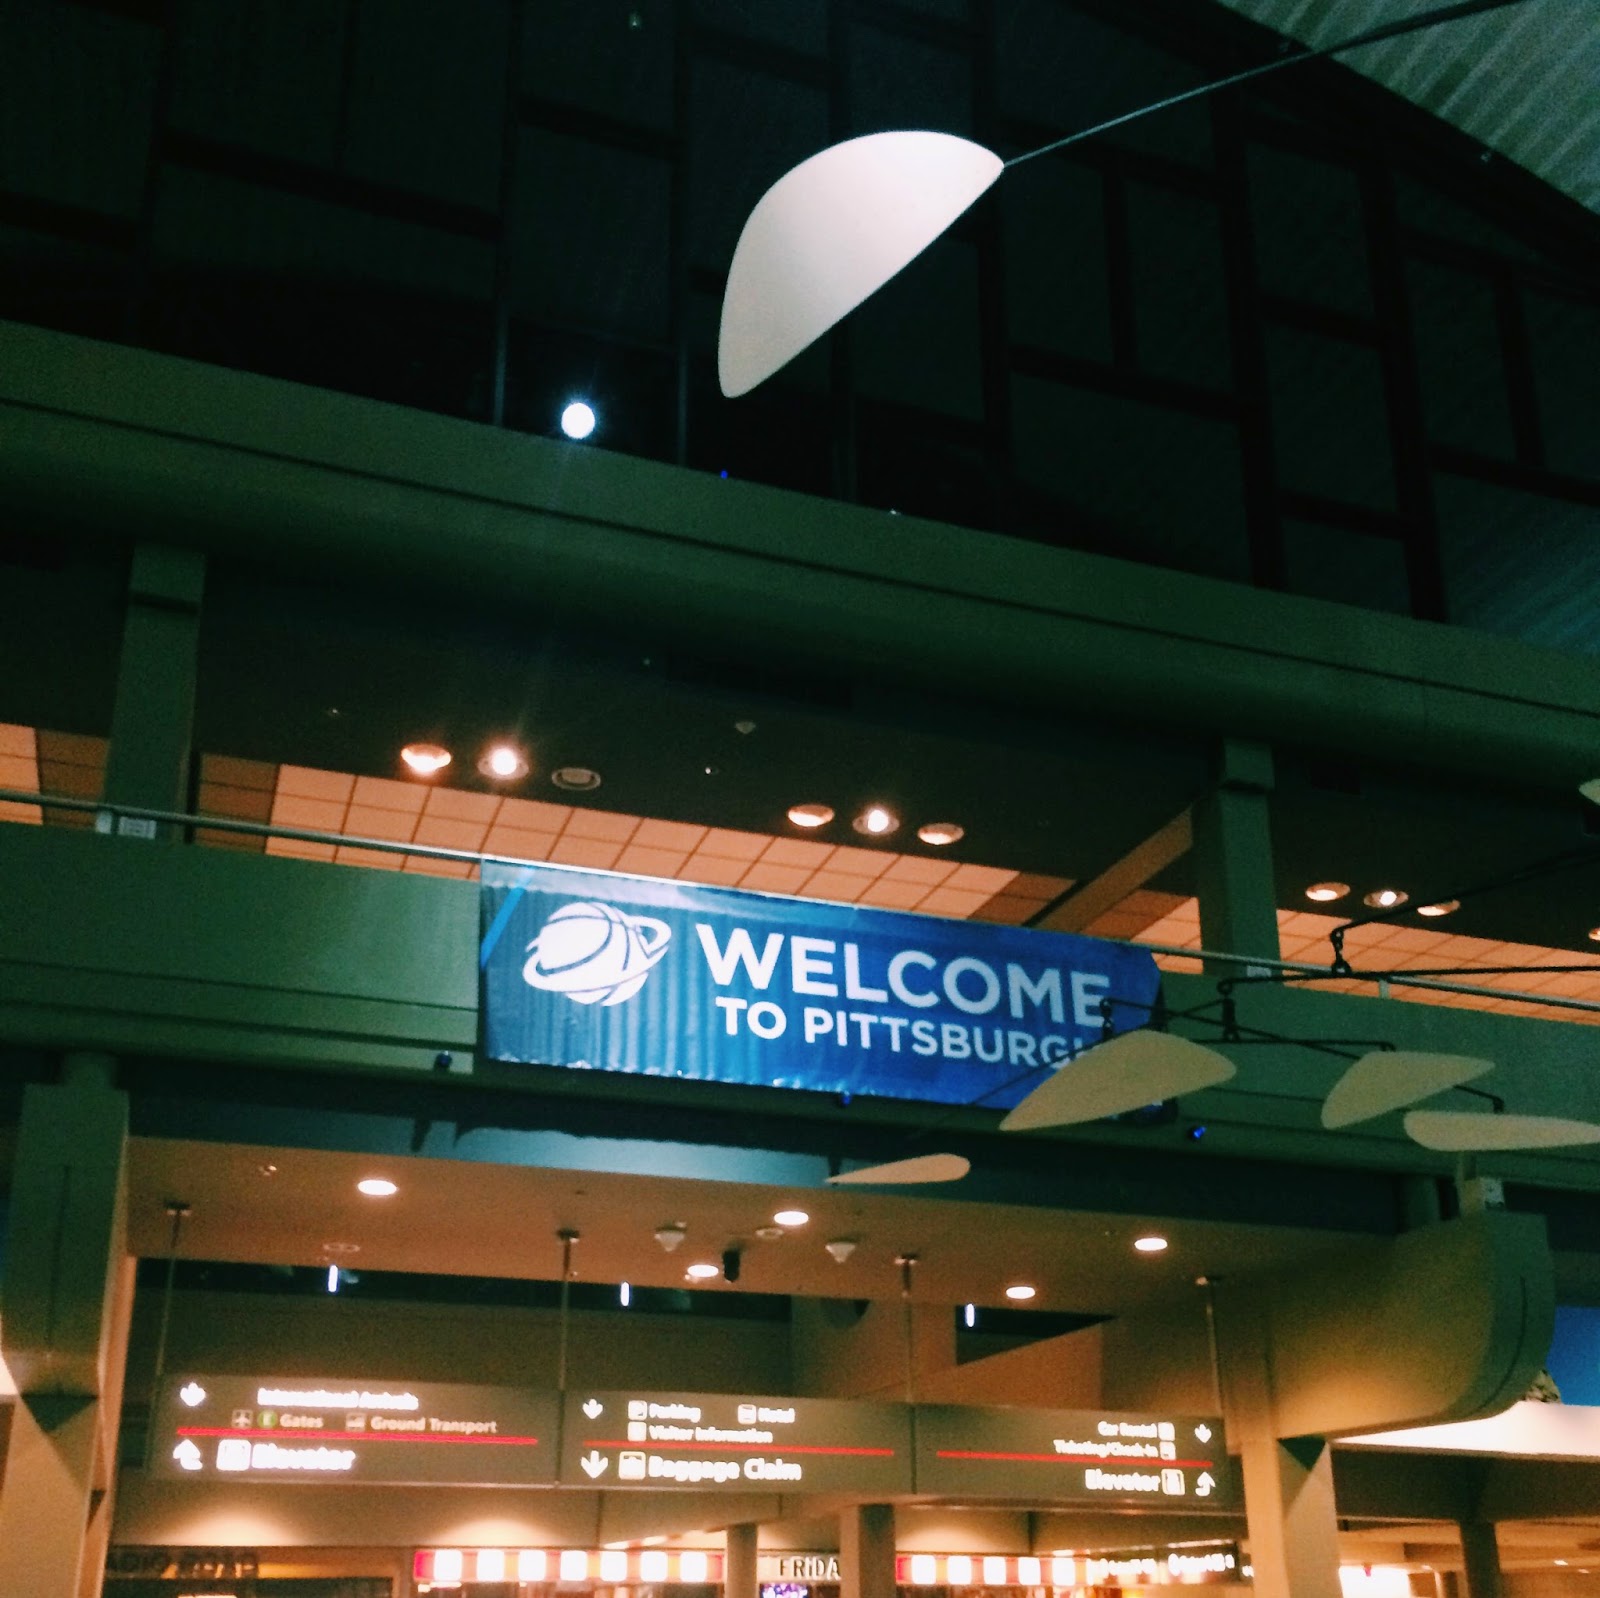
I flew out on Wednesday and arrived near midnight. The airport was so empty! Pittsburgh's airport was built on the grounds of an old farm, so it's huge...you even have to take a tram to get from the terminals to the rest of the airport.

DAY 1 : THURSDAY 


Lucas goes to LECOM at Seton Hill, which is located in the small town of Greensburg. It's about an hour outside of Pittsburgh, and it's pretty quaint.  He had class on Thursday, so I slept in and did some reading until he was out of class. We made pasta for lunch, and then we went out for some sweets!

We went to get dessert at THE MEADOWS, which is a small stand that sells delicious frozen custard! The flavors that we chose were vanilla and chocolate turtle :)

He needed to get some work done, so we went back to the apartment after a quick drive around. Later that evening we met up with his classmates for dinner at OLIVER'S POURHOUSE, a diner/pub type place. The black bean burger, mushroom burger, fried pierogis, and and "hot grape" (kind of a spicy-sweet house BBQ) wings were all delicious!

DAY 2 : FRIDAY


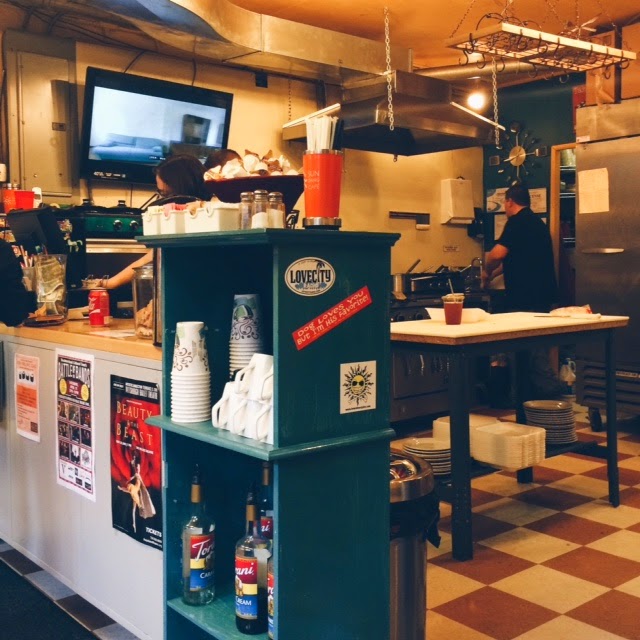
No class on Friday, so he decided to give me a tour of Greensburg! Of course, we had to start off with breakfast food. We both love breakfast, so we headed downtown to a place called the SUN DAWG CAFE. It's a family owned joint with great omelettes and super crispy hash browns! We left with our hair and jackets smelling like breakfast, since it's located in the basement of a larger building so there isn't much ventilation.


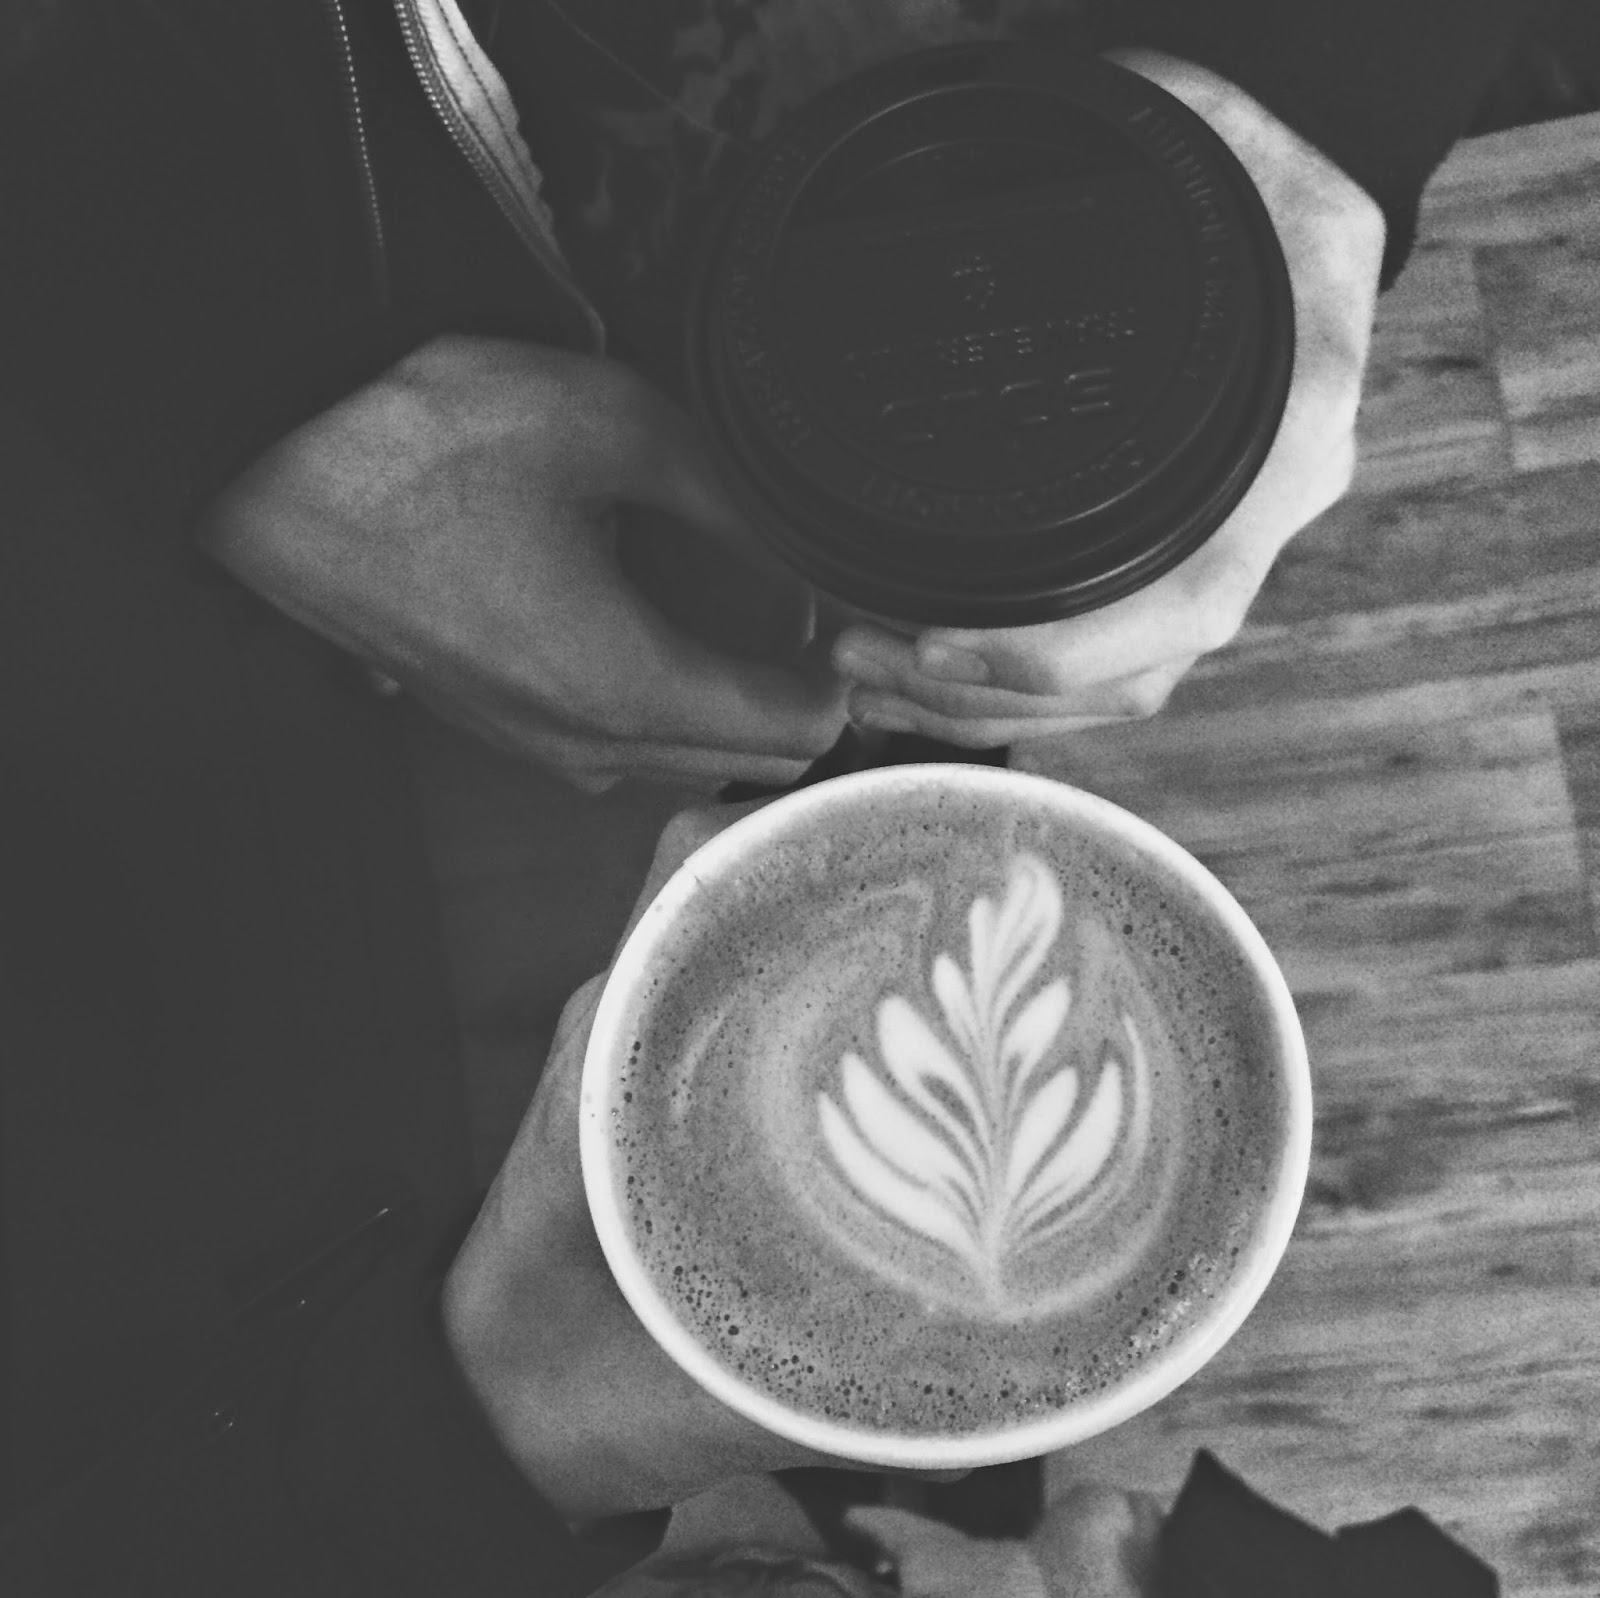
After breakfast, we went next door to THE WHITE RABBIT, a cute little cafe that is a popular study location for local students -- we ran into a bunch of classmates studying. Got our usual coffee order of one black coffee and one latte -- the latte art is really pretty!

It was supposed to rain that day, so we decided to just take a chill drive around town. We love going on drives together, so it was nice to put on some of our favorite new songs and cruise. Our soundtrack for the weekend was the new Monstercat album.


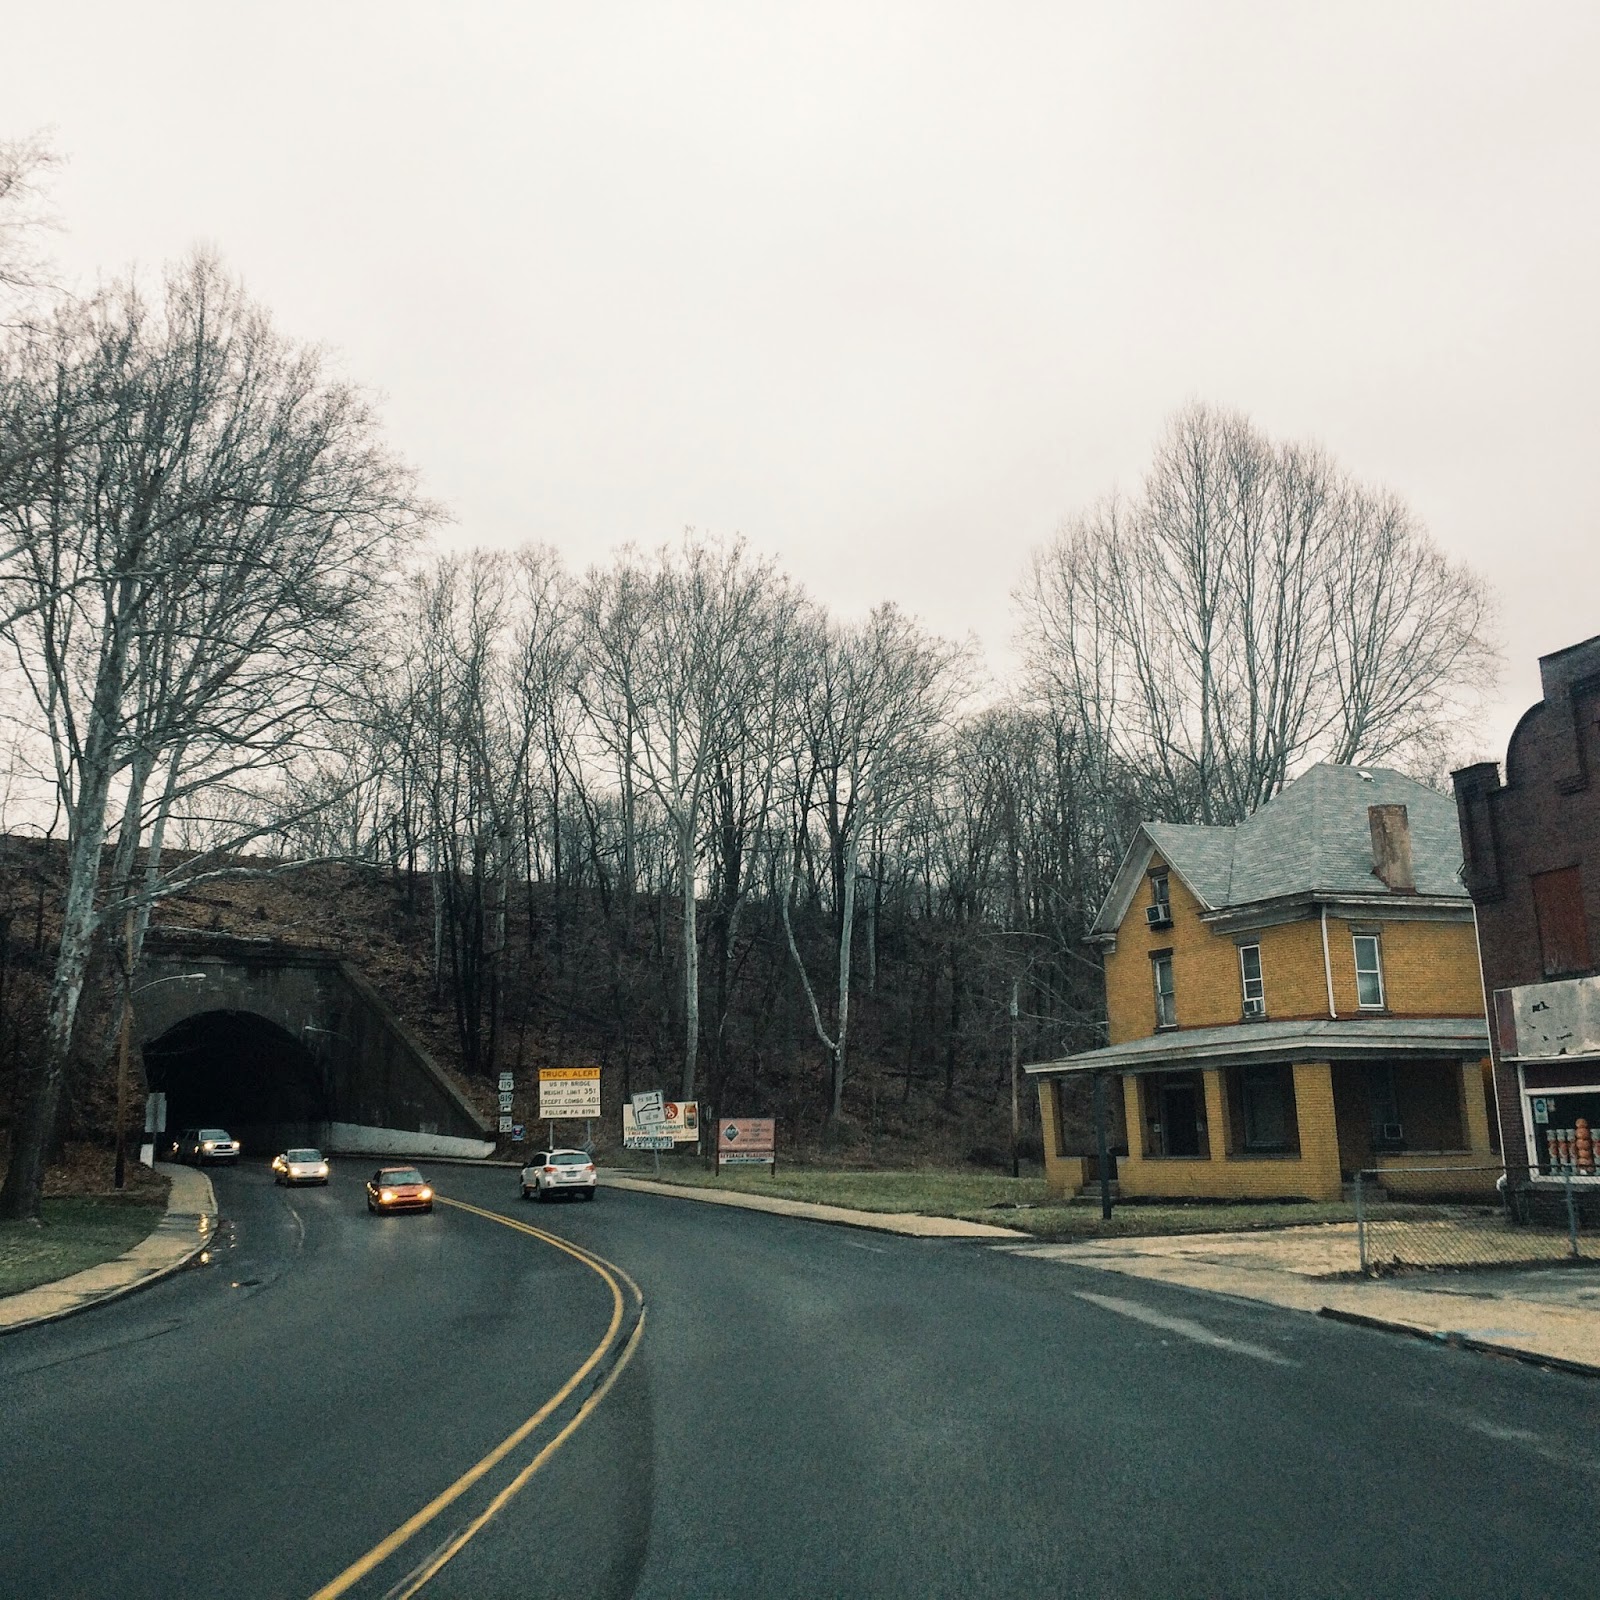
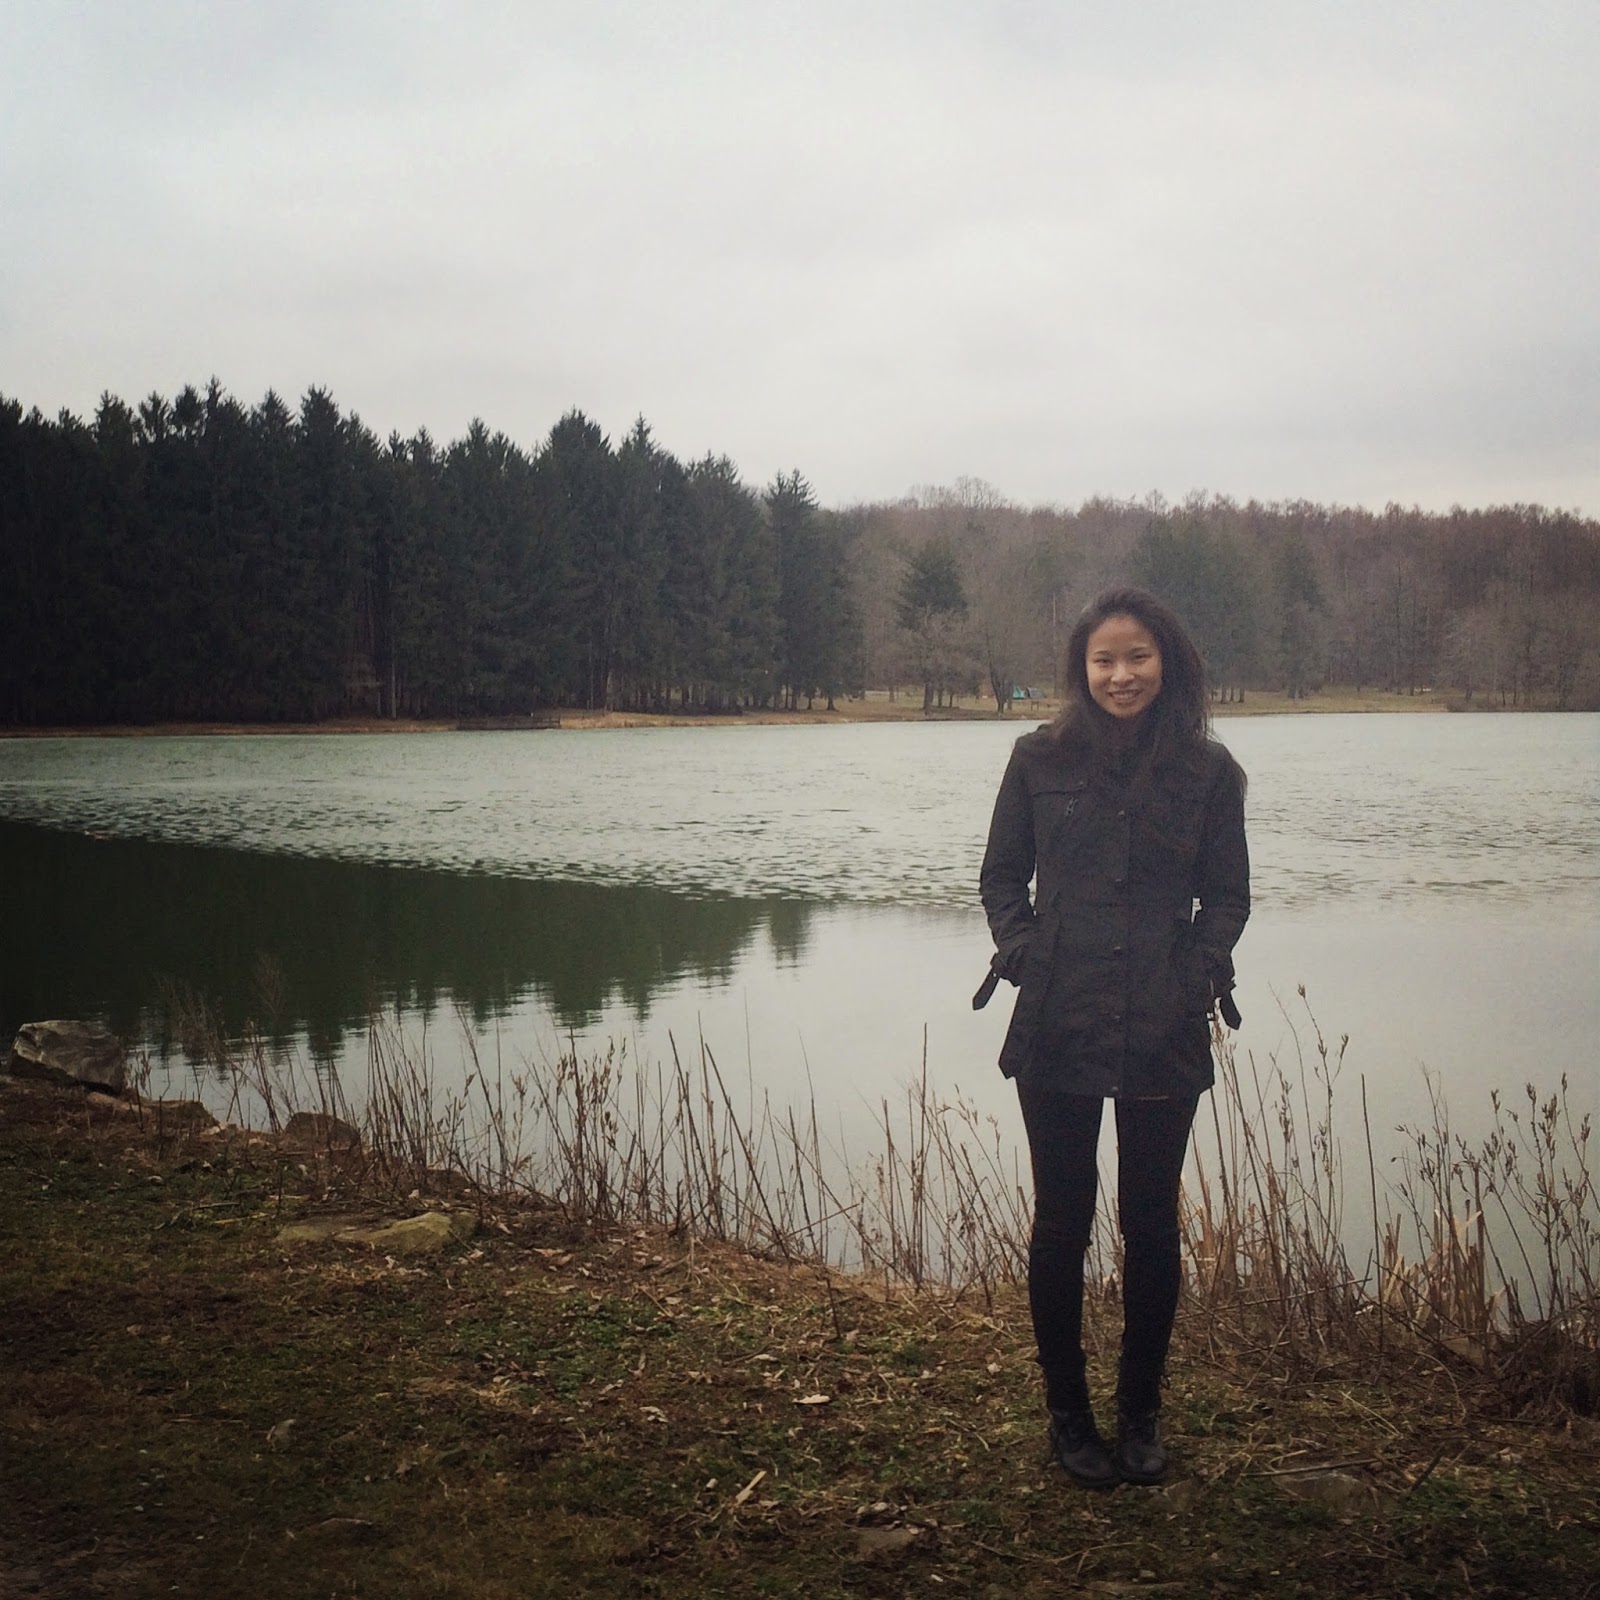
A relaxing drive through the gloomy countryside led us to TWIN LAKES PARK, which we had gone to the first time I visited! Back then, it was October, so it was still very green and sunny. It looked totally different now -- the leaves were all gone, and the lake was partially frozen over!


On our way home, we made a stop at the Westmoreland Mall -- the only mall in all of Greensburg. It's your typical mall with typical mall shops, but the main thing we were there for was popcorn! The PITTSBURGH POPCORN COMPANY is a fancy Pittsburgh-native popcorn shop that sells unique flavors, and we wanted to pick some up for our movie night. We decided to get the sour cream and onion flavor, which was definitely a good pick.

For dinner that night, Lucas was pretty insistent that I try one of the true gems of Greensburg - pierogi pizza! A pierogi is a Polish dumpling stuffed with mashed potatoes, and on a pierogi pizza, the potato is baked into the crust. He placed an order at JIOIO'S RESTAURANT, which is the best local place for this pizza. It was definitely interesting -- instead of dough, the crust is made of flaky pie crust, then topped with a layer of potatoes, then lots of cheese, and then the toppings! It's a very heavy food, and we were definitely fat and happy afterwards :D

DAY 3 : SATURDAY


The weather on Sunday was the best we would get all weekend (a balmy 45 degrees!) so we decided to venture in to the city. I've only driven through Pittsburgh to get to the airport, so this was completely new to me!

Before we left, we had breakfast with Lucas' roommate Nick! The guys made bacon, eggs, and hash browns -- definitely enough food to get the day started. Then we grabbed our itinerary and headed out!


First, we stopped in Squirrel Hill, which is a small suburb of Pittsburgh. It's located right next to Carnegie Mellon, so it has a college-town feel with lots of students and lots of diversity. There is even Taiwanese food in Squirrel Hill, and we went to a place called EVERYDAY NOODLE for lunch. It was super busy inside, but we got seated and placed our order for sesame cold noodles and zha jiang noodles.


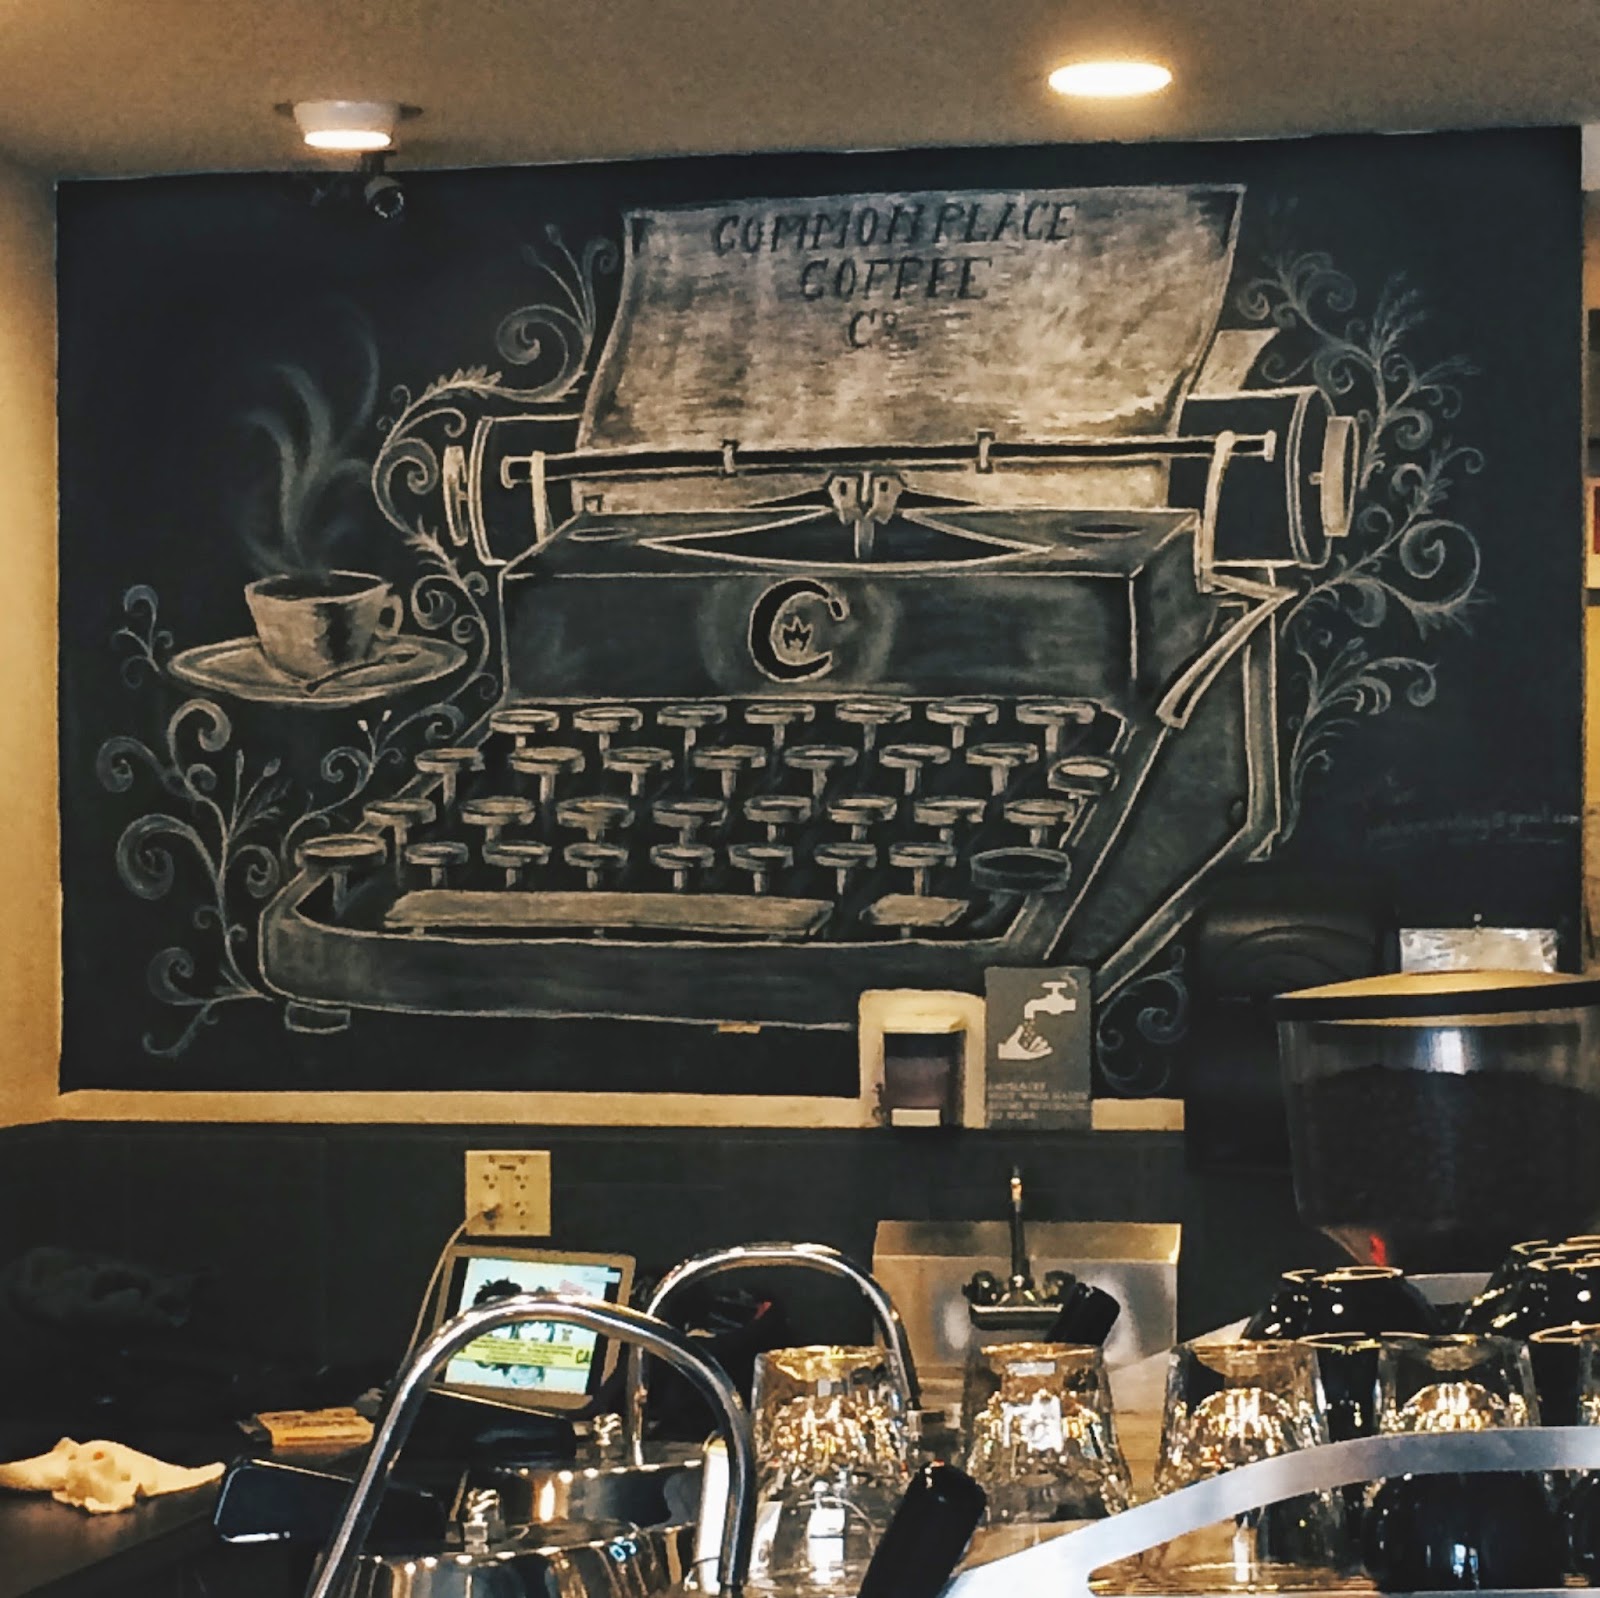
We wandered around Squirrel Hill after lunch, and ended up at THE COMMONPLACE COFFEE COMPANY. I had seen this coffee shop mentioned on one of the blogs I follow, and so we went inside to get caffeinated.


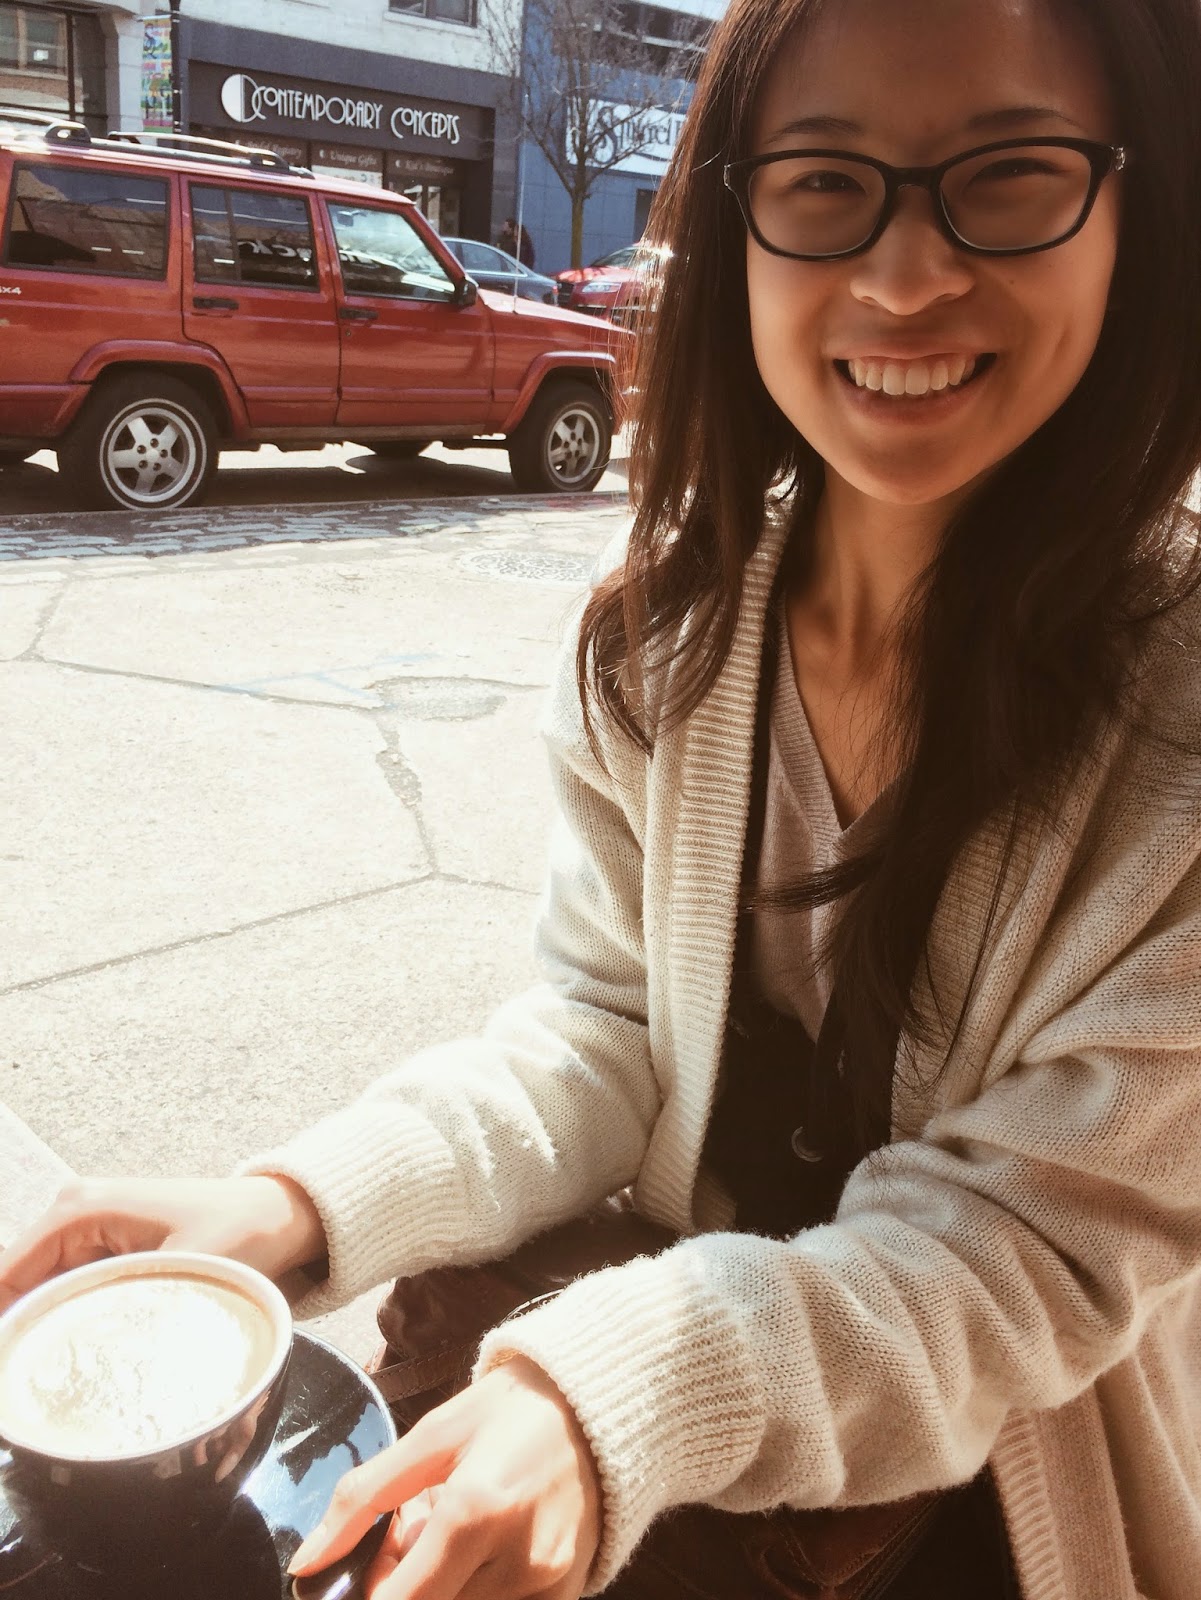
One of their menu specials was a lavender latte, so I decided to give that a try. It was so good! There was a very subtle flowery taste to it :) There were a lot of people studying and reading inside, so we got two chairs outside and enjoyed the nicest weather I had experienced so far.


We walked around some more and found a neat used media store called THE EXCHANGE! It was a buy/sell/trade place for used games, consoles, controllers, CDs, DVDs, and records. We went digging for fun, just to see if some of our favorite artists could be found on vinyl.


From there, we drove into Pittsburgh! Before going into the city, we also stopped at an Asian grocery store to pick up some sauces and other Asian staples that are nowhere to be found in a rural town like Greensburg. Then we were on our way!

Our first stop was MARKET SQUARE, which is a small square bordered with restaurants and shops. There was a small art installation in the square, and some tables to sit at. We picked a table and enjoyed some people-watching.


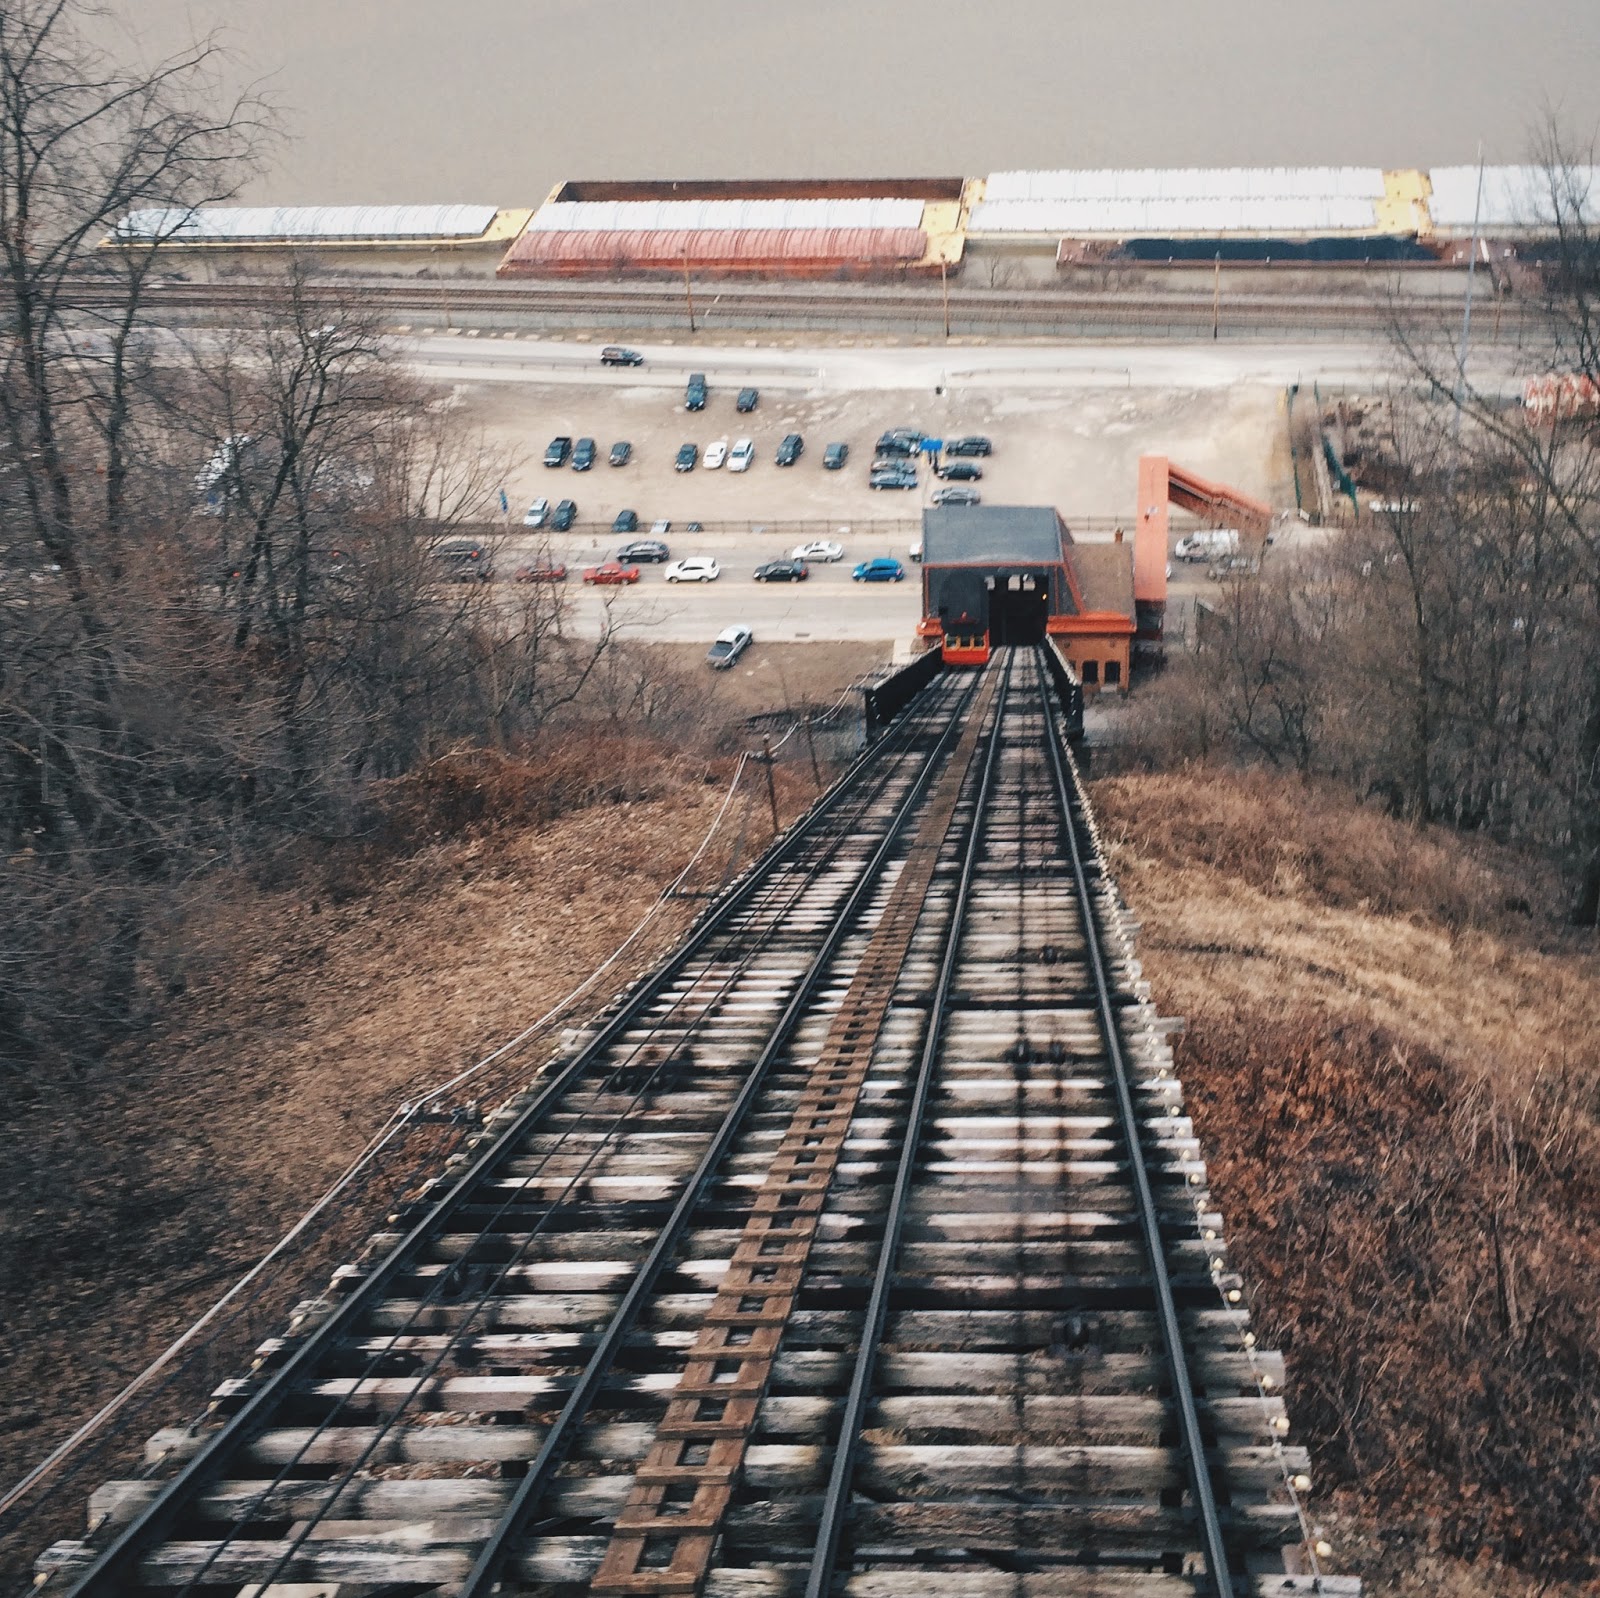
Next up on our itinerary was a pretty touristy thing: THE DUQUESNE INCLINE! The Incline is an interesting attraction that is linked to Pittsburgh's history as a steel industry city. It's sort of like a triangular cable car, but it only holds about 10-15 people.


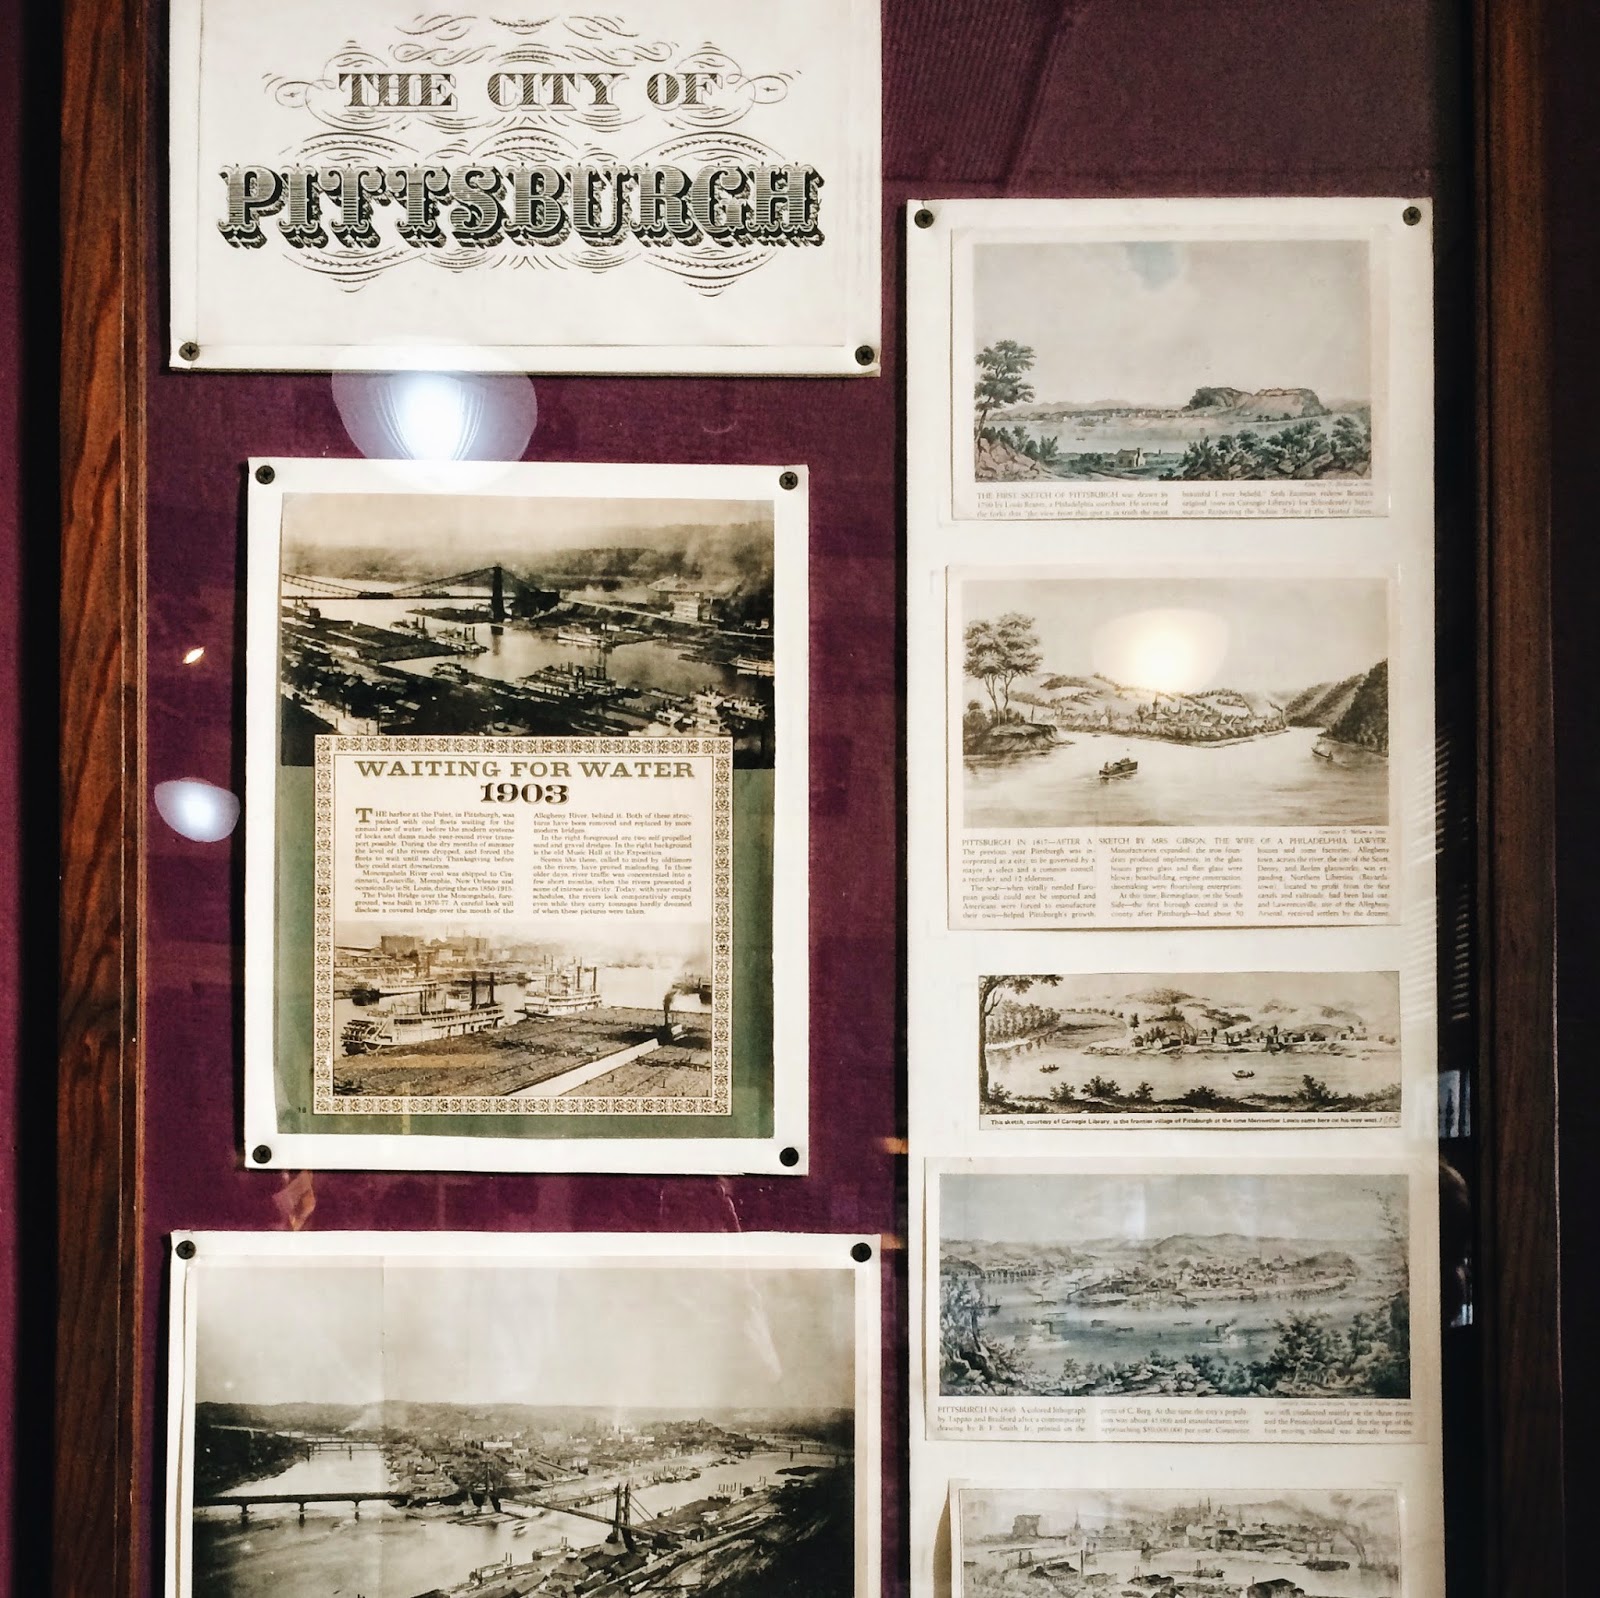
Back in the day, steel workers would ride the car straight up the side of Mount Washington, one of the hills that borders the city. Today, it's more of a historical artifact of the city's past. It's a short but rickety ride! At the top, there's a cute visitor center with some historical information about the funicular system.


We walked a little bit farther to the MOUNT WASHINGTON LOOKOUT, and got a nicer view! Downtown Pittsburgh actually lies at the intersection of two rivers, and from the lookout point, we were really able to see that. The Mount Washington lookout is also home to this statue, which depicts the meeting of George Washington and a Native American chief.


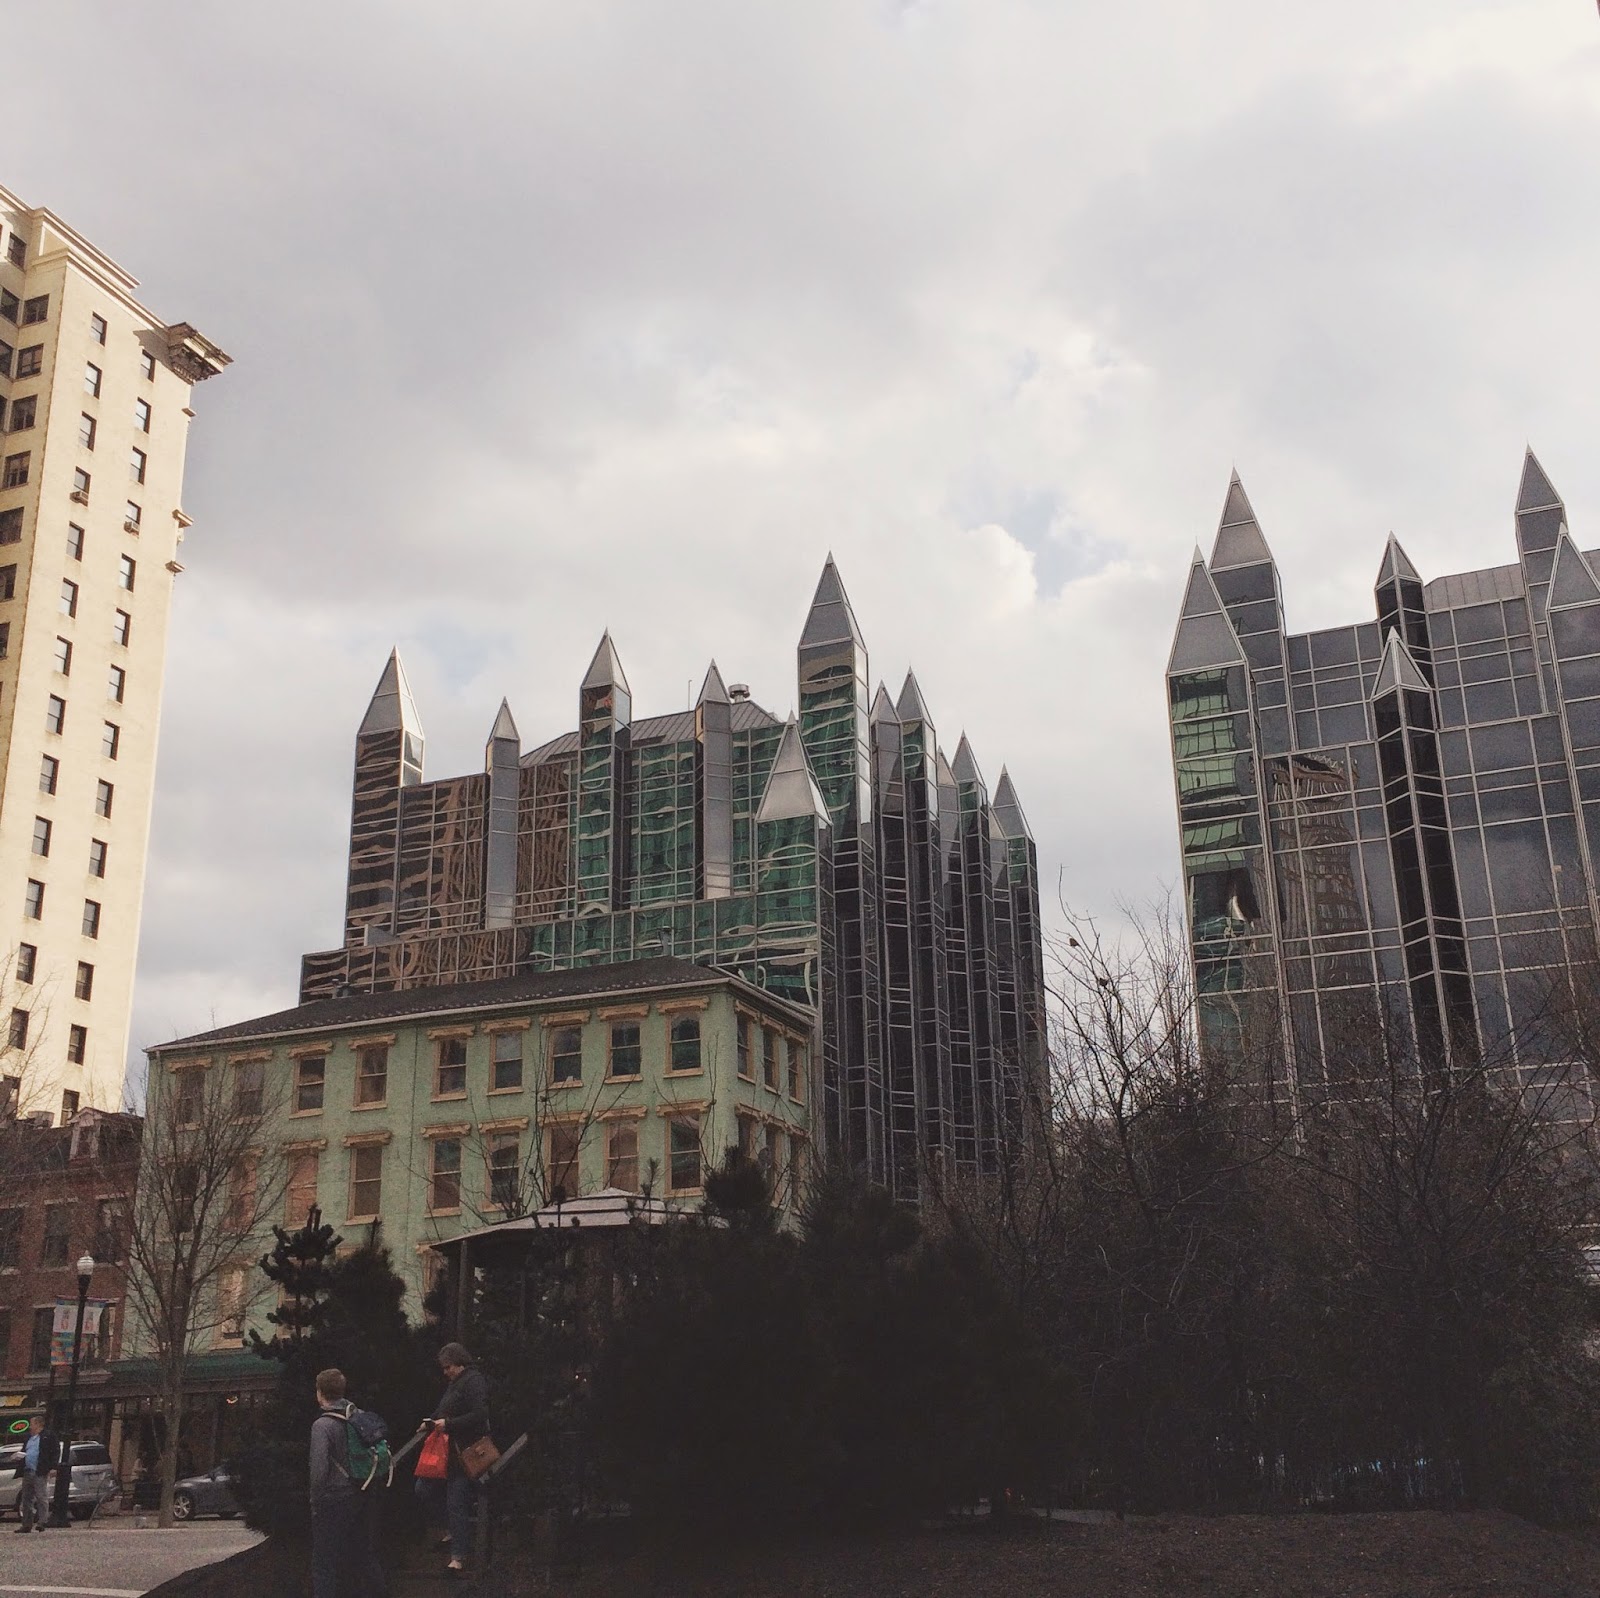
We took the Incline back down, and then ventured across two of Pittsburgh's many bridges back into Downtown. We parked at a large structure and walked around, checking out the various restaurants and bars that we could eat at!


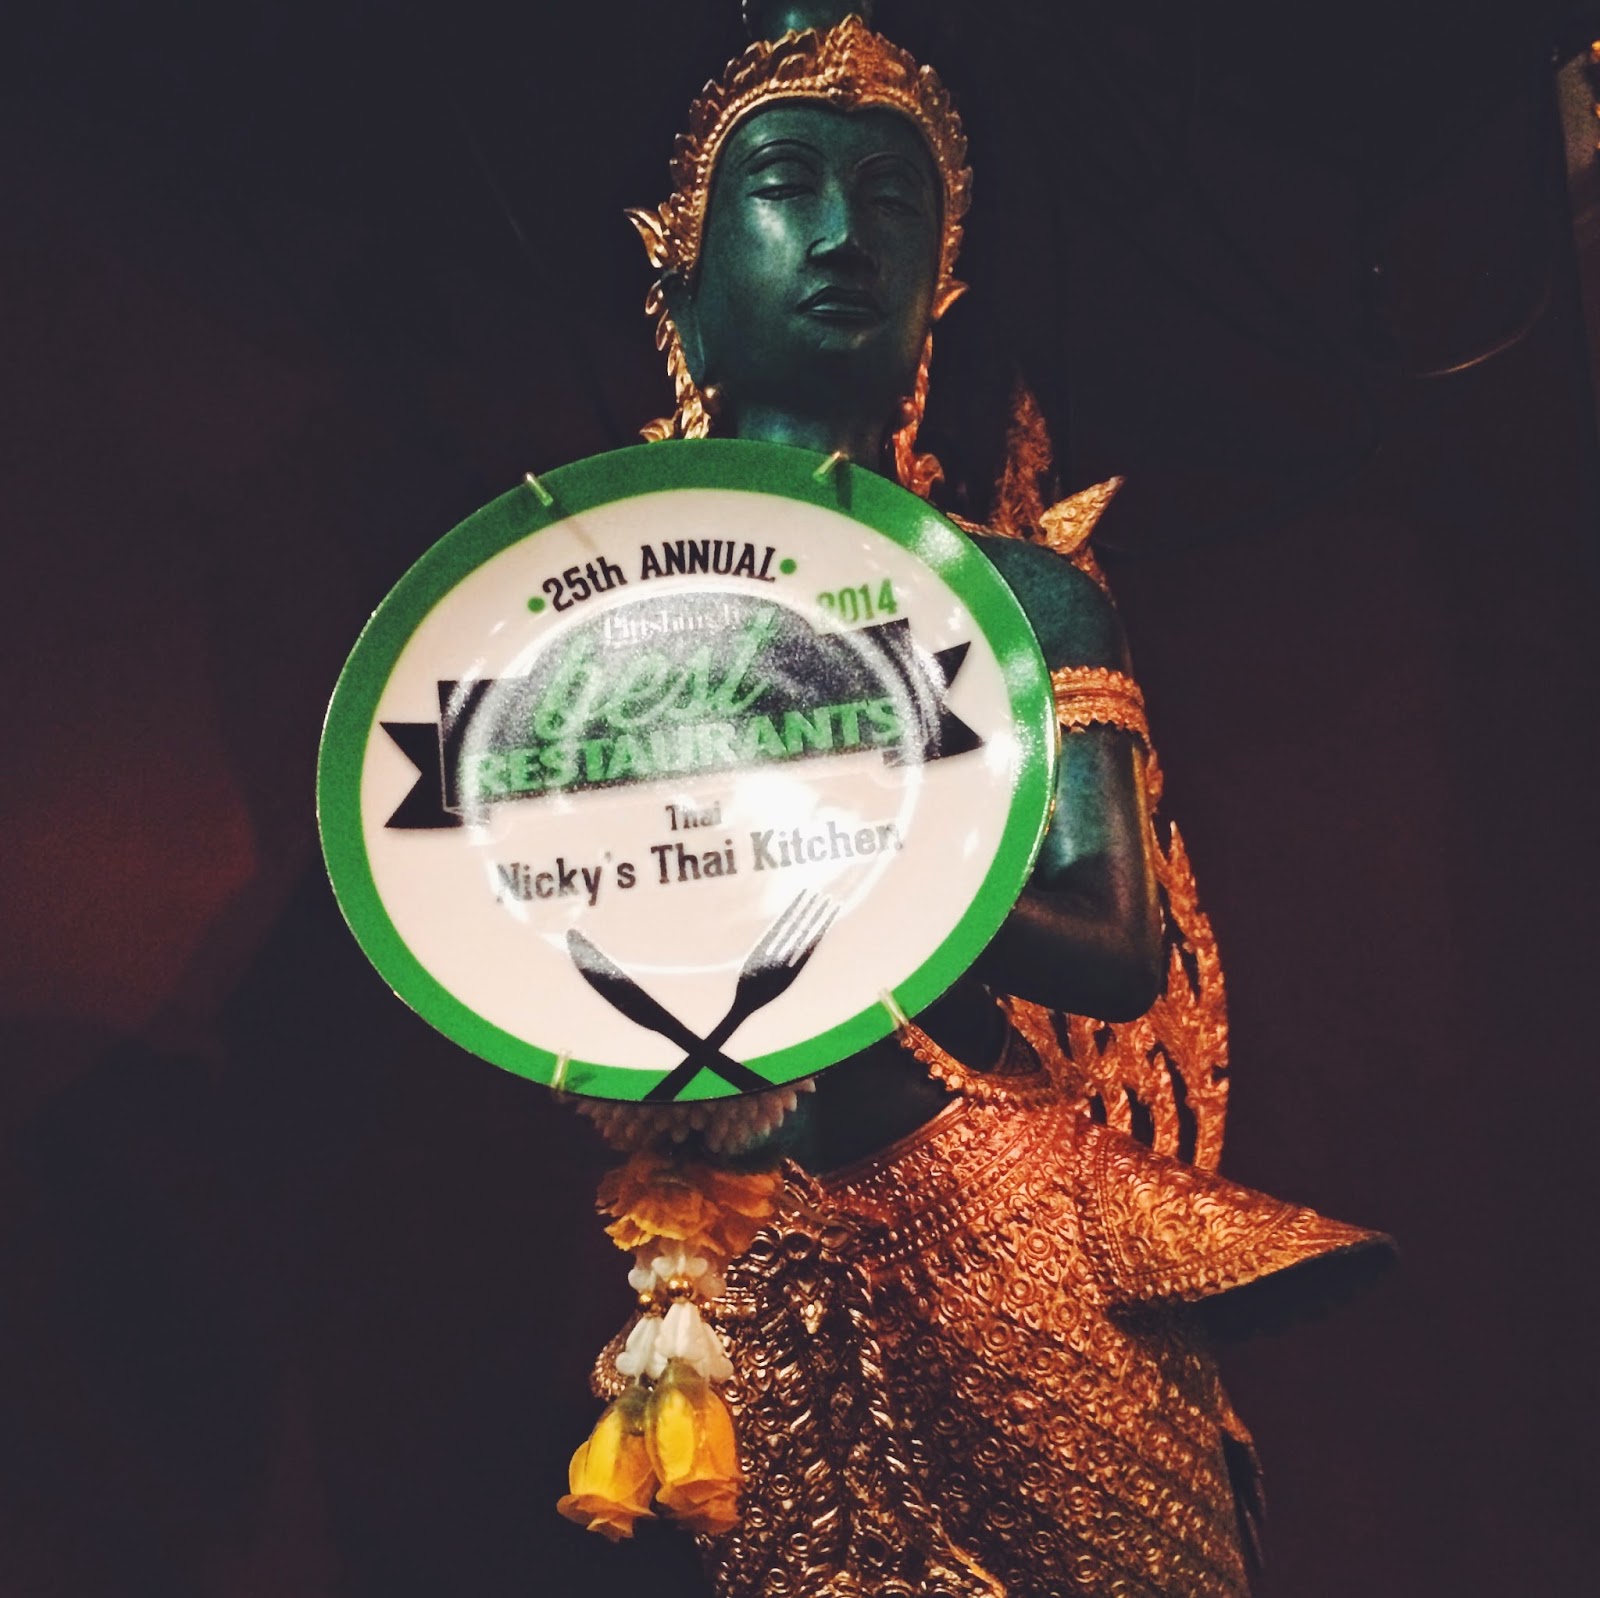
There were many places we could go for dinner (Hofbrauhaus, Piper's Pub, and many of the restaurants and pubs on South Side) but we chose to go to NICKY'S THAI KITCHEN. Thai food isn't the first thing that comes to mind when I think of Pittsburgh, but this Thai place was great!


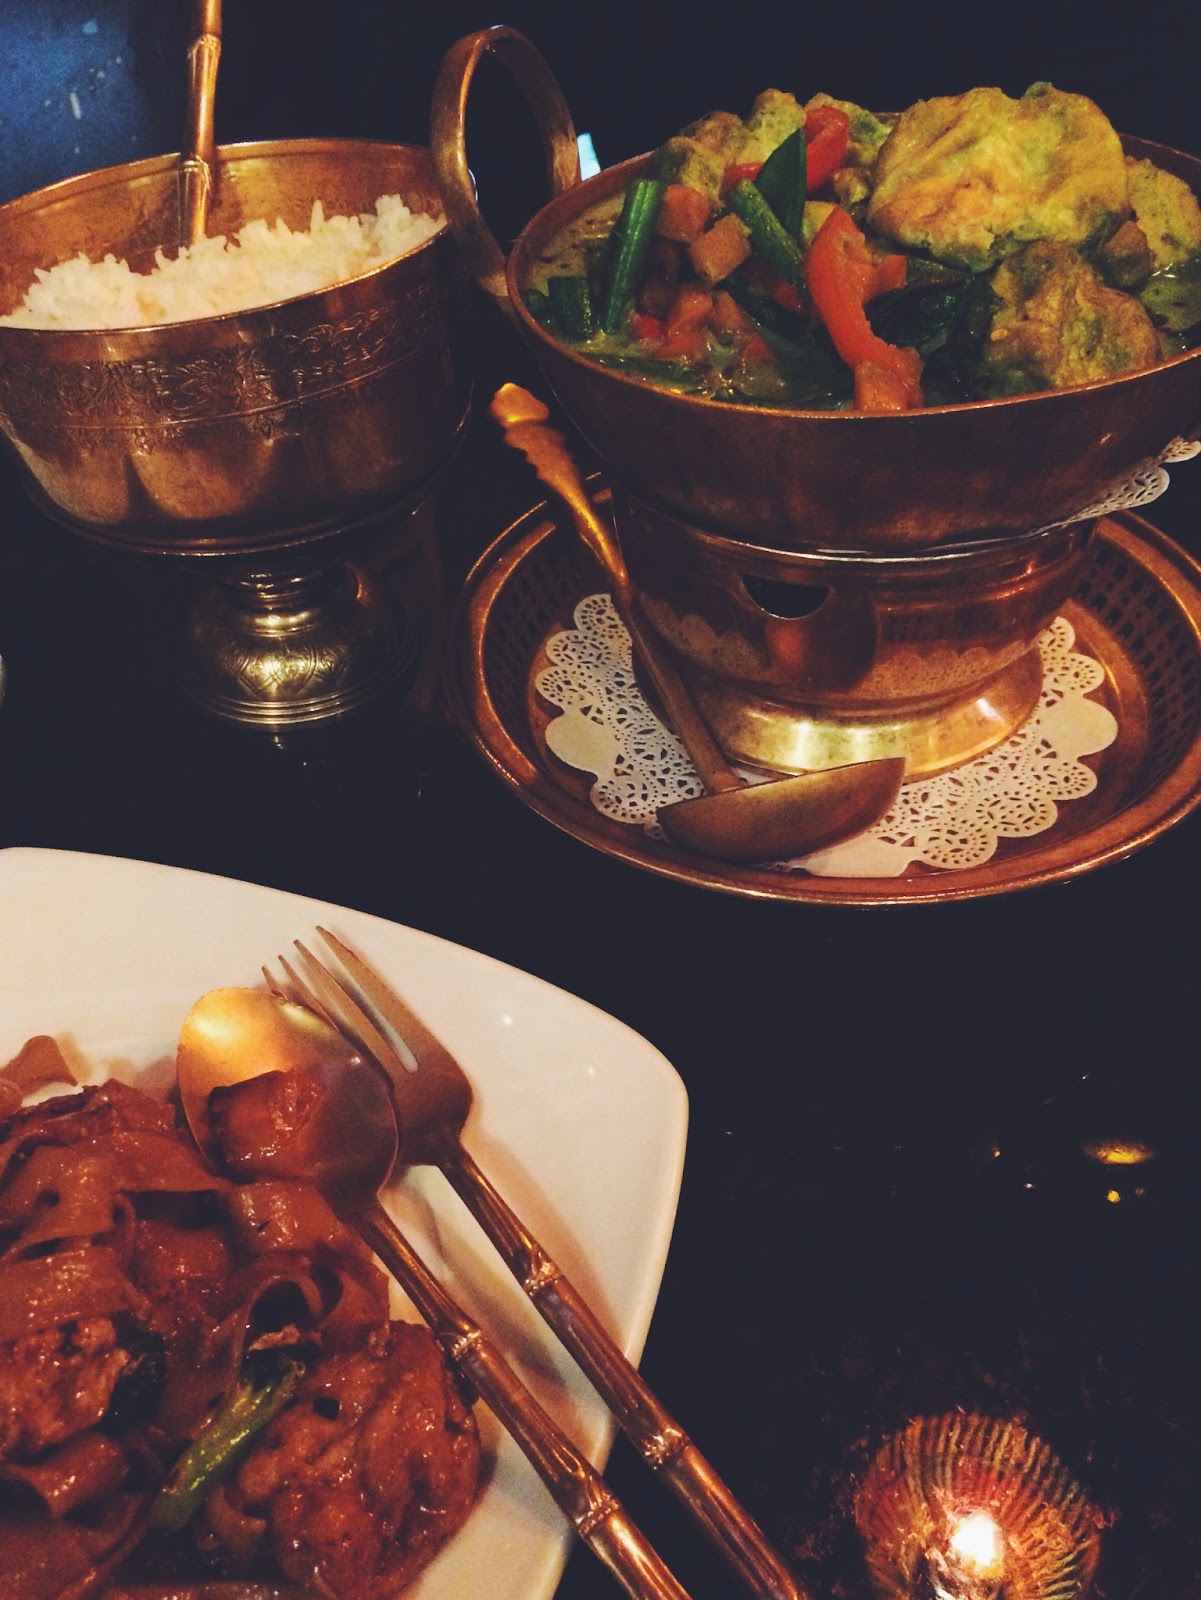
We loved the inside decor, which was completely decked out in all things related to Thailand. There were elephant statues, jeweled rugs, buddha statues, and gold accents everywhere! Even the food was served in vintage-looking gold goblets. We ordered a pad see ew, green curry, and green thai iced tea, which is like a regular thai iced tea but made with matcha green tea instead. Everything was so good, and the portions were huge!

As stuffed as we were after dinner, we still wanted to experience bar life in Pittsburgh so we walked down the street to THE SHARP EDGE, a bar and diner. Our waitress was quick to recommend us some great local beers to try! Lucas got a Pennsylvania IPA and I got a little blonde hefeweizen.


Our Pittsburgh day was definitely the busiest! After we finished our drinks, we drove back home and settled in for movie night (Captain America!! :D).

DAY 4 : SUNDAY

My last full day in Pennsylvania! Having seen a lot of the town already by car, we decided to stick to one of our favorite hobbies and see more of it by bike. We biked from his friend's place, along a railway, past an industrial park, and finally to Youngwood, a town south of Greensburg.


He had a test coming up, so after our bike trip, the rest of the day was spent in. We heated up some leftover Thai food (which was still delicious!) and watched another movie.


DAY 5 : MONDAY


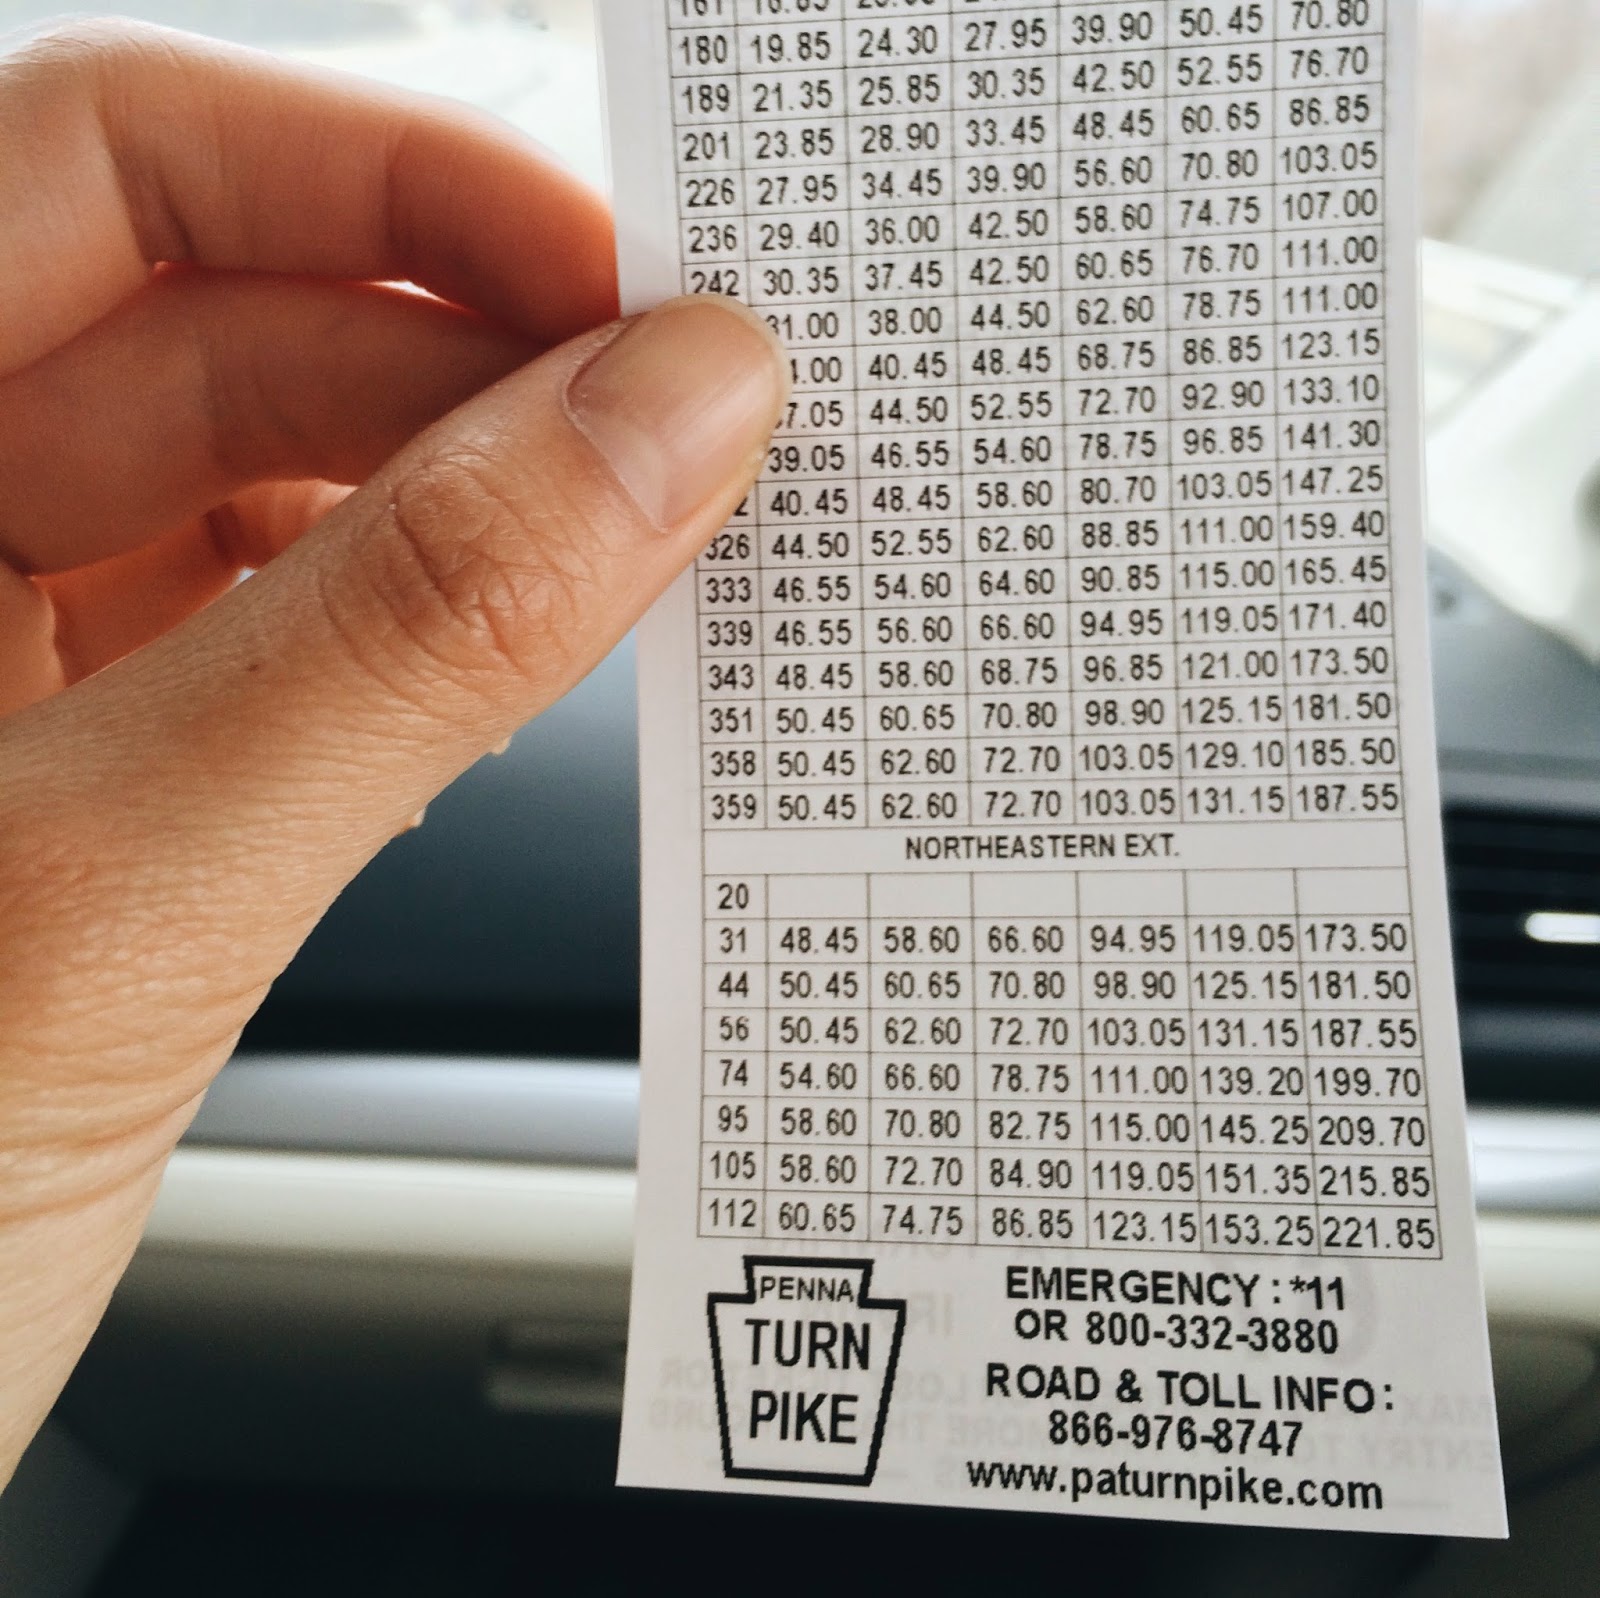
My departure day! One last drive into the city. Another interesting thing about Pennsylvania is its system of turnpikes. I had never encountered a turnpike before, other than in lyrics to country songs, so it was an experience! They collect money like toll roads, but aren't quite the same. It costs $1.75 to drive from Greensburg to Pittsburgh.


Though it certainly isn't your typical vacation destination, I had a great time in Pennsylvania! Lucas is moving to New York over summer, so this is probably the last time I will ever be in the city. It's been a great experience. The east coast just has a different feel from the west coast -- it feels more folksy, rustic, and historical, and I'm glad I got to spend a few days here. Bye PA!

Wednesday, April 1, 2015

Rainmeter

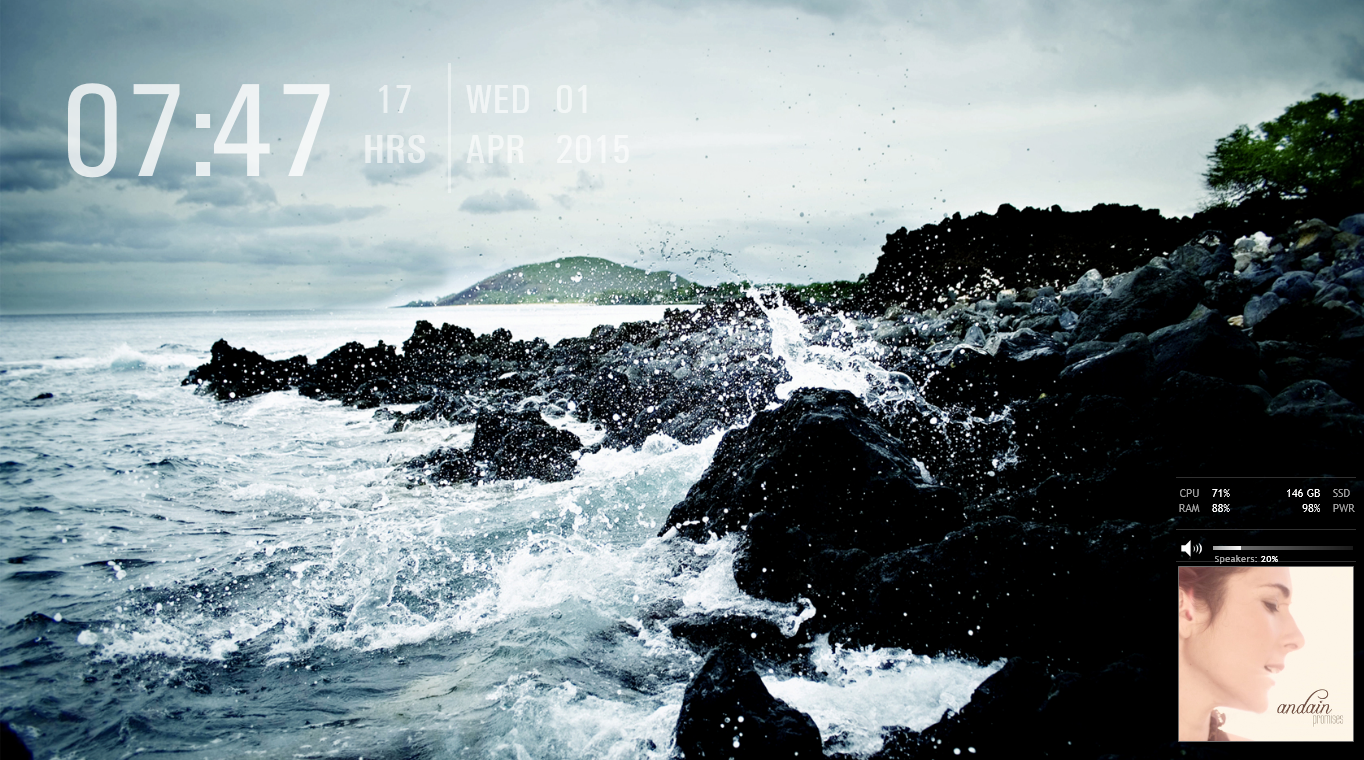
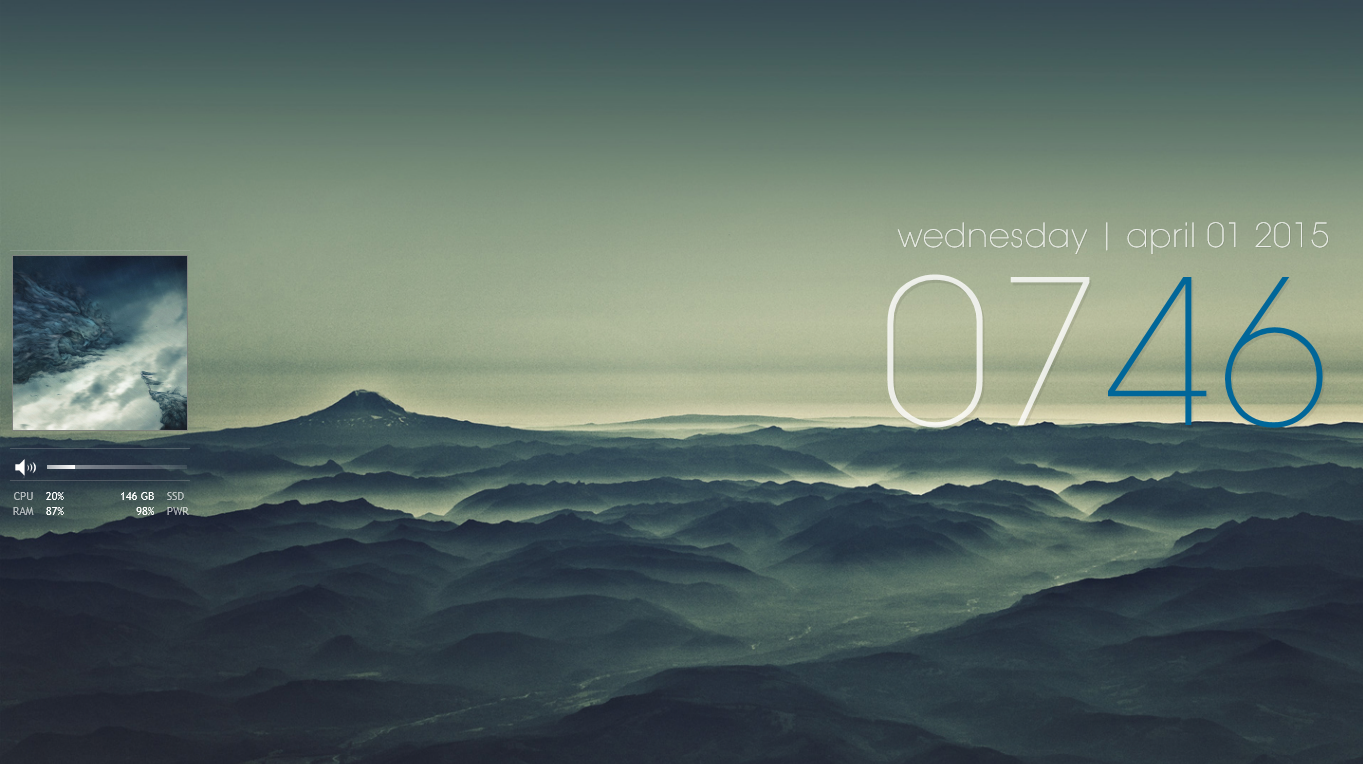
Just wanted to share a few of my favorite Rainmeter desktop designs from the past year or so! I've made quite a few different ones -- usually whenever I find a really great wallpaper -- but I keep coming back to this layout. It's very calming, and I love how the clock is just perched on the horizon. A bonus is that it also matches the album art of the Angels EP by Crywolf, which I often have playing in the background :)


Skins used:

- ELEGANCE 2: The clock and date. One of the available clock color presents was a pretty close fit to the colors of my wallpaper, so I just selected that one. You can also manually enter a hex code of your choice. The possibilities are endless!
- THE ENIGMA SUITE: The album art display, volume control, and system specs. One thing I appreciate about this volume control skin is the ability to adjust volume by simply clicking on the bar.
- COUNTDOWN IN LUA BY 66VI: It's not shown here, but on my second monitor I have a tiny countdown clock that is set to the next time I see Lucas... #longdistancelife. There were various countdowns available, but I liked the minimal look of this one the best. The image, font, and size are all customizable.


Here are a few honorable mentions over the year!


This wallpaper reminded me of one of my favorite music videos, as well as a beautiful trip on 17 Mile Drive near Monterey!

Other skins used:

THE GENTLE AFTERNOON SUITE: Date and time, which is all in one skin! I liked how the date faded into the sky. I usually know what day it is, so I sacrifice date legibility for aesthetic :P


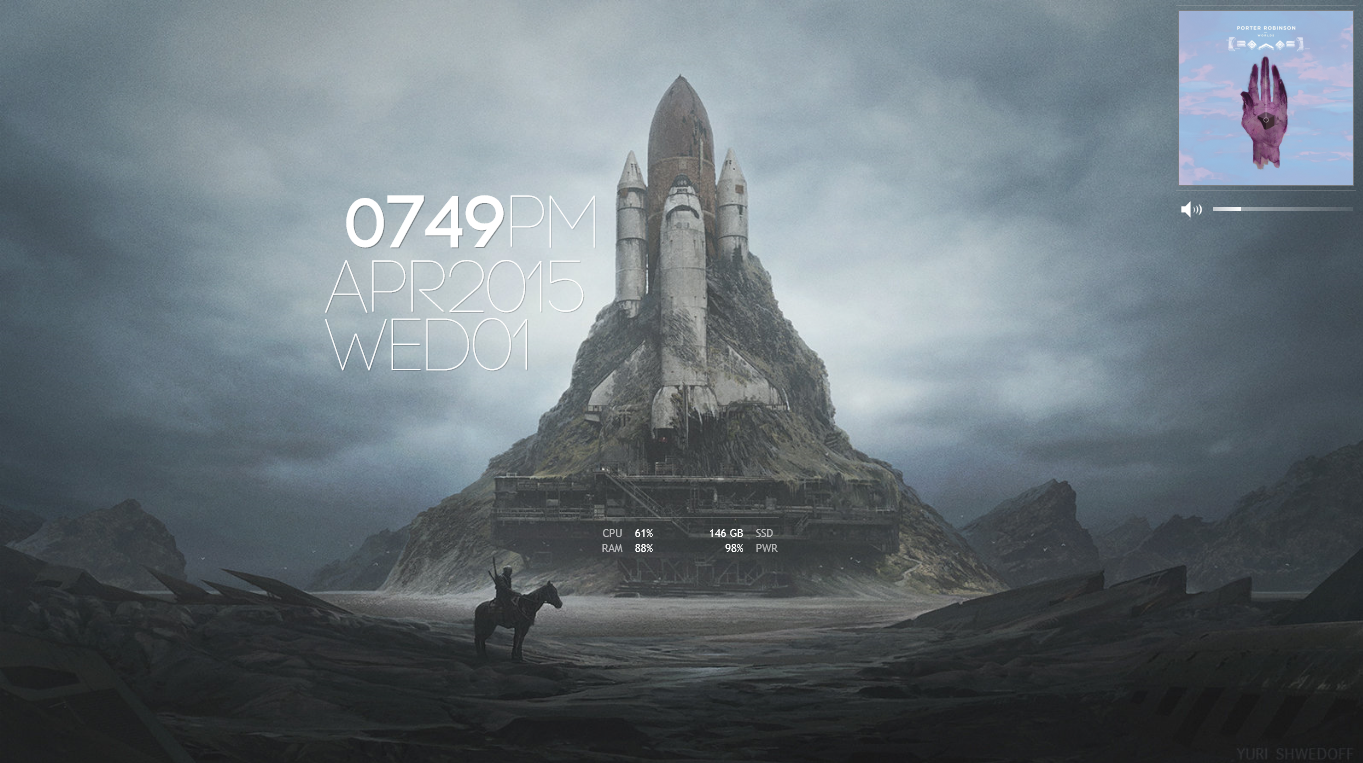
I came across this really awesome concept art by Yuri Shwedoff, and knew it needed to be my next wallpaper. The original post, found here, came with an enticing story prompt as well:

"The stories told of ancient beings so powerful that they could fling themselves into space and explore the points of light in the heavens."

Other skins used:

- ENCODED: The date and time.


Seven Lions, my favorite artist of all time, released a new EP called "The Throes of Winter". Hi-res wallpapers were released alongside the EP, so of course, I had to take advantage of that!

Anyone interested in Rainmeter can start here! I also like to peruse the Rainmeter subreddit for inspiration :D

Thursday, September 4, 2014

Summer Project: DIY Speakers!


For my birthday, Lucas bought me a DIY Speaker kit! This gentleman really knows how to choose good gifts... I was thrilled. 

If this interests you, the kit can be found on Parts Express here, it's called the "Overnight Sensations" (we agree that it's is a silly, borderline dirty name) Speaker Pair. 

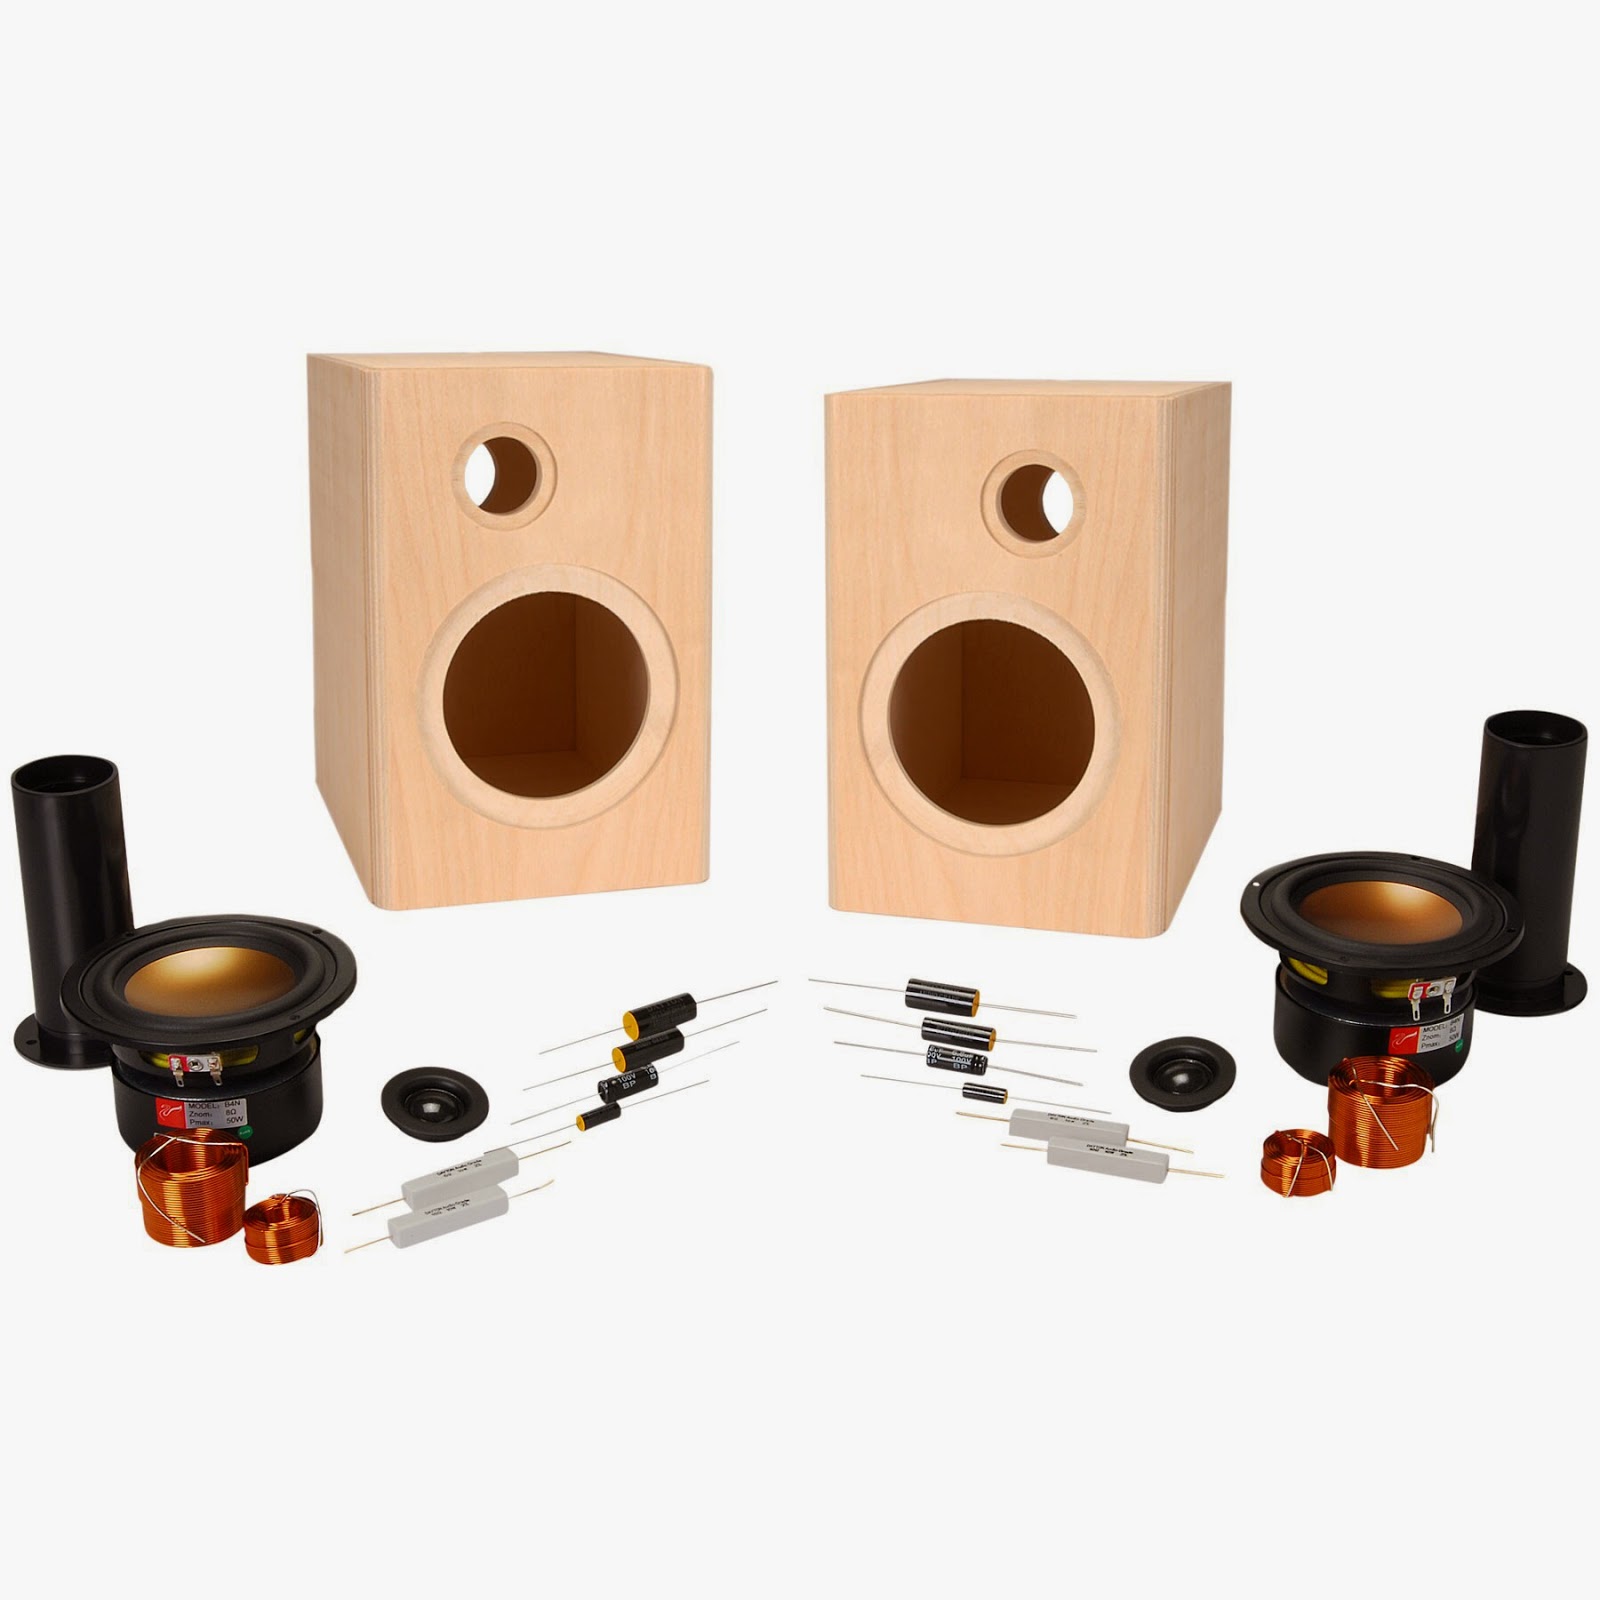
The kit comes with the following materials (this list is taken directly from the product details page.) 
  • Dayton Audio ND20FA-6 3/4" Neodymium Dome Tweeter
  • 2 x Dayton Audio DNR-6.0 6 Ohm 10W Precision Audio Grade Resistor
  • 2 x Mills 10 Ohm 12W Non-Inductive Resistor
  • 2 x Dayton Audio DMPC-0.22 0.22uF 250V Polypropylene Capacitor
  • 2 x Dayton Audio DMPC-1.5 1.5uF 250V Polypropylene Capacitor
  • 2 x Dayton Audio DMPC-2.2 2.2uF 250V Polypropylene Capacitor
  • 2 x Speaker Cabinet Port Tube 1-3/8" ID Adjustable
  • 2 x Jantzen 0.35mH 20 AWG Air Core Inductor Crossover Coil
  • 2 x Jantzen 1.1mH 18 AWG Air Core Inductor Crossover Coil
  • 2 x HiVi B4N 4" Aluminum Midbass Round Frame
  • 2 x Dayton Audio PMPC-6.8 6.8uF 250V Precision Audio Capacitor
  • 1 x Precut Birch Wood Cabinet Pair 
Kit materials. Photo taken from Parts Express.
 In addition to the pre-assembled kit supplies, we also needed and acquired the following items: 
  • Soldering Kit
  • Speaker Wire
  • Binding Posts
  • Piece of Wood Board (on which to assemble your crossover)
  • Wood Glue
  • Wood Conditioner
  • Wood Stain
  • Wood Poly Finish
  • Sandpaper (I used 220 Extra Fine) 
  • Drill and various size drill bits
  • Small Screws 
  • Screwdriver
  • Needle-nose Pliers
  • Super Glue and Glue Gun
  • Zip Ties
  • Acoustic Stuffing (unfortunately, pillow stuffing is not a suitable substitute) 
  • An Amp
  • Adult Supervision -- oh wait, we are adults now. Hah!
Upon opening the kit, I will admit that it's pretty intimidating. Please note that I have zero understanding of EE... my dad is an audiophile who has, over the years, accumulated mind-boggling amounts of audio equipment and could probably Macguyver a radio out of anything. For me, on the other hand, this was out of my element.

So, I decided to start with the cabinet, since that's easier and more similar to the crafts I'm used to. 


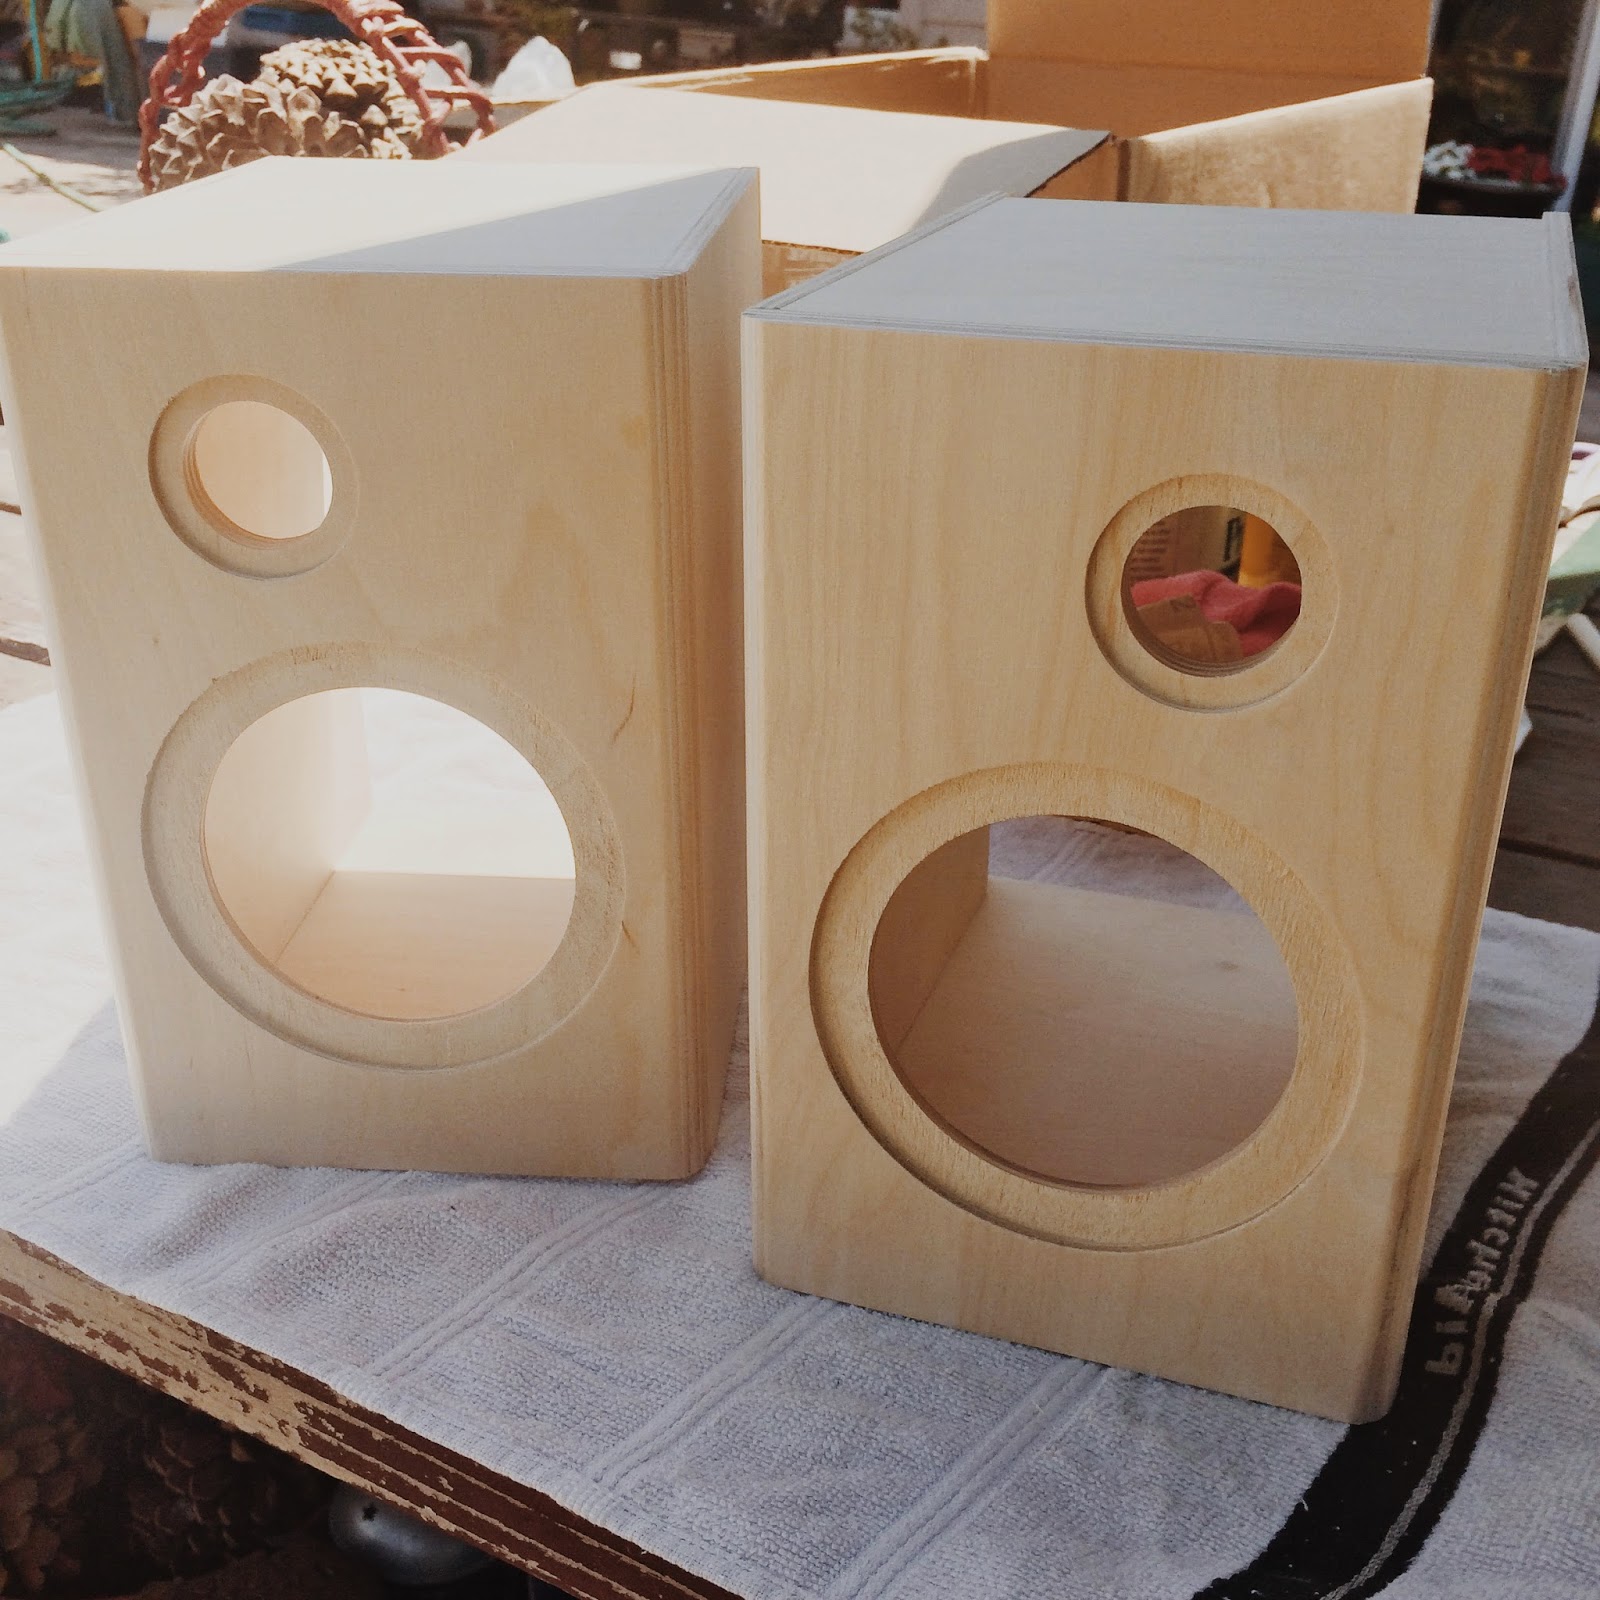
The cabinet pieces look like this -- unfinished birch. Pretty! Each piece has been cut so that they fit together like a jigsaw puzzle. The surface isn't super smooth, so I wanted to sand it down a bit. 

Girl are you 220 grit because you are EXTRA FINE ;)
I used 220 grit sandpaper for this task. Ideally, you'd affix this to a sanding block and rub that on the surface. I don't have a sanding block, so I made a makeshift one out of a square bottle of leather conditioner (see DIY Belt post) and a hand towel. 


Assembling our cabinets! This isn't necessarily a two person job, but it is a LOT easier if one person assembles the pieces, another person applies the glue, and the assembler holds the pieces in place while the glue dries. 


All done! Now that the cabinets were assembled, it was time to paint them. I also know nothing about staining wood, other than the fact that my dad had stained our dining room table a while ago. So, I went scouting in the garage and found a can of Minwax wood conditioner and Minwax wood stain. 


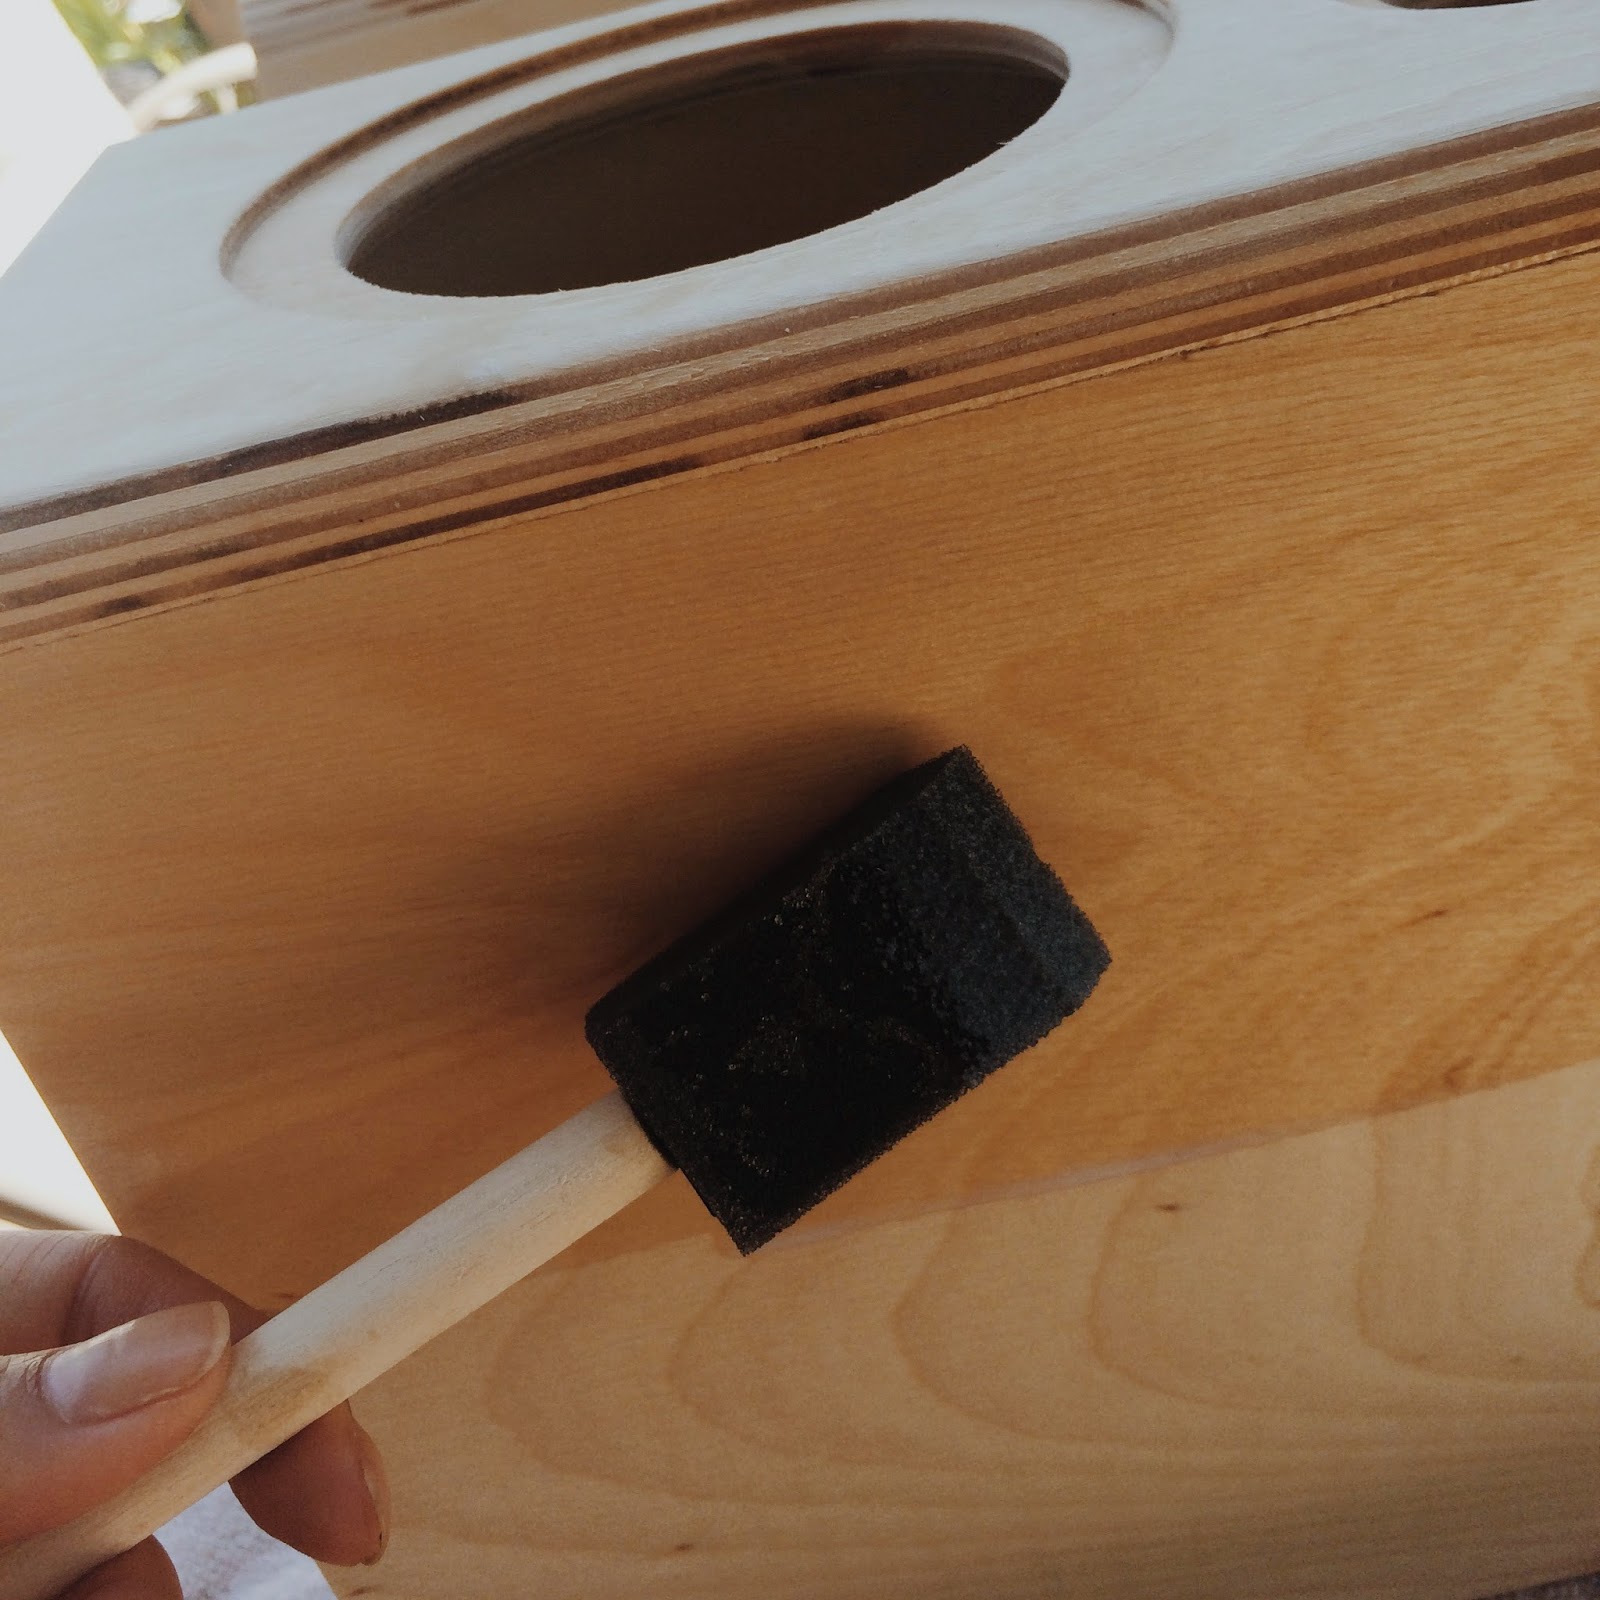
First, the wood conditioner! It's a milky-looking liquid that darkens the wood slightly. What it is actually doing is filling in the tiny gaps between the wood grains, so that the stain will apply evenly. 


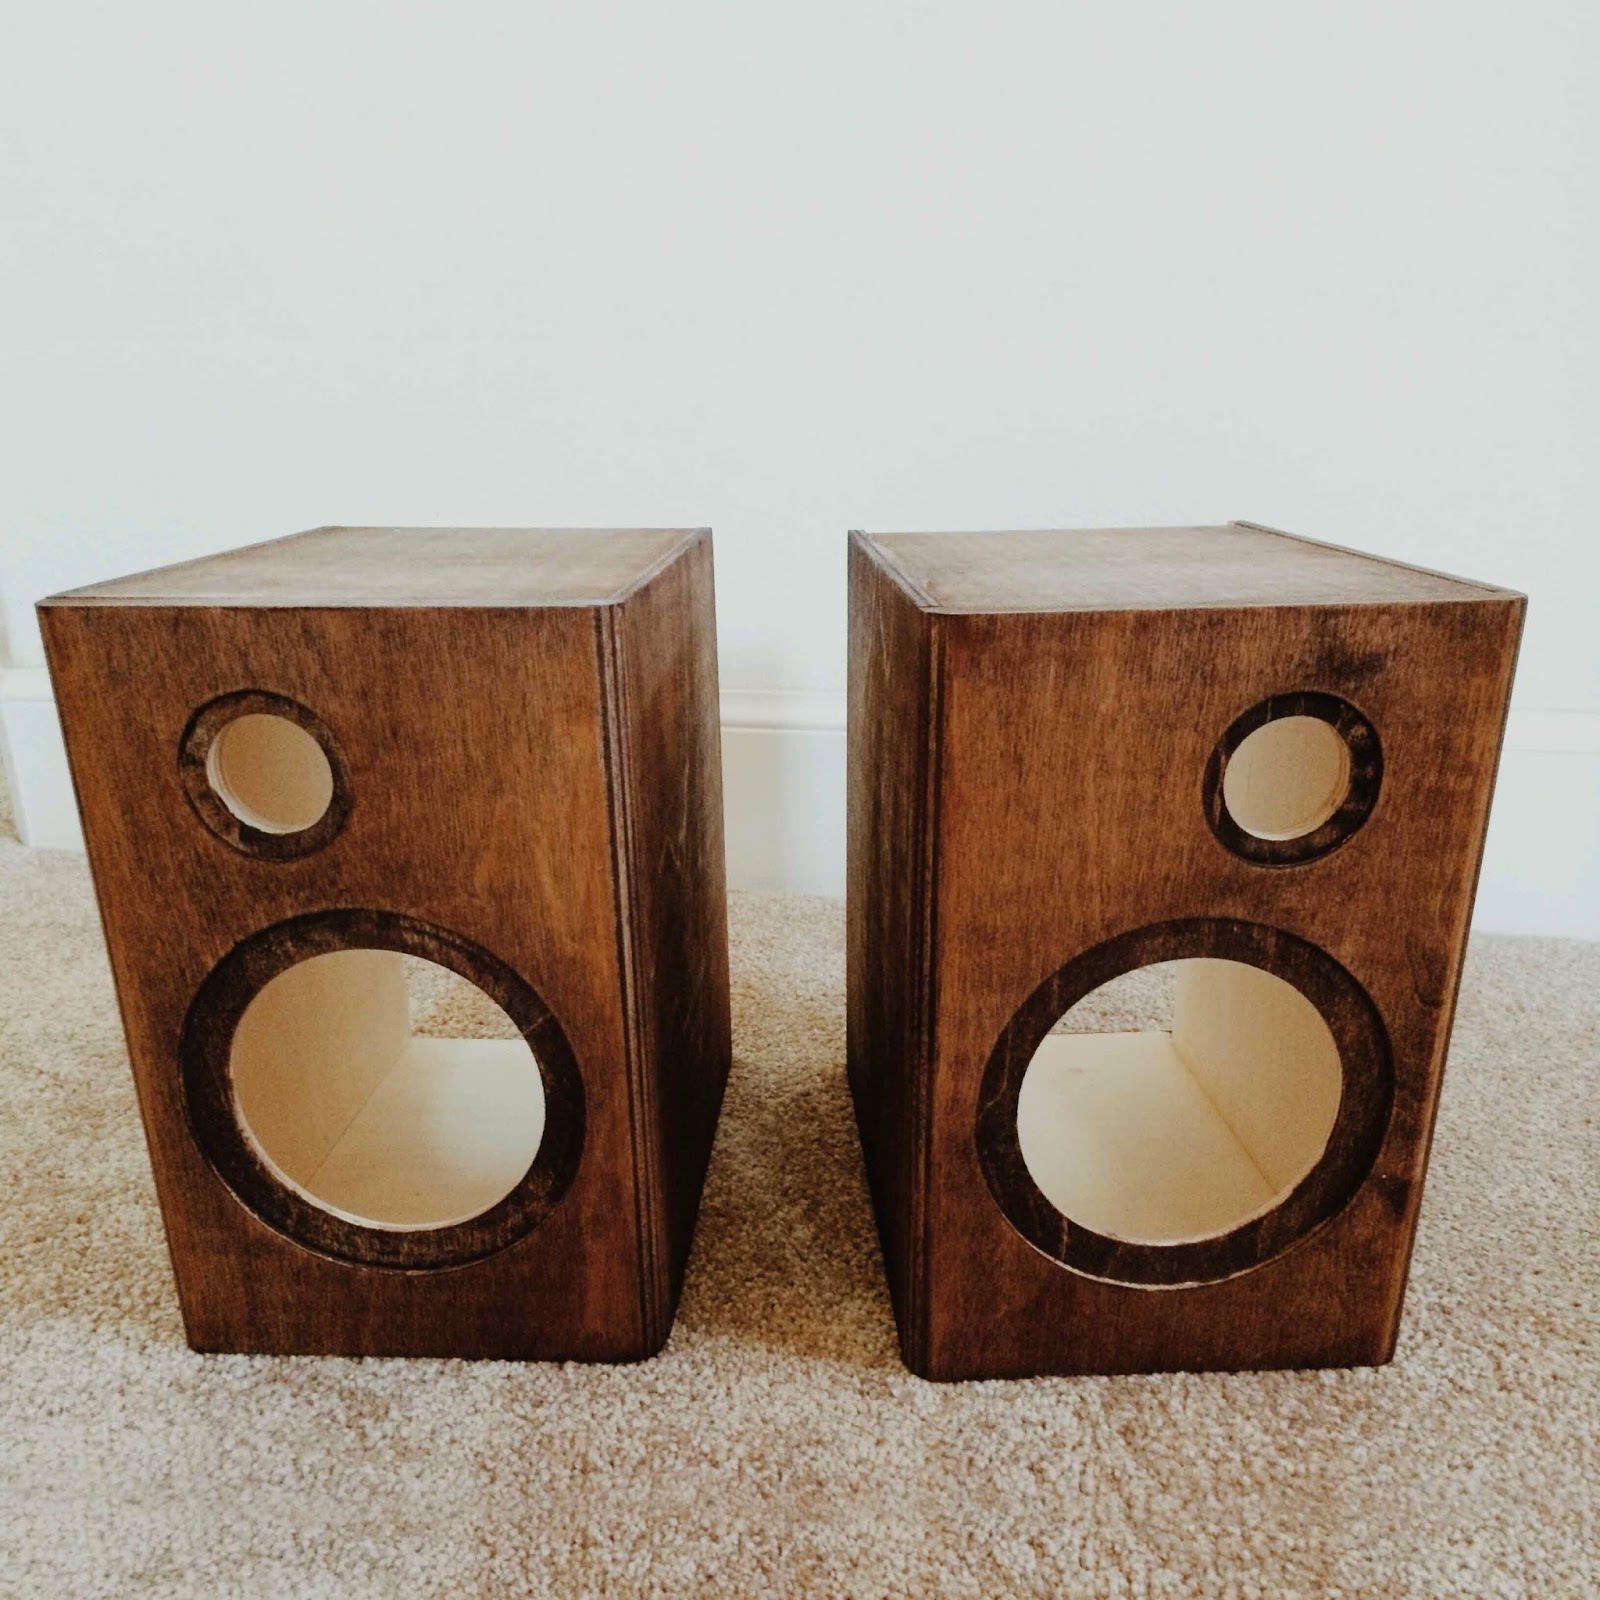
I didn't have any photos of the actual painting process because I got stain all over my hands... so here's the finished result! I used a mahogany color, just because it's what we had in the garage. This is about 2 coats of mahogany, so it looks more like walnut. If I wanted that real dark, bordeaux mahogany look, I'd have to apply about 4 or 5 coats. 

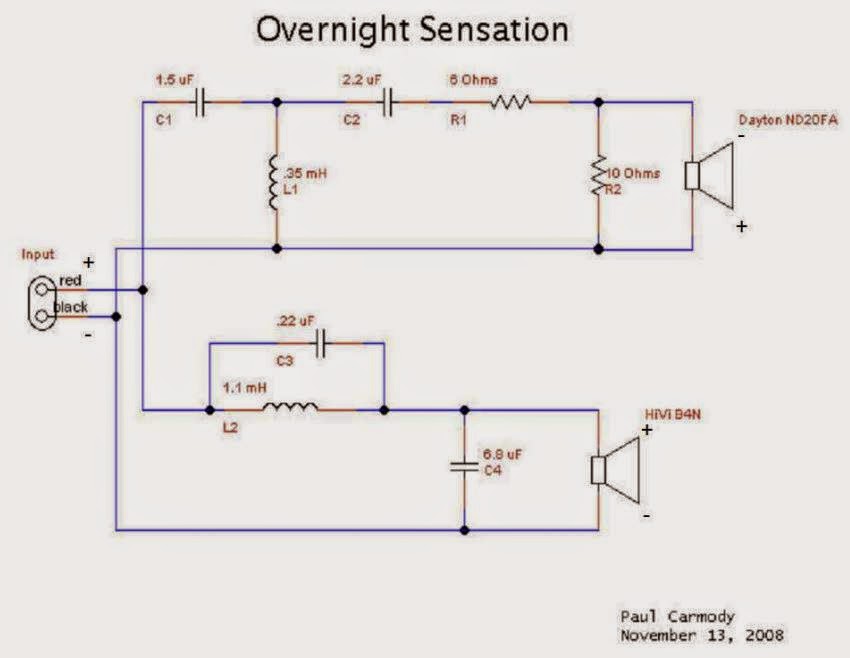
The next part was building the interior. Again, let me remind you that I have no audio/electrical engineering experience, so when I opened up the crossover document and saw this, mild panicking ensued. 

...What?
Now I understand that for those of you with EE backgrounds, this is child's play, so bear with me here. I found another illustrated visual version uploaded by a nice gentleman on YouTube who was working on the same project. From this, we drew our own color-coded version, and got to work. Every few minutes, I would remind myself that Resistors = Rectangles and Capacitors = Cylinders. 

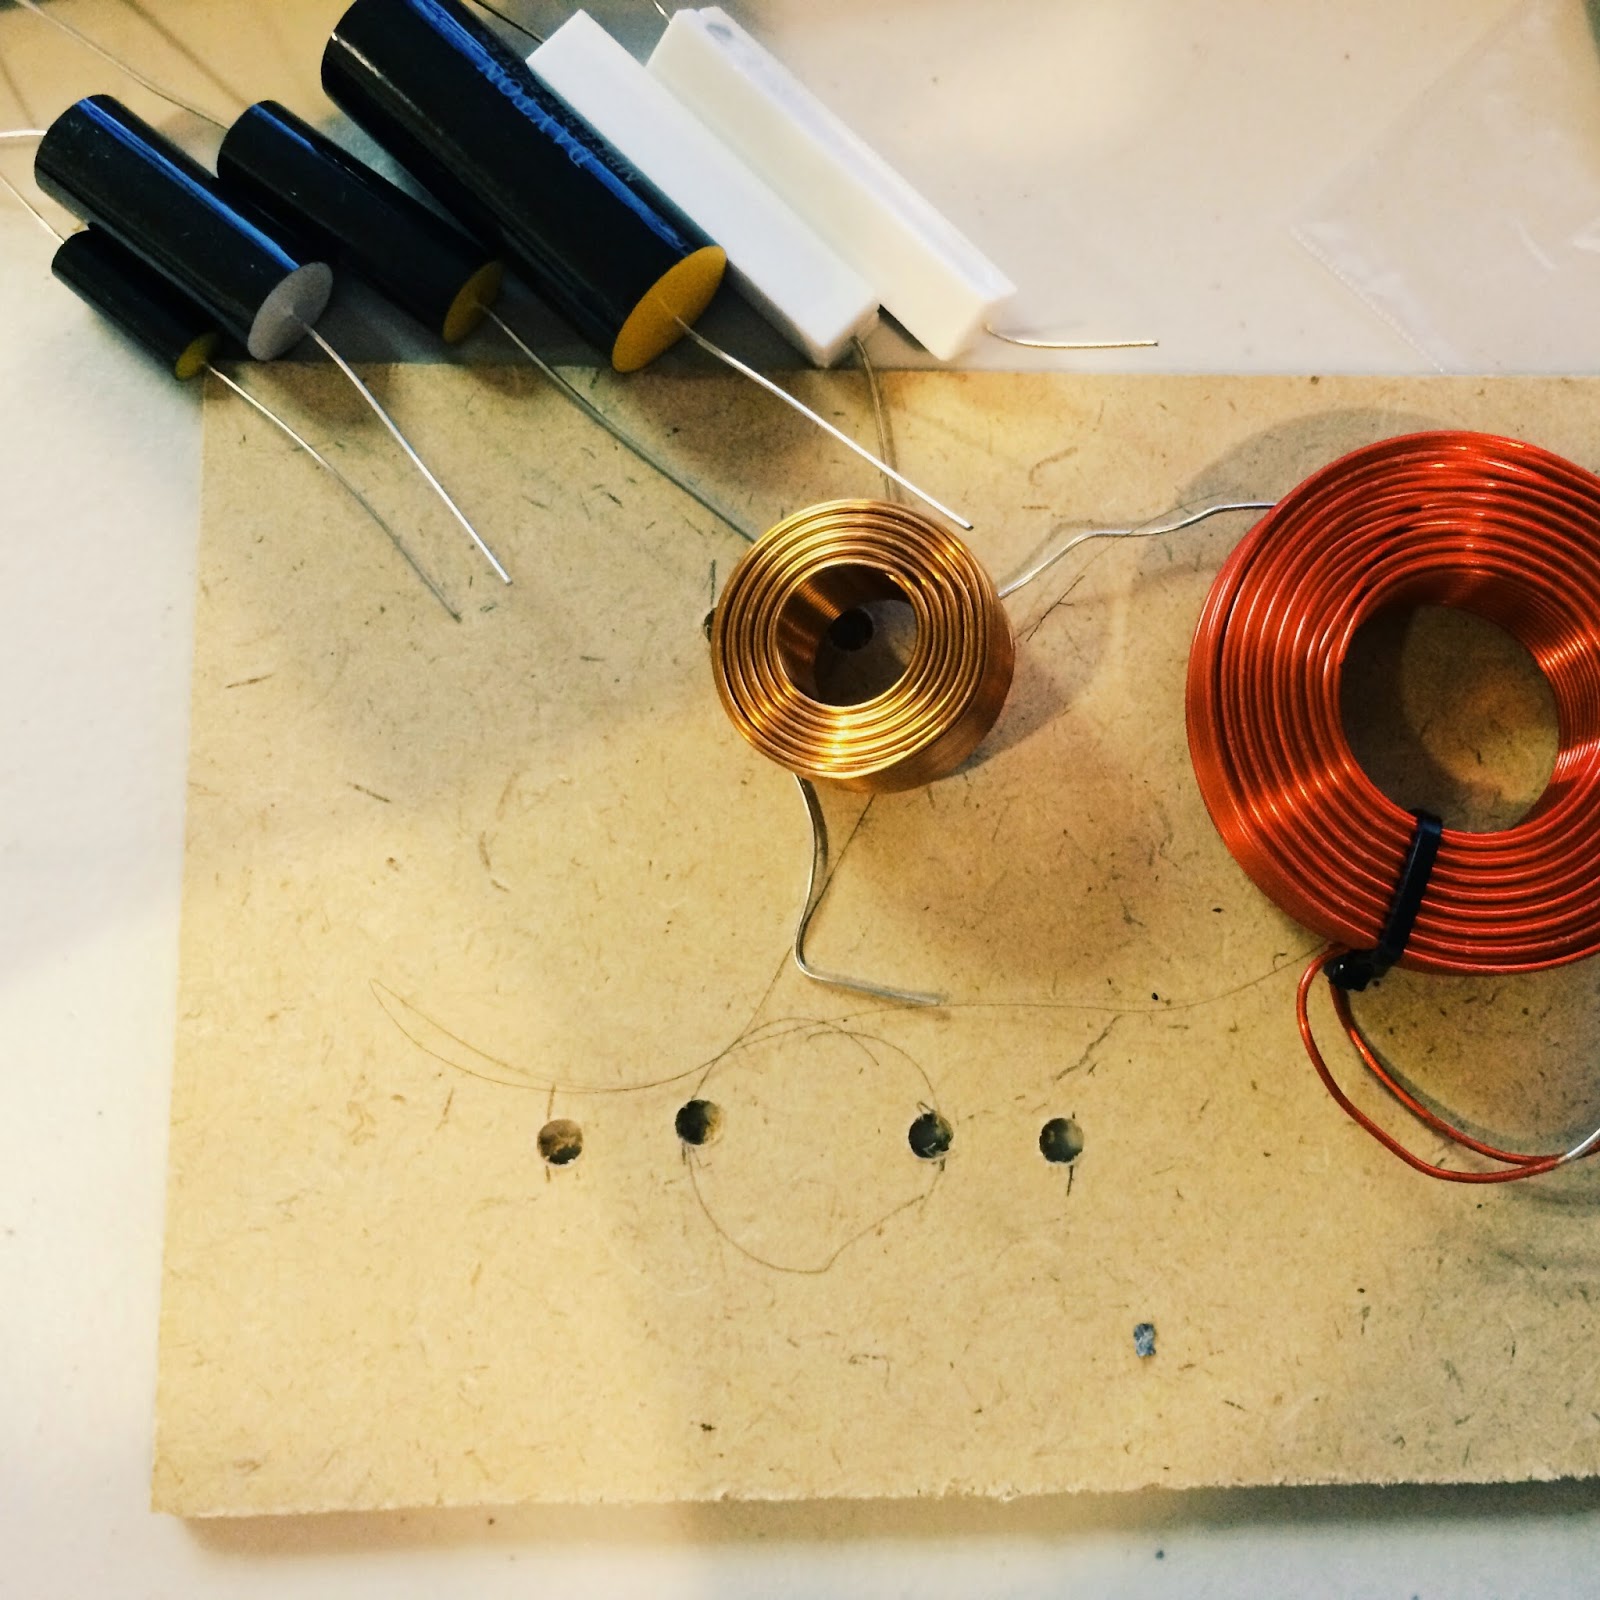
Putting our inductors in first! 
We sawed an spare piece of wood board (taken from the back of an old picture frame) into a 5x7 rectangle, and then drilled holes to zip tie the inductors firmly to the board. After laying everything out and triple-checking that everything was in the right place, the soldering began!


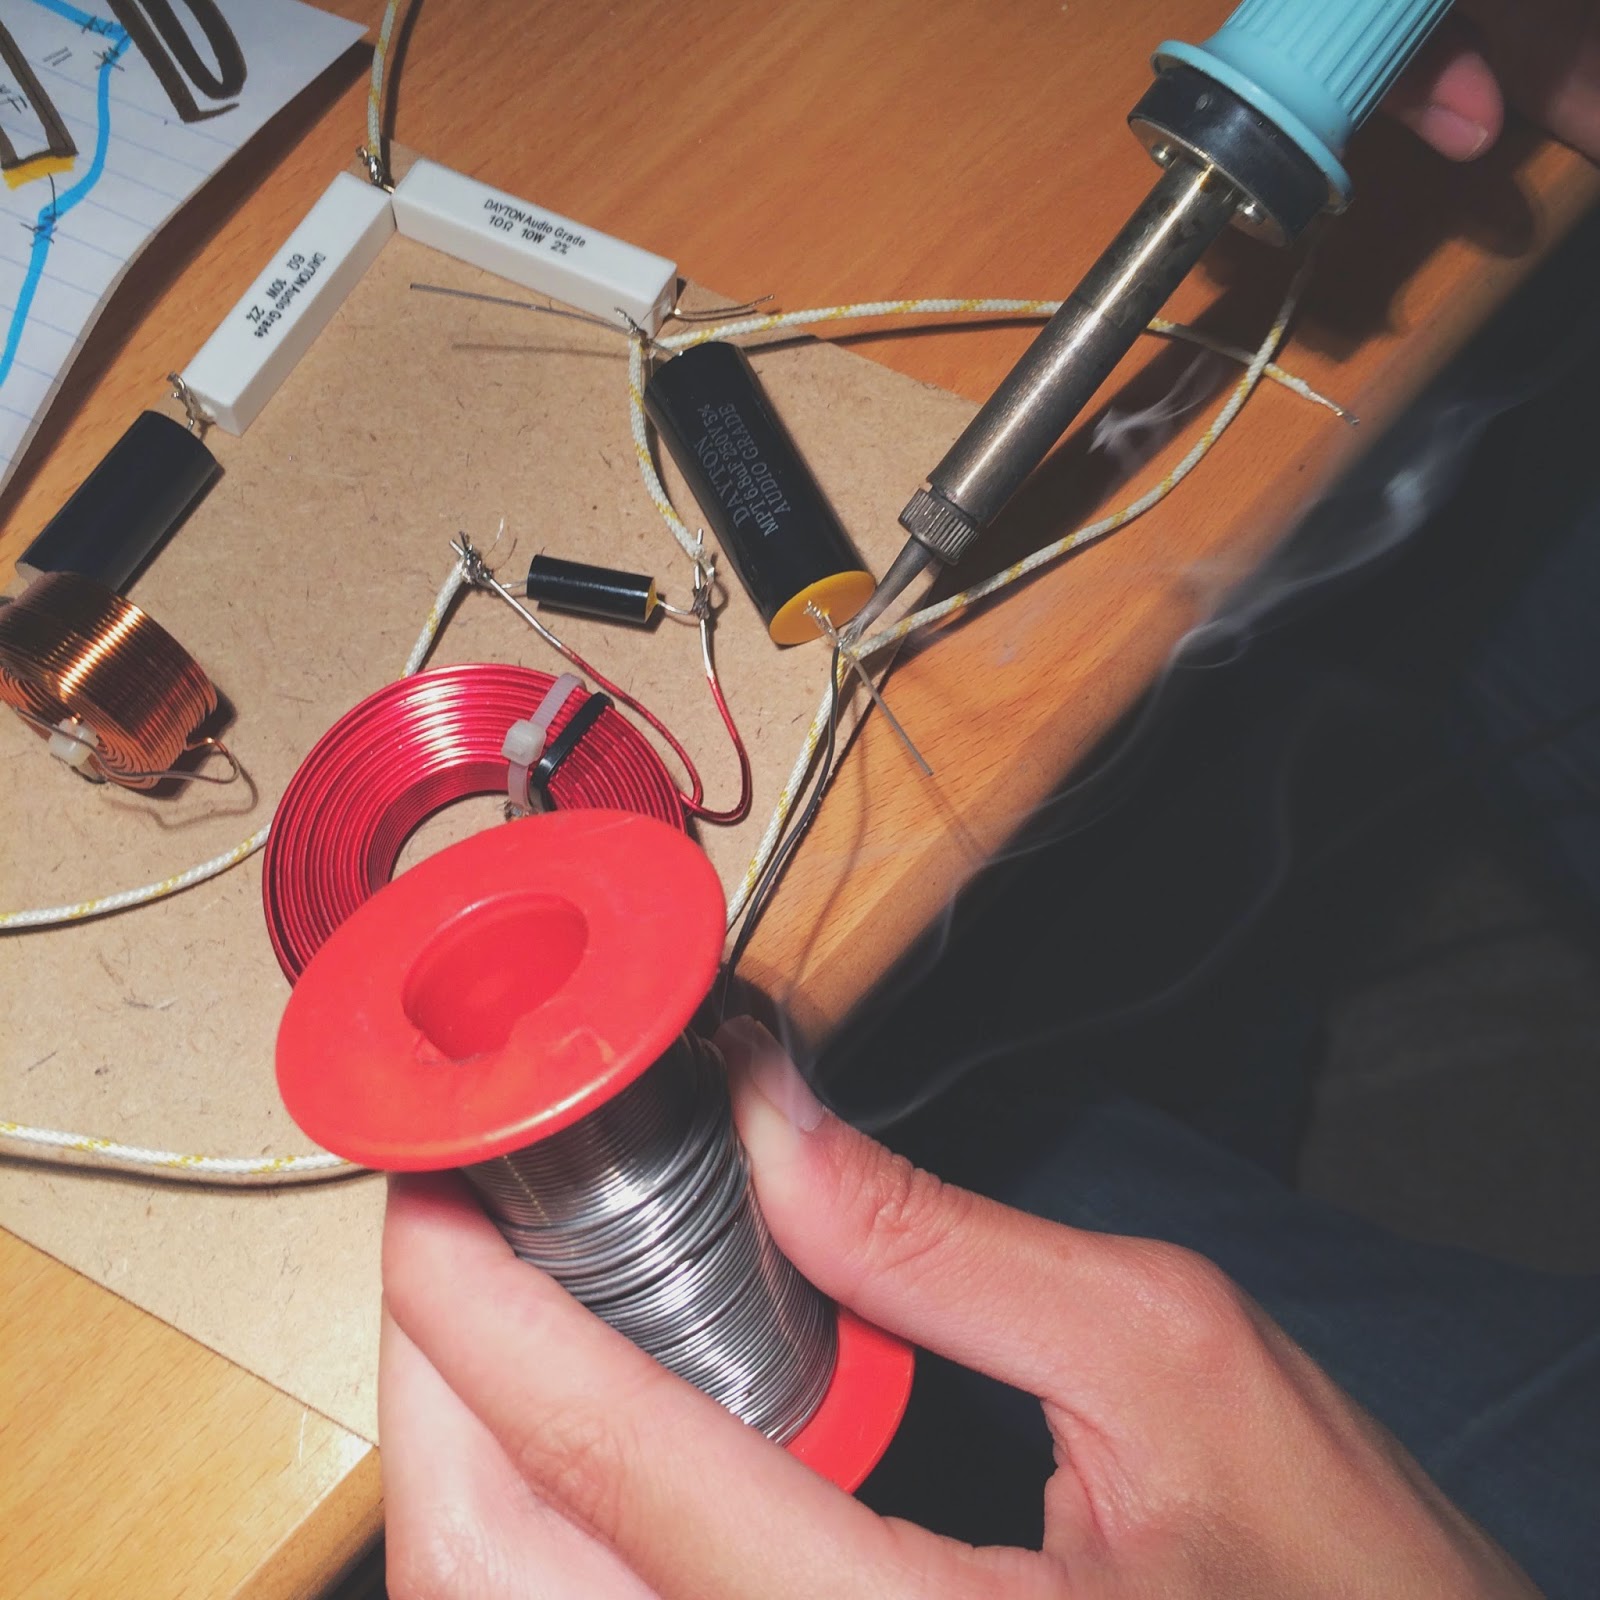
Lucas actually taught me how to solder about two or three years ago. (We had yanked all the keys out of his mechanical keyboard, attached new switches to them, and soldered everything back together.) I'm decent at soldering, but pretty terrible at un-soldering... luckily for me, this mainly just involved soldering parts together. 


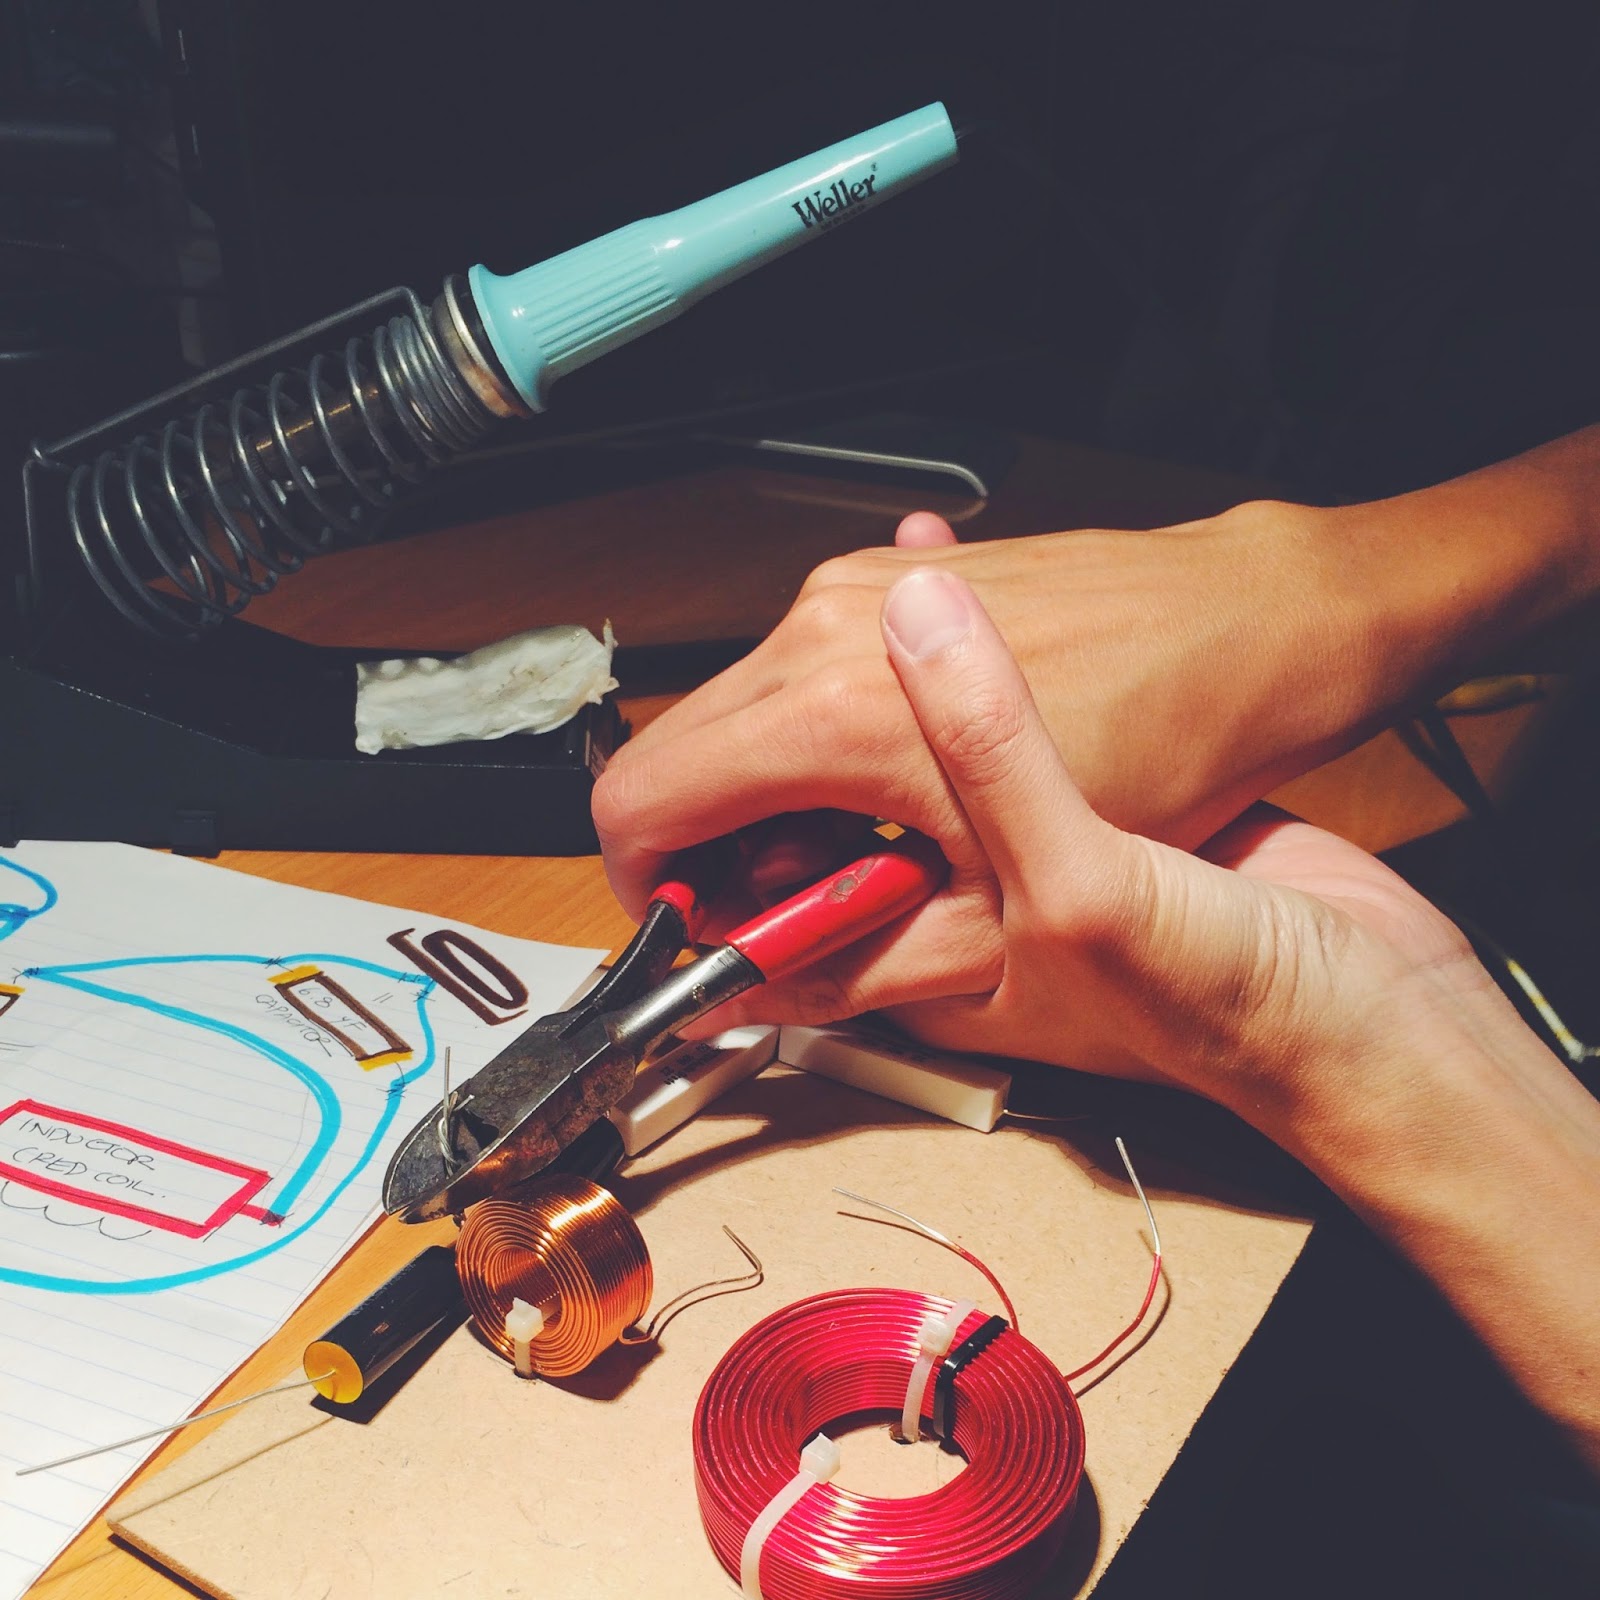
Clipping loose ends! You can see our childishly drawn, color coded crossover in the background of this photo.

After assembling the crossover, we wanted to be 100% sure we had done it right. By connecting the speaker wires to an old battery, and the other ends to the bass, we found that tapping the wires to the battery would create a static sound. I have literally never been so thrilled to hear static in my life. Yes, you could even say I was ecSTATIC about it ;D


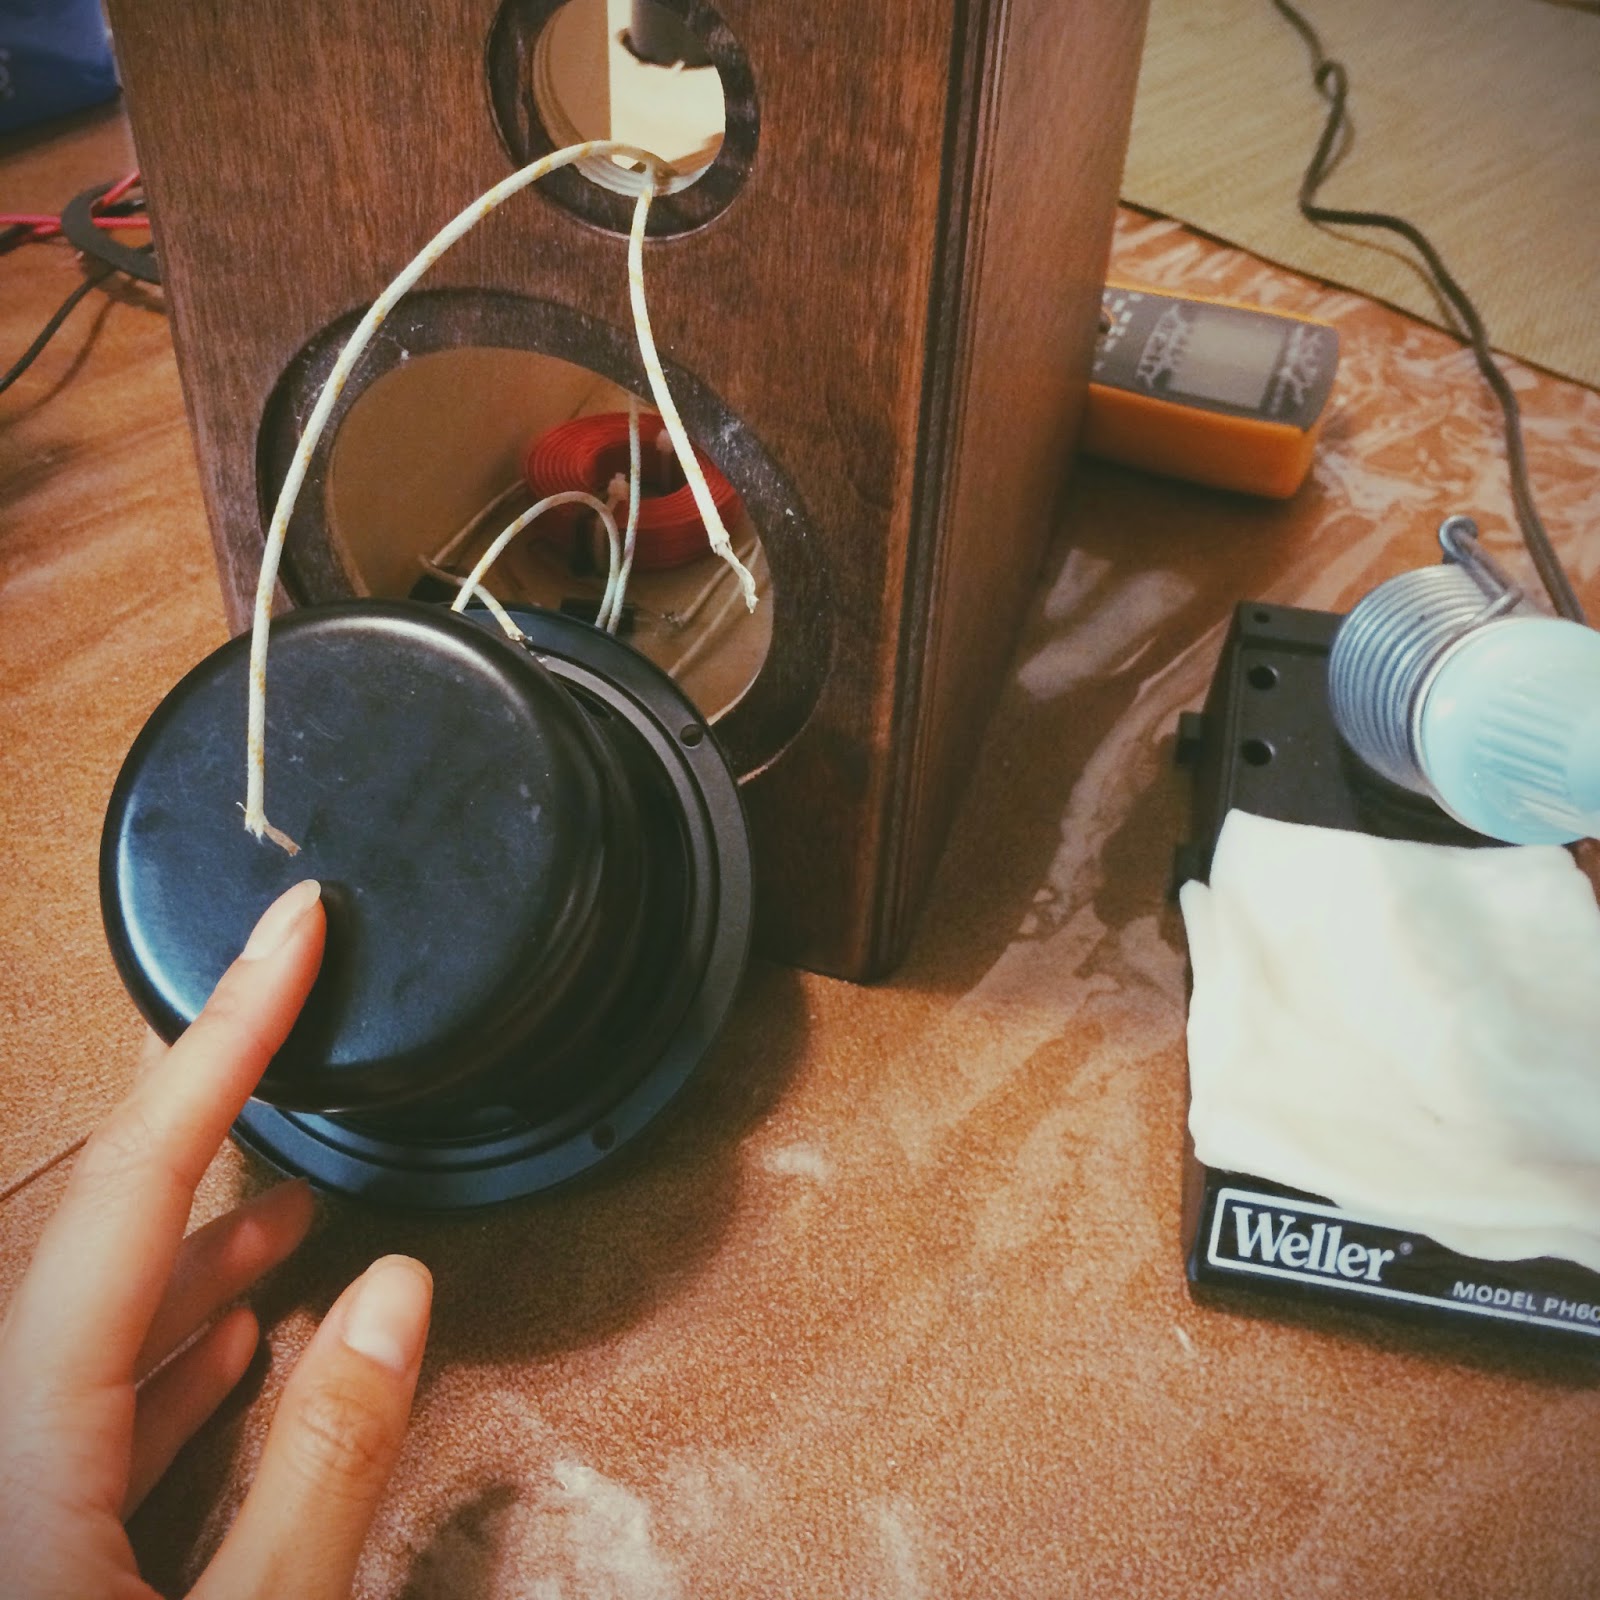
Now that we had the cabinets and the crossover assembled, it was time to put the entire thing together! Using hot glue, we glued the crossover to the bottom, making sure that the speaker wires were pointing the correct ways. The wire attaches to these teeny tiny forks coming from the bass and the tweeter, and getting it connected is kind of like threading a needle. Having needle-nose pliers at this step really helps.

Threading the speaker wire to the tweeter
We got some help from Lucas' dad at this point, in drilling holes for the screws. The wood isn't the best quality, so you had to drill it very carefully or else it would split. There is also very little room for error, because the bass and tweeter sit real flush into the wood.

His dad punched some dents with an awl and then drilled very slowly using a tiny size drill bit, and we did the rest with a normal screwdriver. I originally wanted black screws, but the only screws we had on hand that were small enough were these tiny, rusted metal ones. Turns out, I actually really like the rusted screws because it matches the walnut-esque wood color, and it makes the speakers look vintage :)

We also had to drill holes for the binding posts, which twist onto the back panel and connect to another set of speaker wire ends. Unfortunately, I didn't get any photos of this part either.


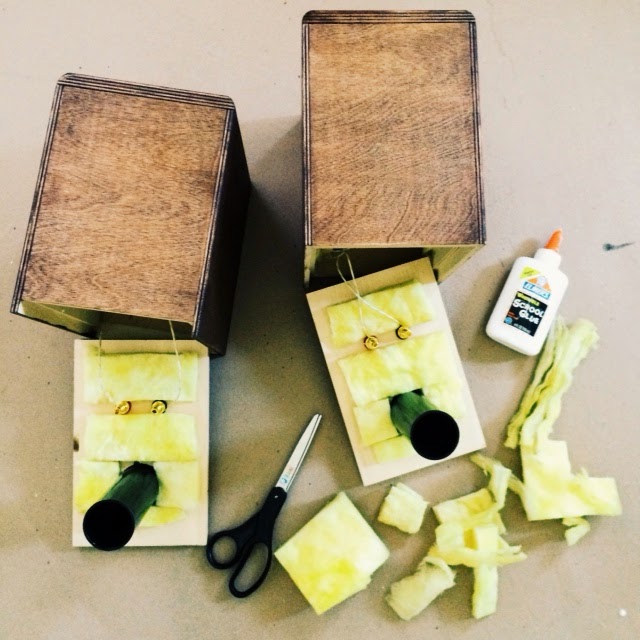
The next step was to pad the cabinet walls with acoustic stuffing! My dad conveniently had a sheet of this stuff lying around. It kind of looks like a cross between baklava and tamago sushi: bright, egg yellow, with lots of layers. I cut it up into pieces and glued them down with normal school glue, making sure to not accidentally glue any of the loose wires. 


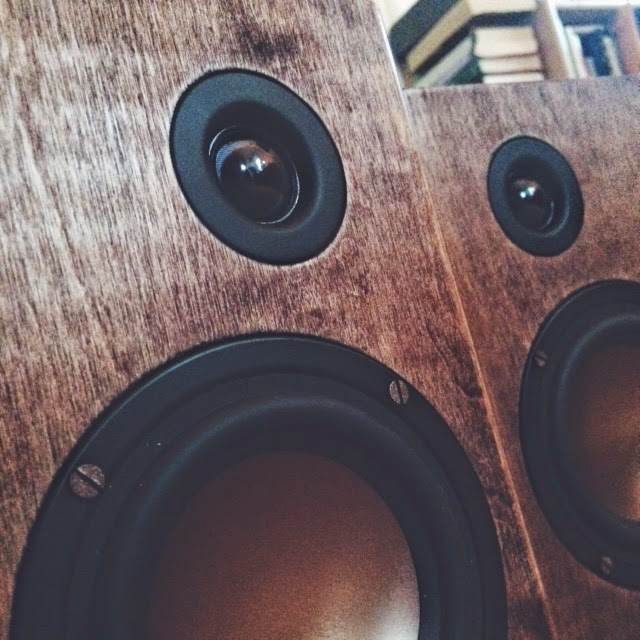
This is what my speaker pair looks like when completed! I am really happy with how they turned out :) The bronze colored basses really go with the wood color, as well as the screws.

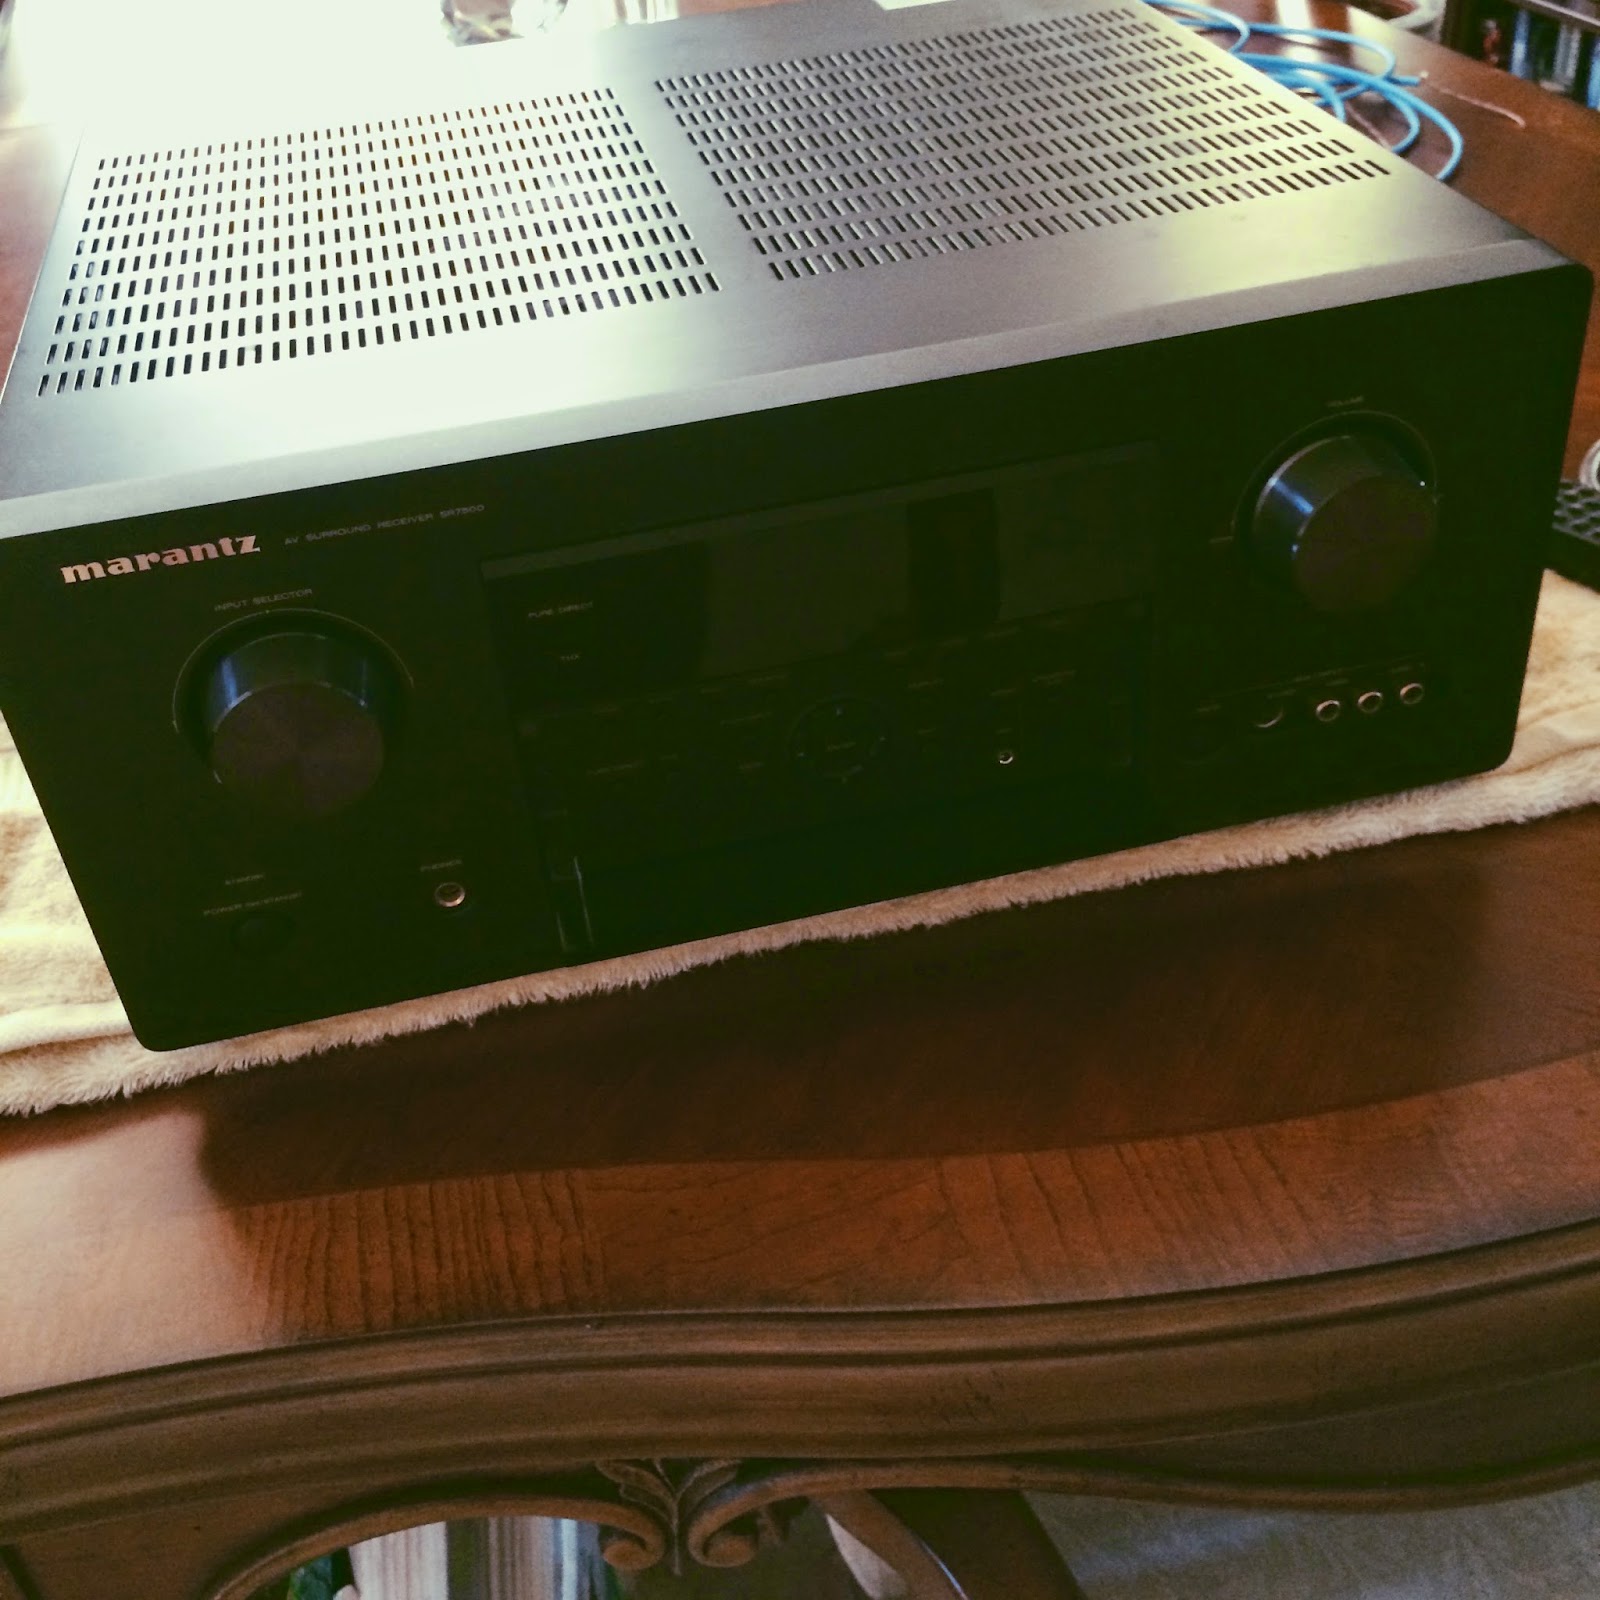
The next step was completed with the expertise of my dad, the audiophile. I could have purchased an amp from Parts Express, but at this point my dad wanted in on the fun. He occasionally goes to the flea market or swap meet to scout for electronic equipment, so he offered to look for a used one. A few weeks later, this showed up!


It's a Marantz SR7500. My homework was to read over the manual for this model, and play around! It's a pretty old amp, so it can only play CDs or radio. To connect it to my computer, I'll need a converter -- I'm currently working on that part.


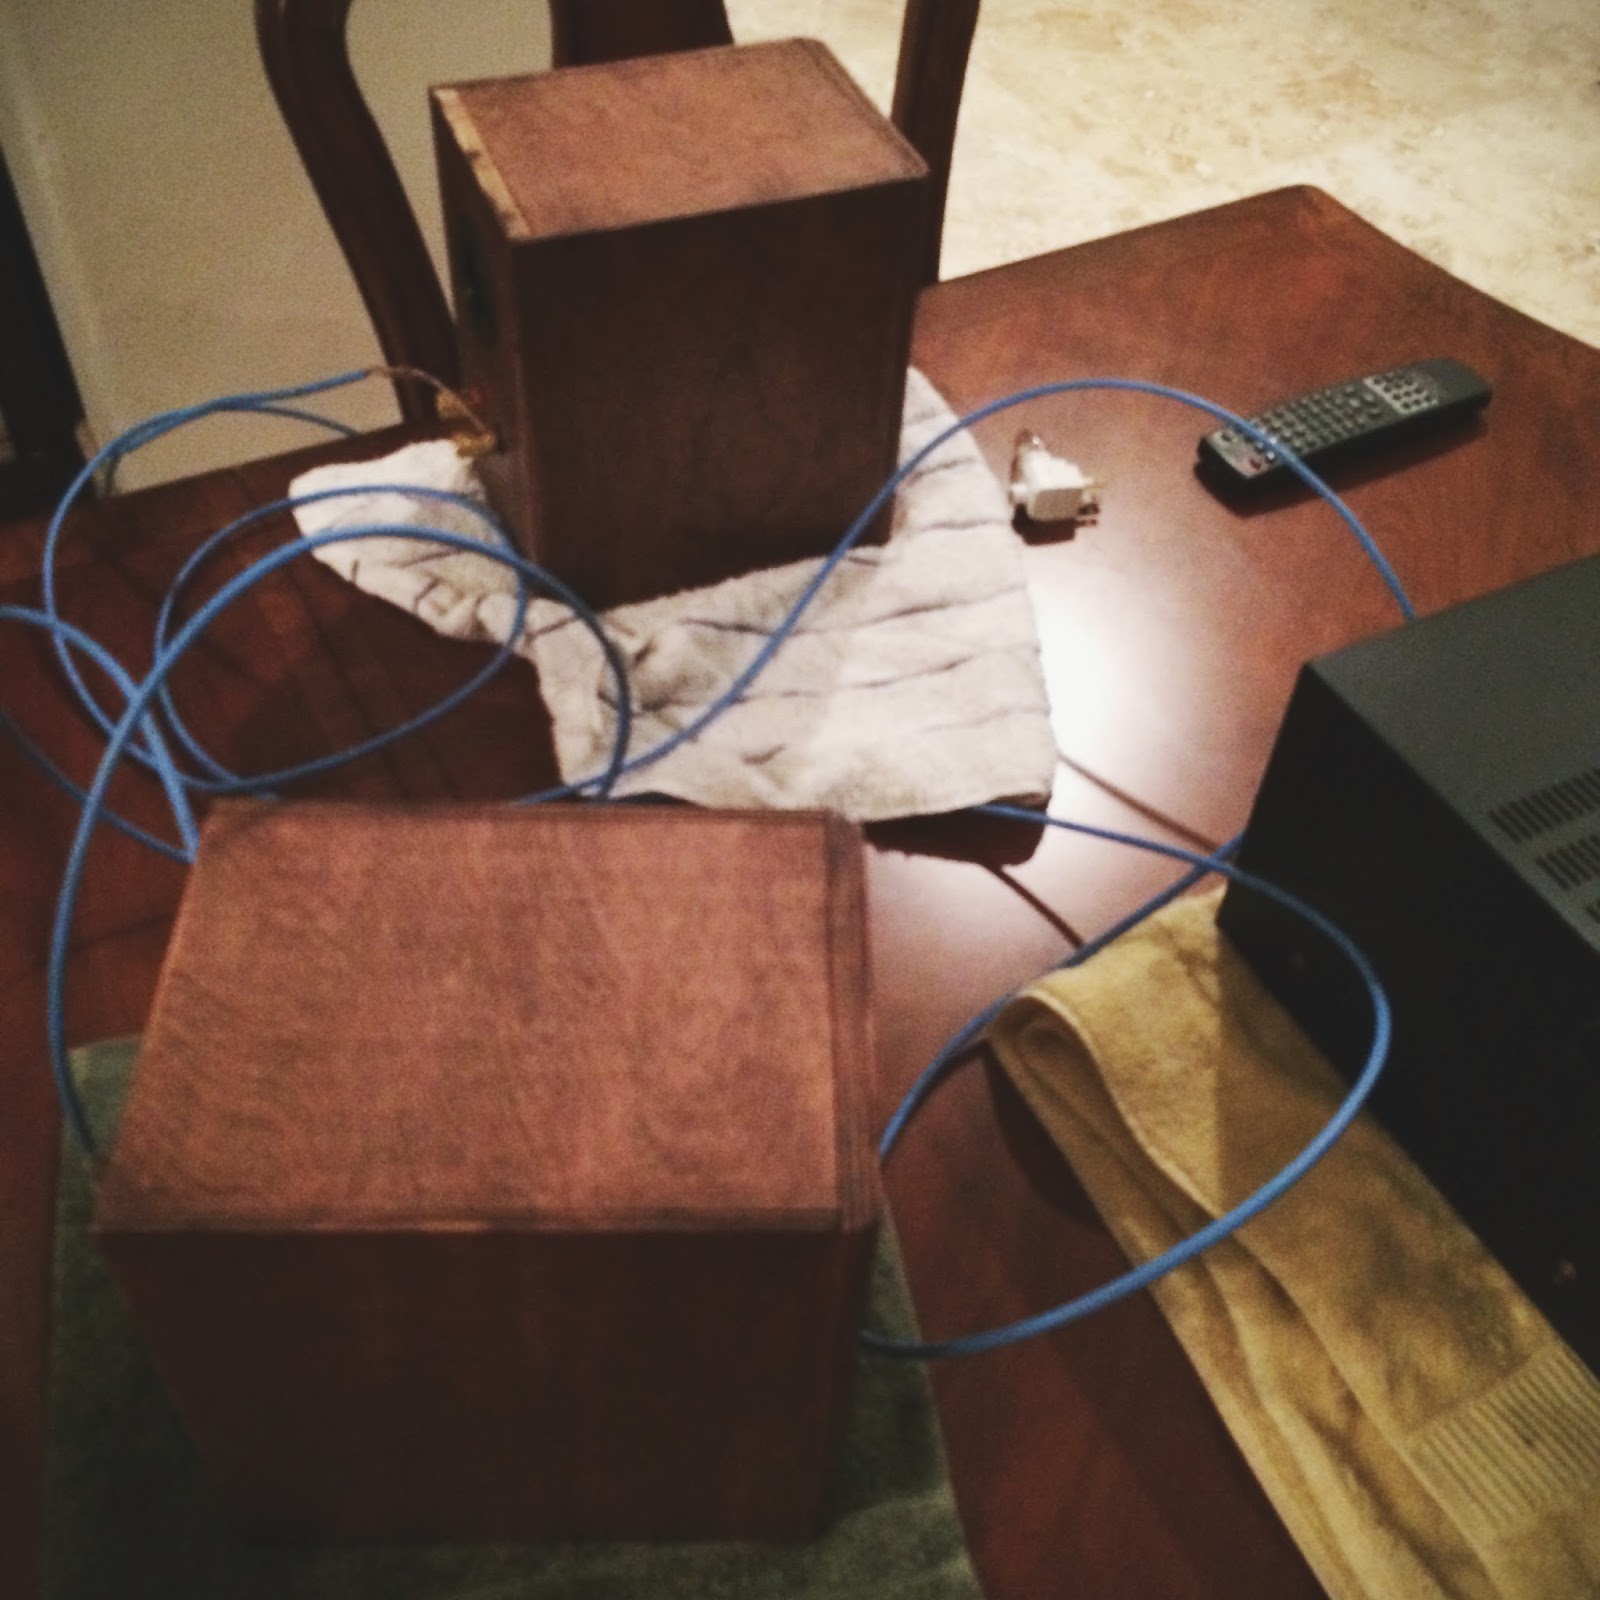
After making sure I had the red/black wires correct, we hooked the speakers up to the amp. The first song that came out was an opera piece, and I nearly cried. I mean, the opera song was beautiful, but it's just so exciting when something that you create by hand actually works!


Thus concludes my DIY Speaker project for now. Since I don't yet have the ability to connect to my computer, I've only been playing CDs. I don't own too many CDs, but all the ones I own are absolutely incredible with this new setup. My small collection includes some favorites that I scored from the KUCI album sale, Above and Beyond's acoustic album, two Sleepthief albums, and an older release by Sleeping at Last. I think I have a great reason to start collecting CDs now!

They say once you become an audiophile, you can never go back... I certainly don't have enough credibility nor experience to call myself an audiophile, but I can see why it's true. The sound is just so much larger than the tiny desk speakers I had before. If you dim the lights, it really feels like the orchestra is right beside you, and the singer is center stage just a few feet away from your seat.

I really recommend this project to anyone looking for a DIY craft with a very, very high return of enjoyment :) Even if you have no background in audio -- part of the fun is in learning something new!