I chanced upon this magic when I was browsing the internet for free tutorials on how to use Adobe Illustrator and ended up on Lifehacker. Browsing through a couple of Lifehacker pages about the Creative Suite, I came across THIS PAGE and was hooked. I read through other posts tagged "rainmeter", downloaded the program, and got to work.
After much tinkering, here is the final setup that I made !
M Y D E S K T O P B E F O R E
 |
| pretty minimal |
A N D A F T E R !
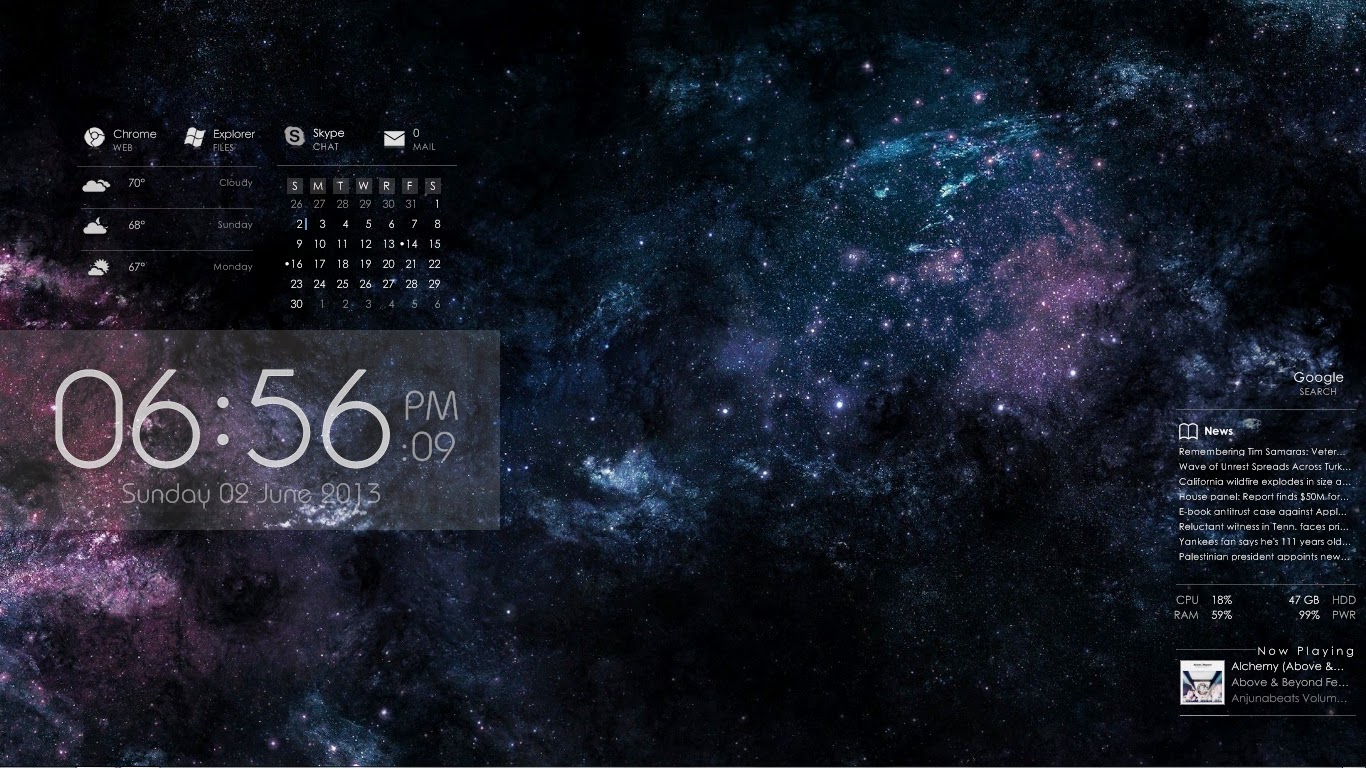 |
| widgets! |
I thought about using one of thousands of readily available pre-made themes, but after scrolling through a few I realized that there were a lot of skins that many of them had in common. I decided to go searching for the sources of these skins, and these are the ones that I ended up choosing:
- THE ENIGMA SUITE for the icons, calendar, weather, news, music, and summary widgets
- ENCODED for the transparent box
- PRAGMATIC, for the large date and time display
I downloaded Enigma Arcs, Deux, and Owlet UI as well because I thought they looked neat, but couldn't find a good place for either on my screen so I will hold on to those until I decide to change my wallpaper... I had so much fun with the design process that I can't wait to start with a new blank slate and explore more layouts.
Before this, the only customization I had done with my computer was Rocketdock, because I wanted to get all the icons off my desktop and I really liked the Mac OS tray feature.
 |
| my cute little dock, pre-Rainmeter. It's still there, just slightly more hidden now. |
As well as a Login image changer...
...which I just discovered that I can't show you because apparently one cannot take a screenshot of one's own login page... but it's basically just the same galaxy wallpaper instead of the Windows 7 default cerulean leaf image.
I already thought I was one fancypants for doing that, haha... but this program really showed me that there is so much more out there! Stay tuned for future layout updates... I consider this another of my crafty episodes... it's just crafting in a slightly different sense :)
[[currently listening: Anjunabeats Volume 10]]