

For my birthday, Lucas bought me a DIY Speaker kit! This gentleman really knows how to choose good gifts... I was thrilled.
If this interests you, the kit can be found on Parts Express here, it's called the "Overnight Sensations" (we agree that it's is a silly, borderline dirty name) Speaker Pair.
The kit comes with the following materials (this list is taken directly from the product details page.)
- Dayton Audio ND20FA-6 3/4" Neodymium Dome Tweeter
- 2 x Dayton Audio DNR-6.0 6 Ohm 10W Precision Audio Grade Resistor
- 2 x Mills 10 Ohm 12W Non-Inductive Resistor
- 2 x Dayton Audio DMPC-0.22 0.22uF 250V Polypropylene Capacitor
- 2 x Dayton Audio DMPC-1.5 1.5uF 250V Polypropylene Capacitor
- 2 x Dayton Audio DMPC-2.2 2.2uF 250V Polypropylene Capacitor
- 2 x Speaker Cabinet Port Tube 1-3/8" ID Adjustable
- 2 x Jantzen 0.35mH 20 AWG Air Core Inductor Crossover Coil
- 2 x Jantzen 1.1mH 18 AWG Air Core Inductor Crossover Coil
- 2 x HiVi B4N 4" Aluminum Midbass Round Frame
- 2 x Dayton Audio PMPC-6.8 6.8uF 250V Precision Audio Capacitor
- 1 x Precut Birch Wood Cabinet Pair
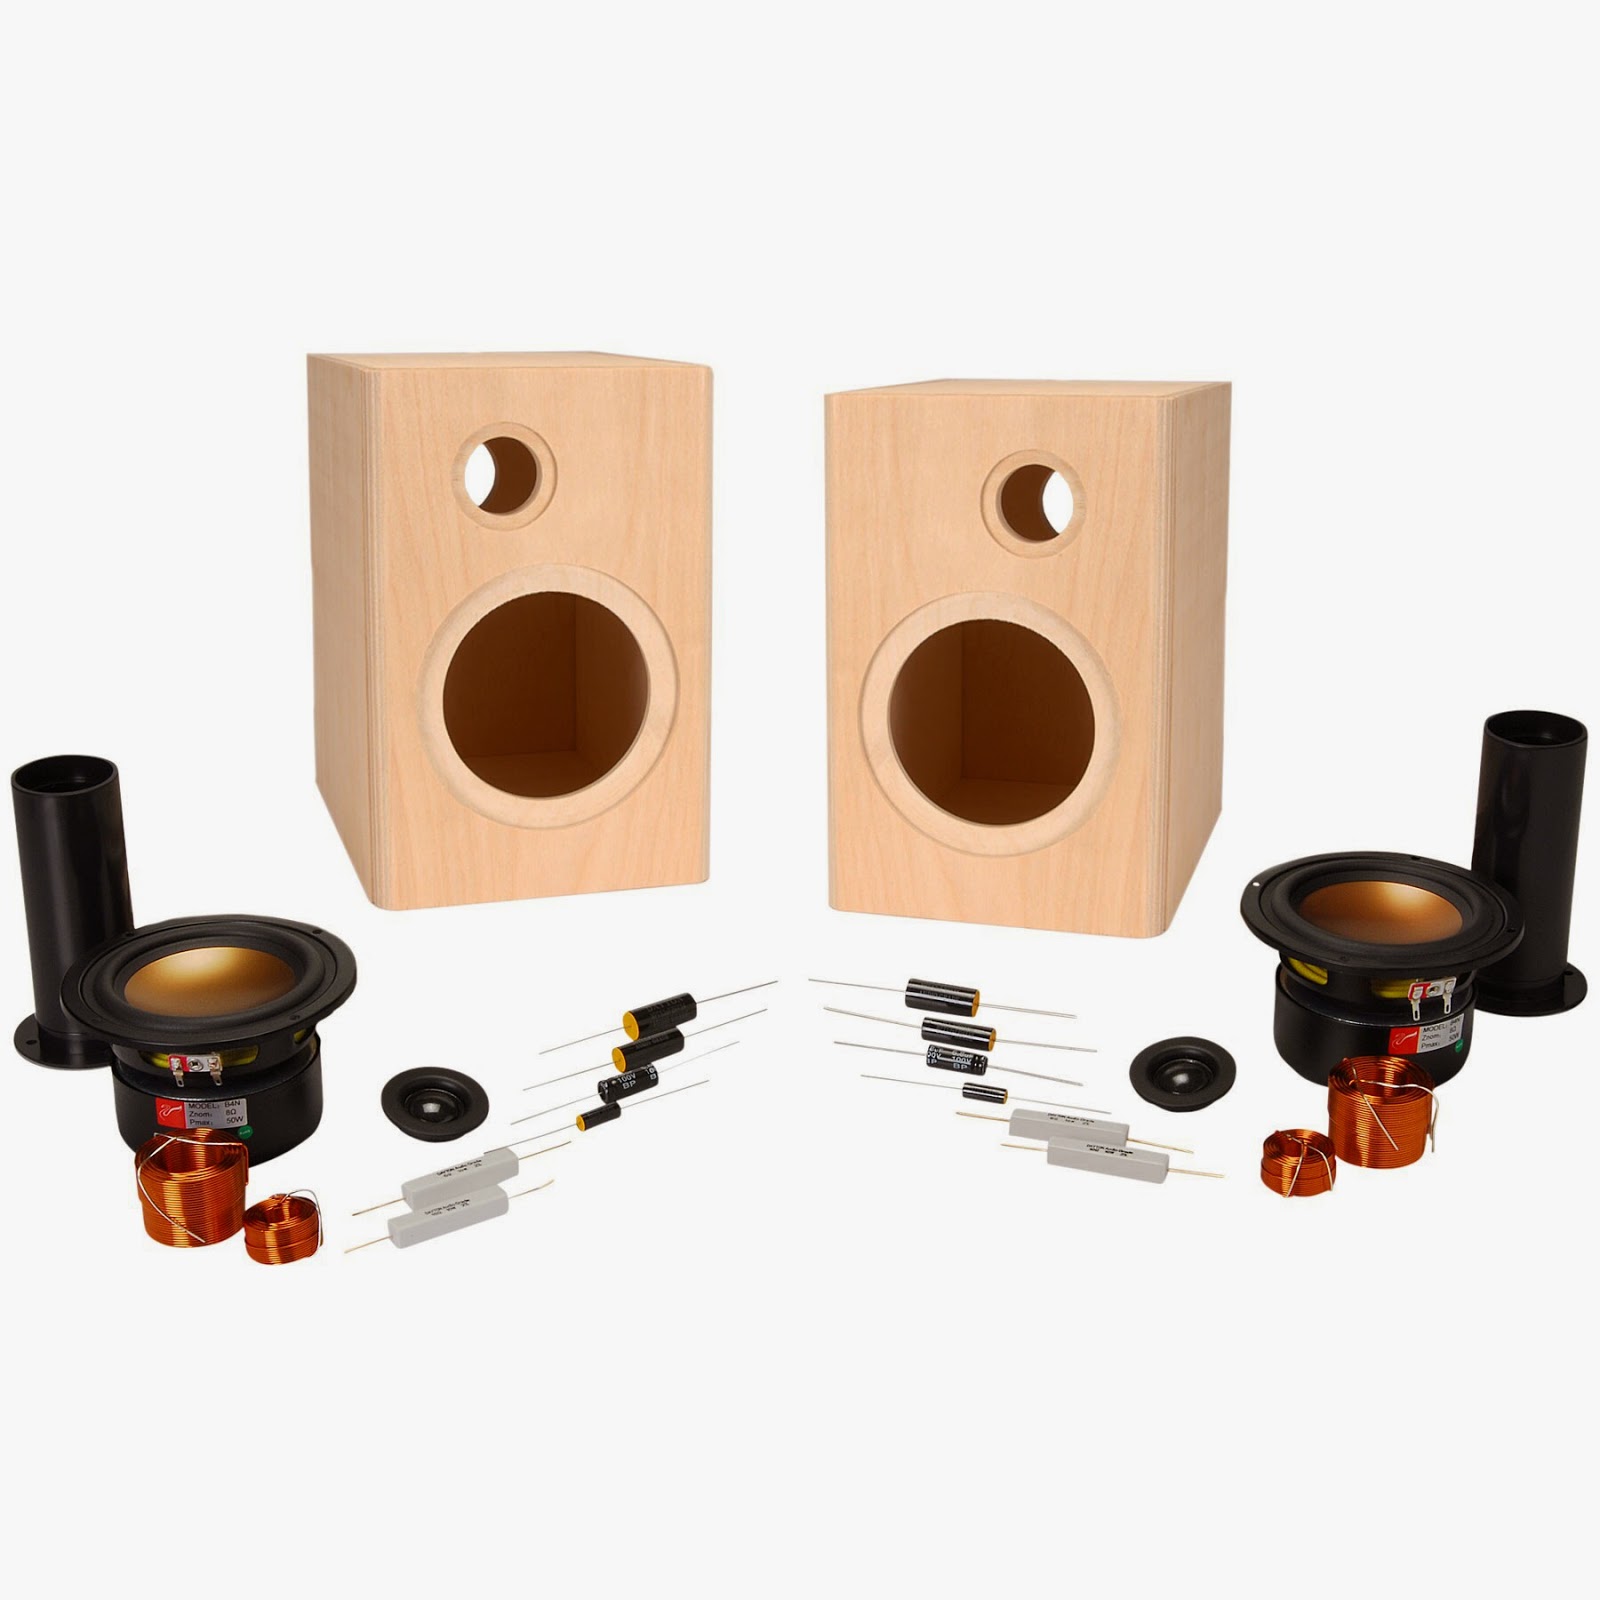 |
| Kit materials. Photo taken from Parts Express. |
- Soldering Kit
- Speaker Wire
- Binding Posts
- Piece of Wood Board (on which to assemble your crossover)
- Wood Glue
- Wood Conditioner
- Wood Stain
- Wood Poly Finish
- Sandpaper (I used 220 Extra Fine)
- Drill and various size drill bits
- Small Screws
- Screwdriver
- Needle-nose Pliers
- Super Glue and Glue Gun
- Zip Ties
- Acoustic Stuffing (unfortunately, pillow stuffing is not a suitable substitute)
- An Amp
- Adult Supervision -- oh wait, we are adults now. Hah!
Upon opening the kit, I will admit that it's pretty intimidating. Please note that I have zero understanding of EE... my dad is an audiophile who has, over the years, accumulated mind-boggling amounts of audio equipment and could probably Macguyver a radio out of anything. For me, on the other hand, this was out of my element.
So, I decided to start with the cabinet, since that's easier and more similar to the crafts I'm used to.

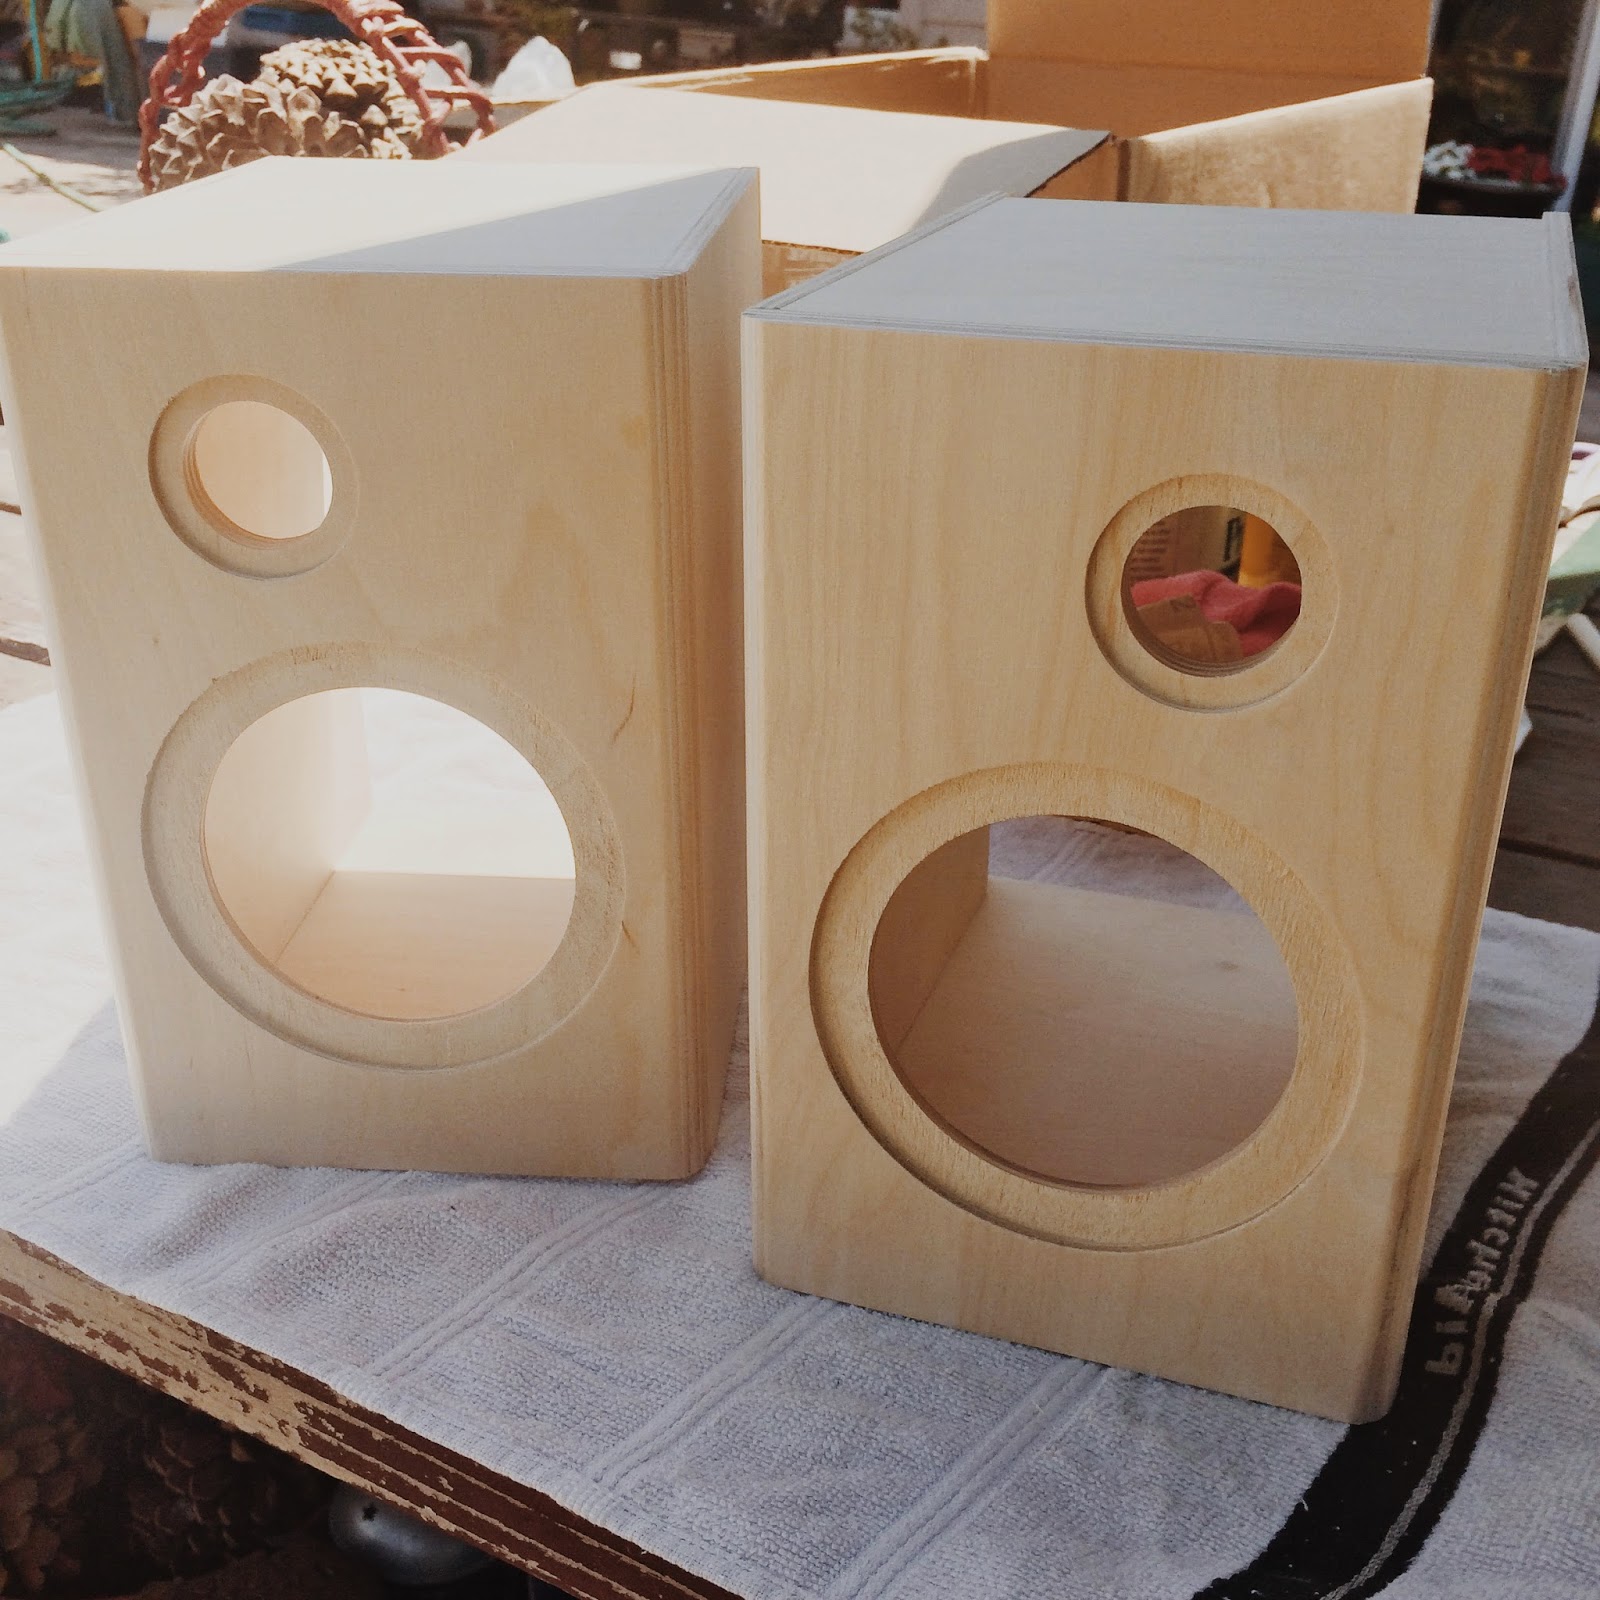
The cabinet pieces look like this -- unfinished birch. Pretty! Each piece has been cut so that they fit together like a jigsaw puzzle. The surface isn't super smooth, so I wanted to sand it down a bit.
 |
| Girl are you 220 grit because you are EXTRA FINE ;) |
I used 220 grit sandpaper for this task. Ideally, you'd affix this to a sanding block and rub that on the surface. I don't have a sanding block, so I made a makeshift one out of a square bottle of leather conditioner (see DIY Belt post) and a hand towel.

Assembling our cabinets! This isn't necessarily a two person job, but it is a LOT easier if one person assembles the pieces, another person applies the glue, and the assembler holds the pieces in place while the glue dries.
All done! Now that the cabinets were assembled, it was time to paint them. I also know nothing about staining wood, other than the fact that my dad had stained our dining room table a while ago. So, I went scouting in the garage and found a can of Minwax wood conditioner and Minwax wood stain.

First, the wood conditioner! It's a milky-looking liquid that darkens the wood slightly. What it is actually doing is filling in the tiny gaps between the wood grains, so that the stain will apply evenly.
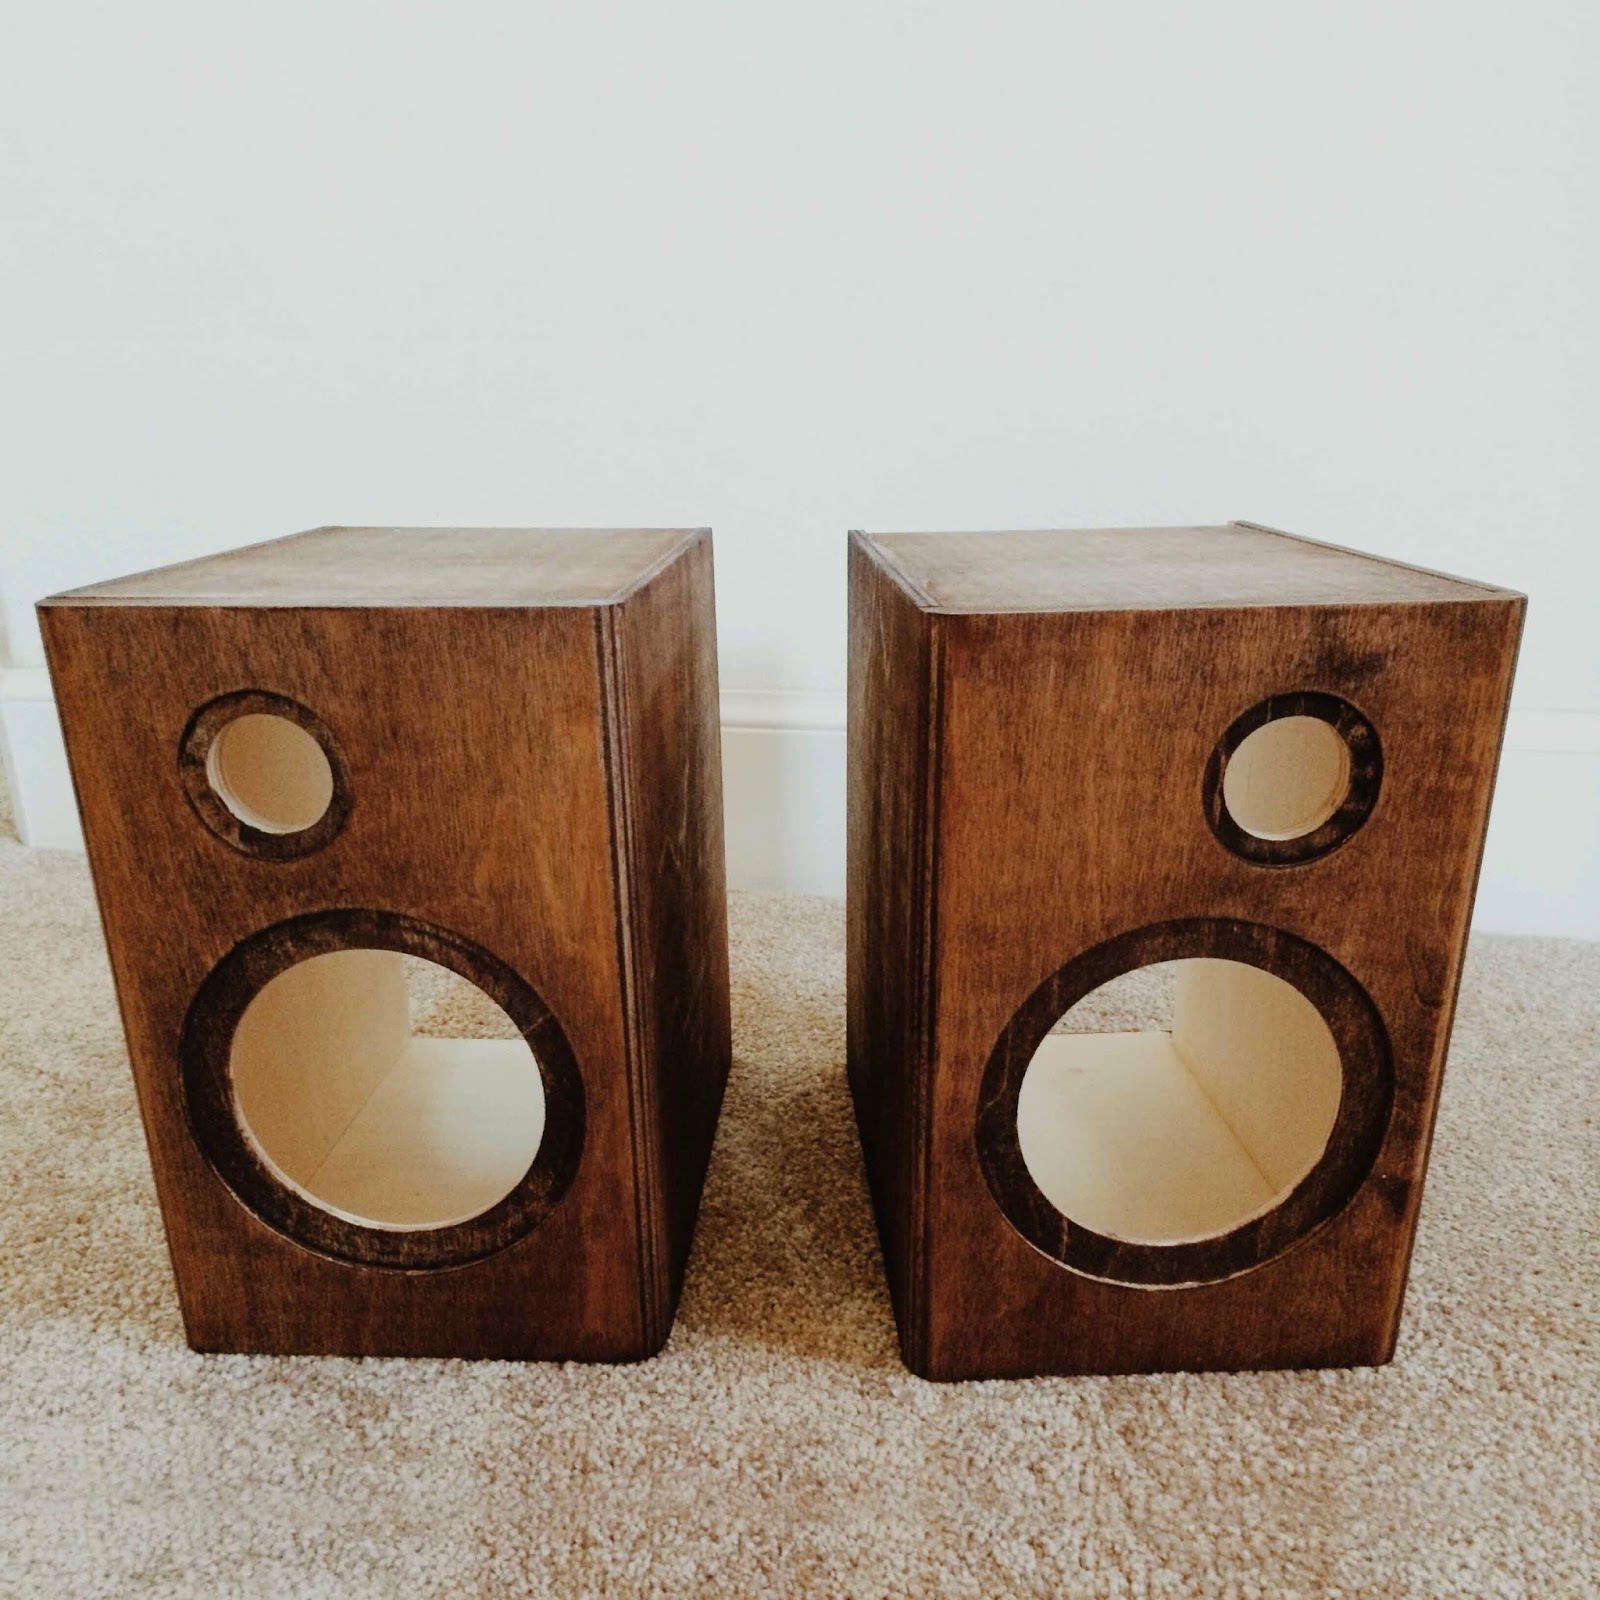
I didn't have any photos of the actual painting process because I got stain all over my hands... so here's the finished result! I used a mahogany color, just because it's what we had in the garage. This is about 2 coats of mahogany, so it looks more like walnut. If I wanted that real dark, bordeaux mahogany look, I'd have to apply about 4 or 5 coats.
The next part was building the interior. Again, let me remind you that I have no audio/electrical engineering experience, so when I opened up the crossover document and saw this, mild panicking ensued.
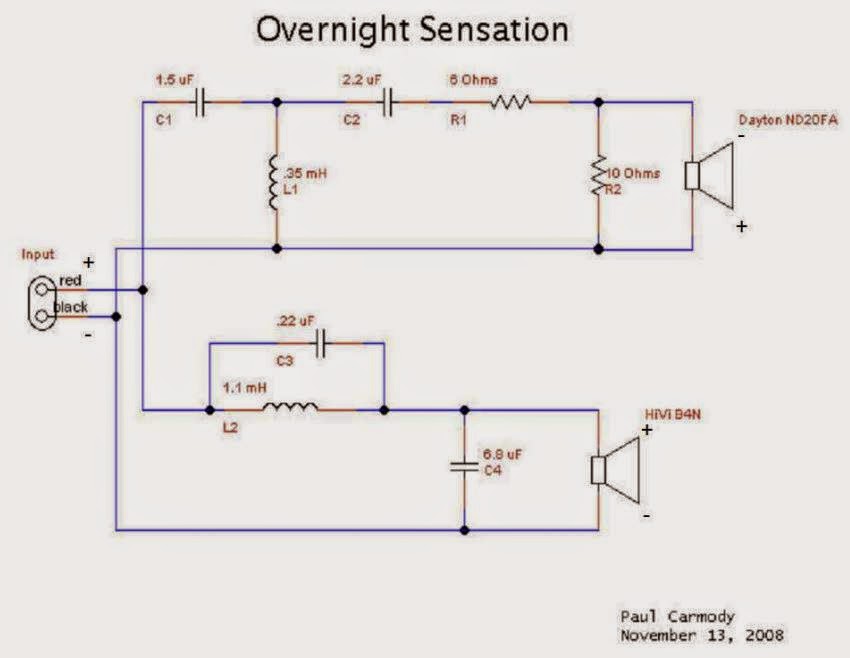 |
| ...What? |
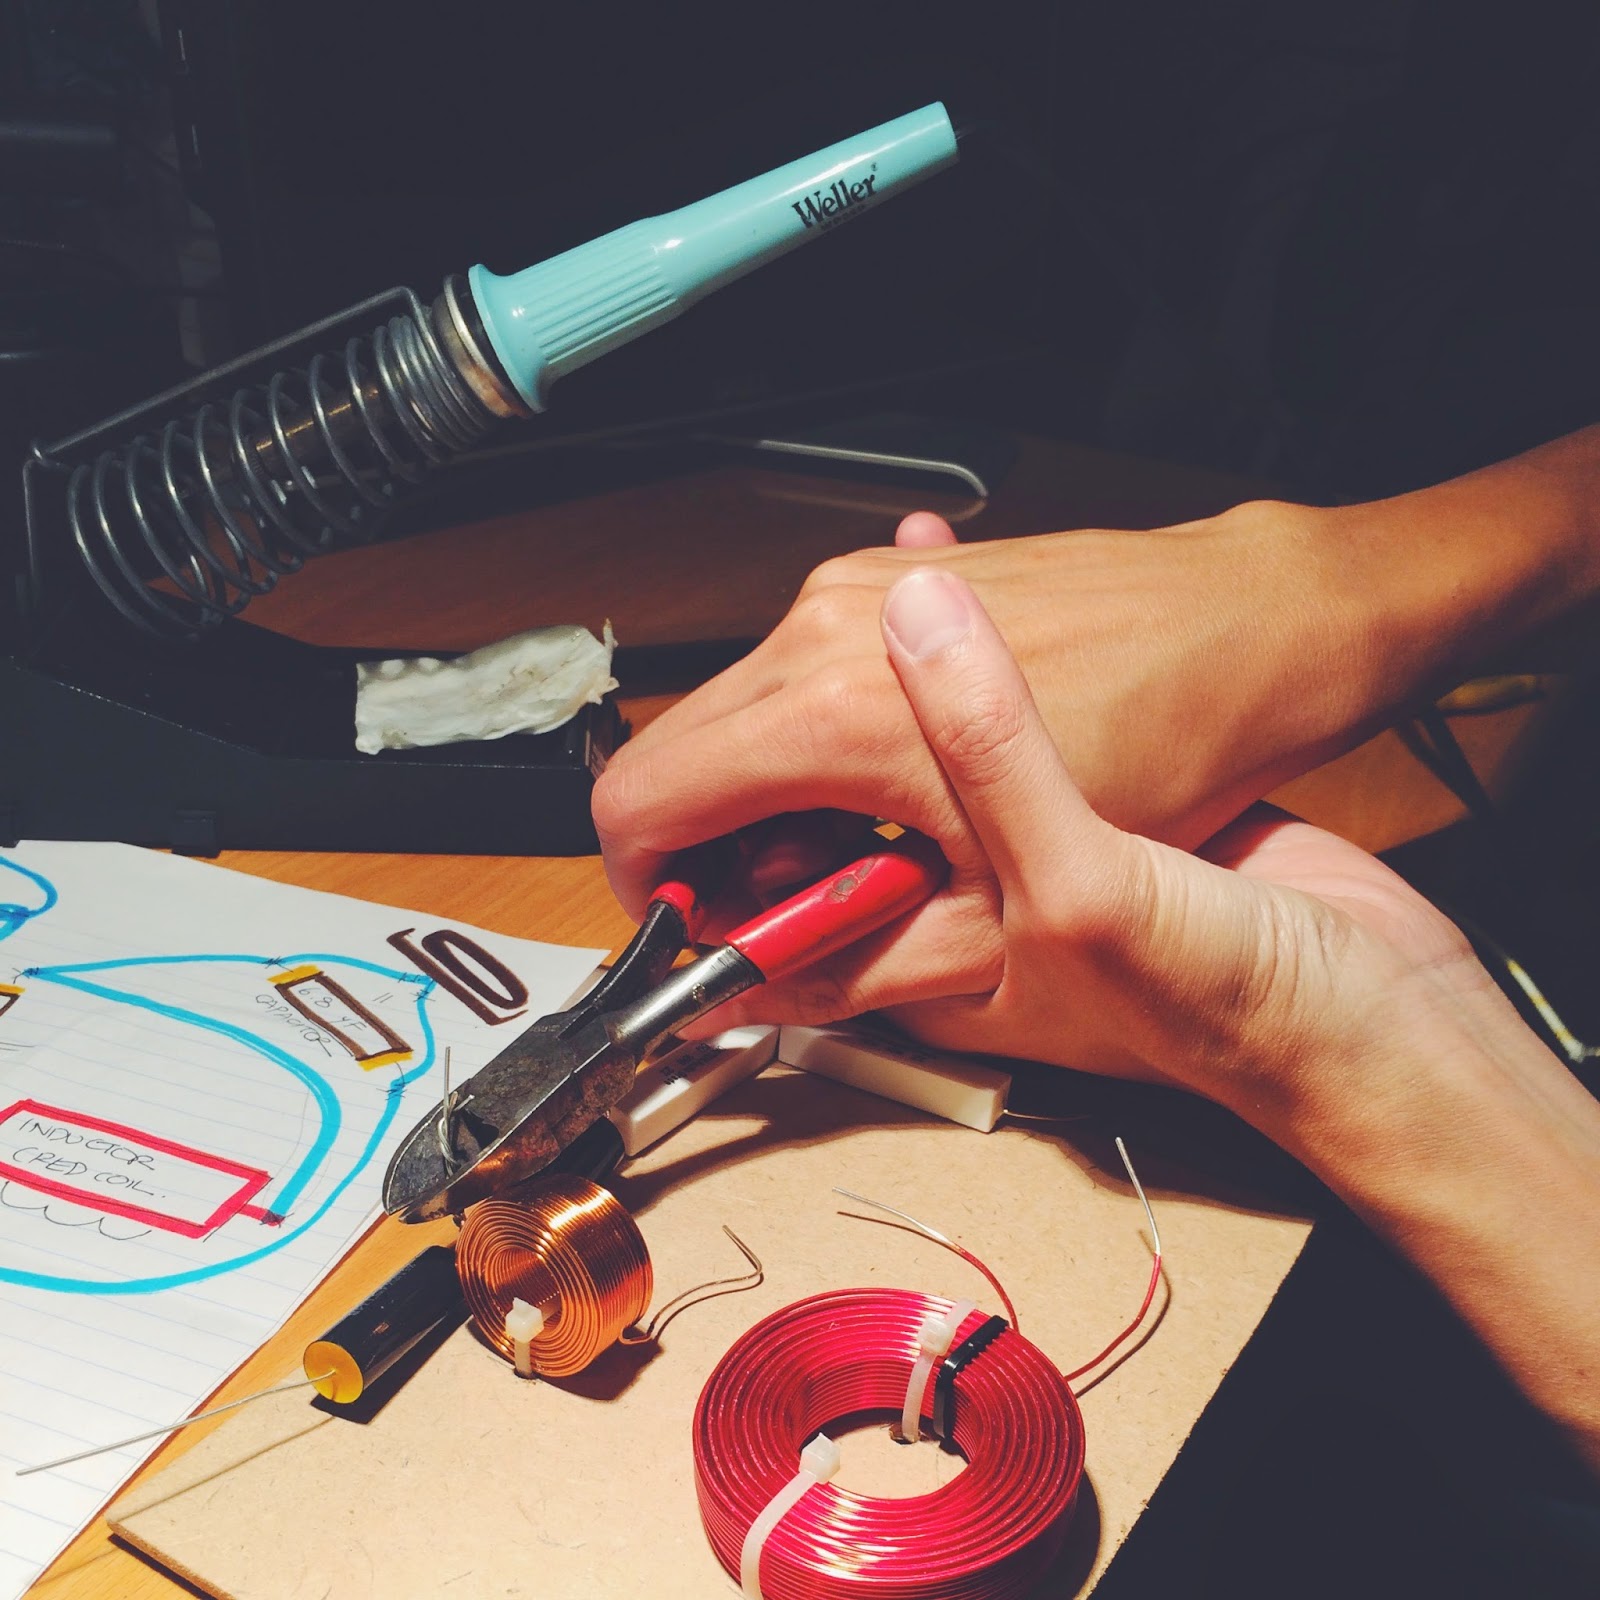
Now I understand that for those of you with EE backgrounds, this is child's play, so bear with me here. I found another illustrated visual version uploaded by a nice gentleman on YouTube who was working on the same project. From this, we drew our own color-coded version, and got to work. Every few minutes, I would remind myself that Resistors = Rectangles and Capacitors = Cylinders.
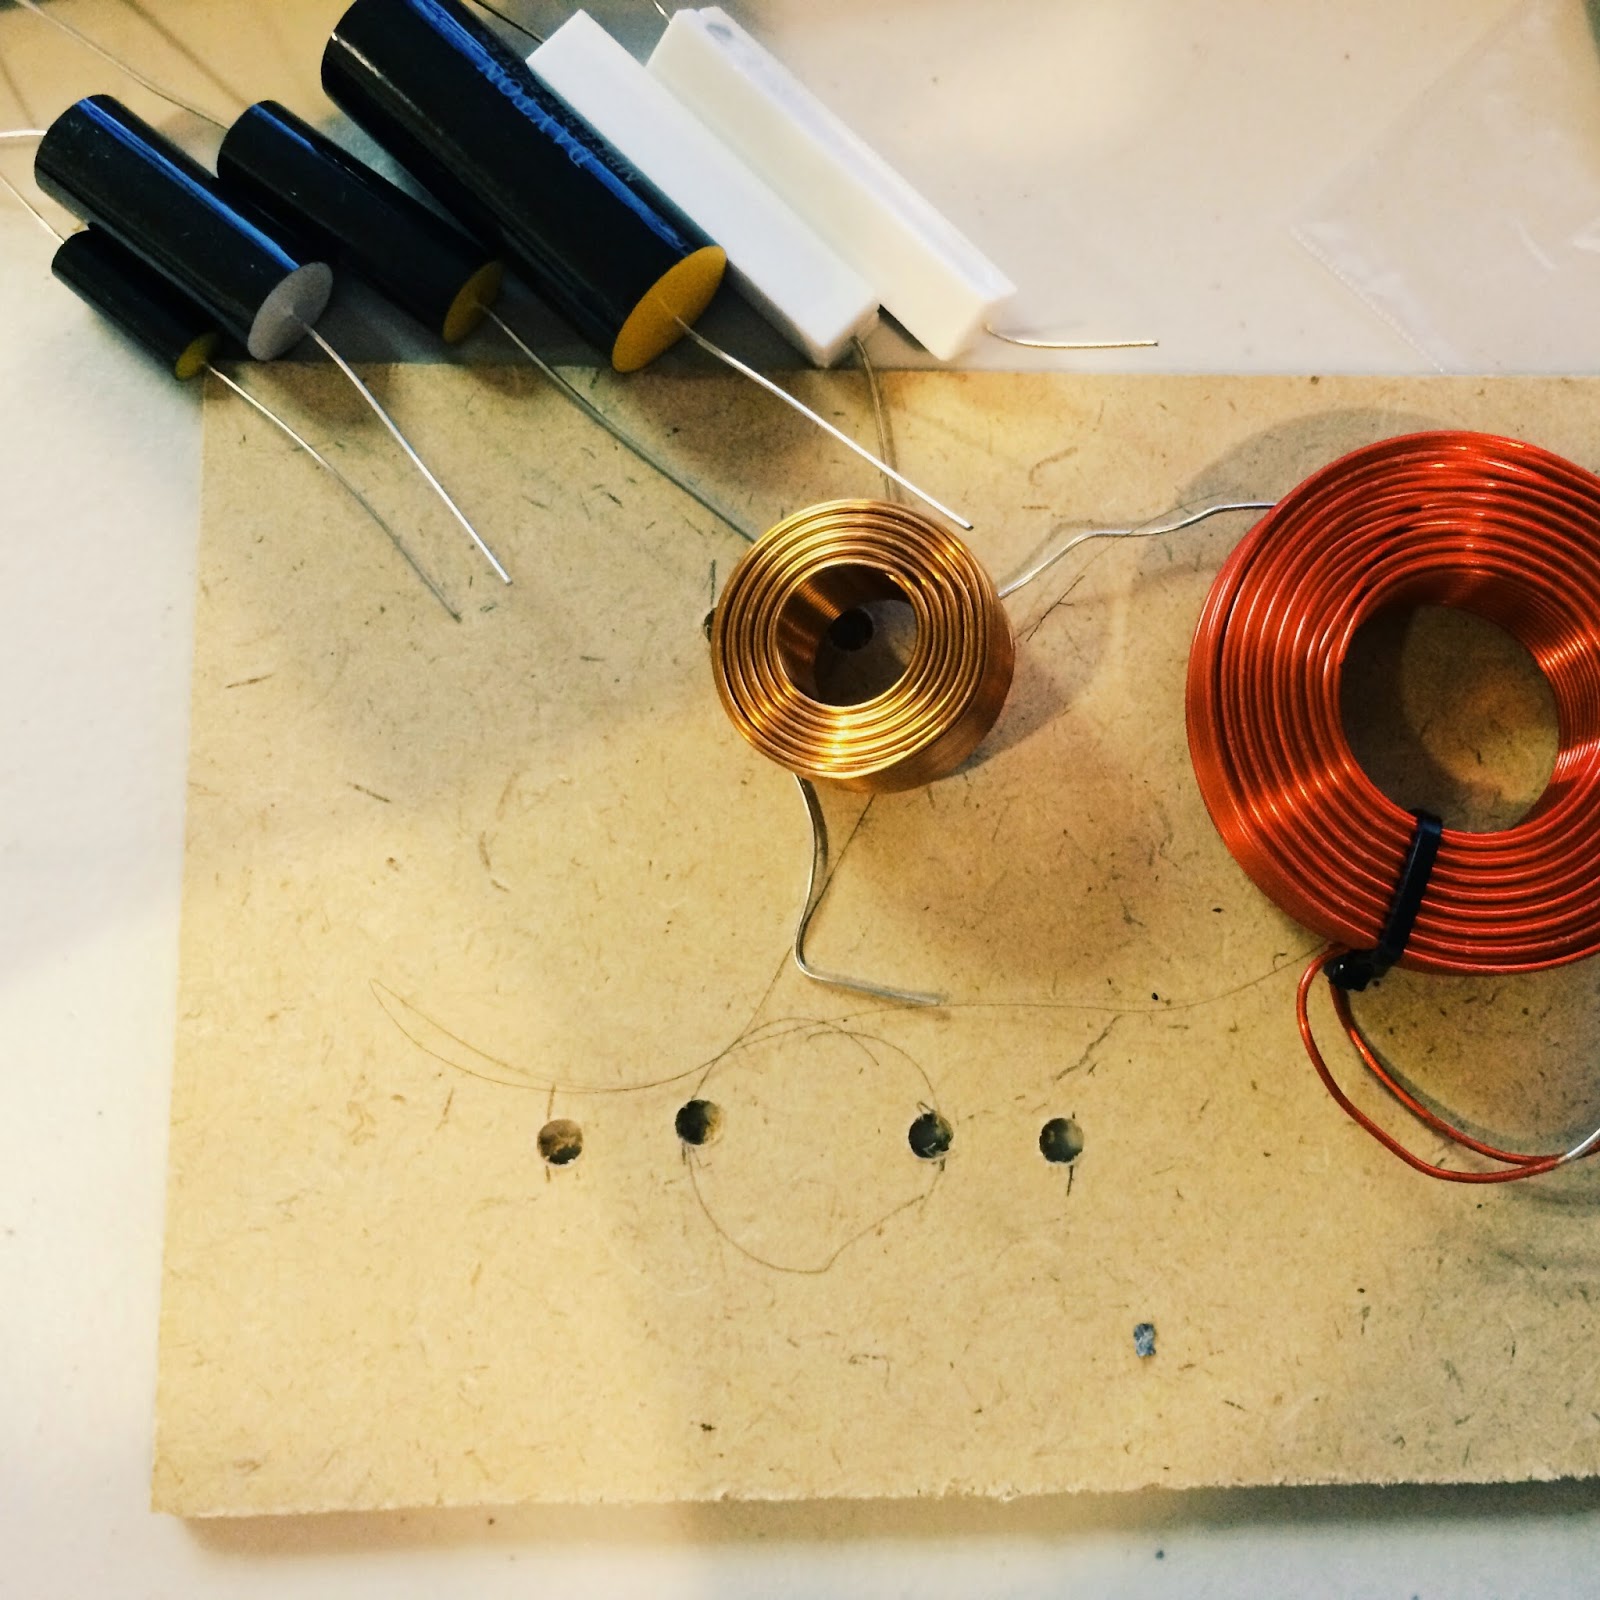 |
| Putting our inductors in first! |
We sawed an spare piece of wood board (taken from the back of an old picture frame) into a 5x7 rectangle, and then drilled holes to zip tie the inductors firmly to the board. After laying everything out and triple-checking that everything was in the right place, the soldering began!
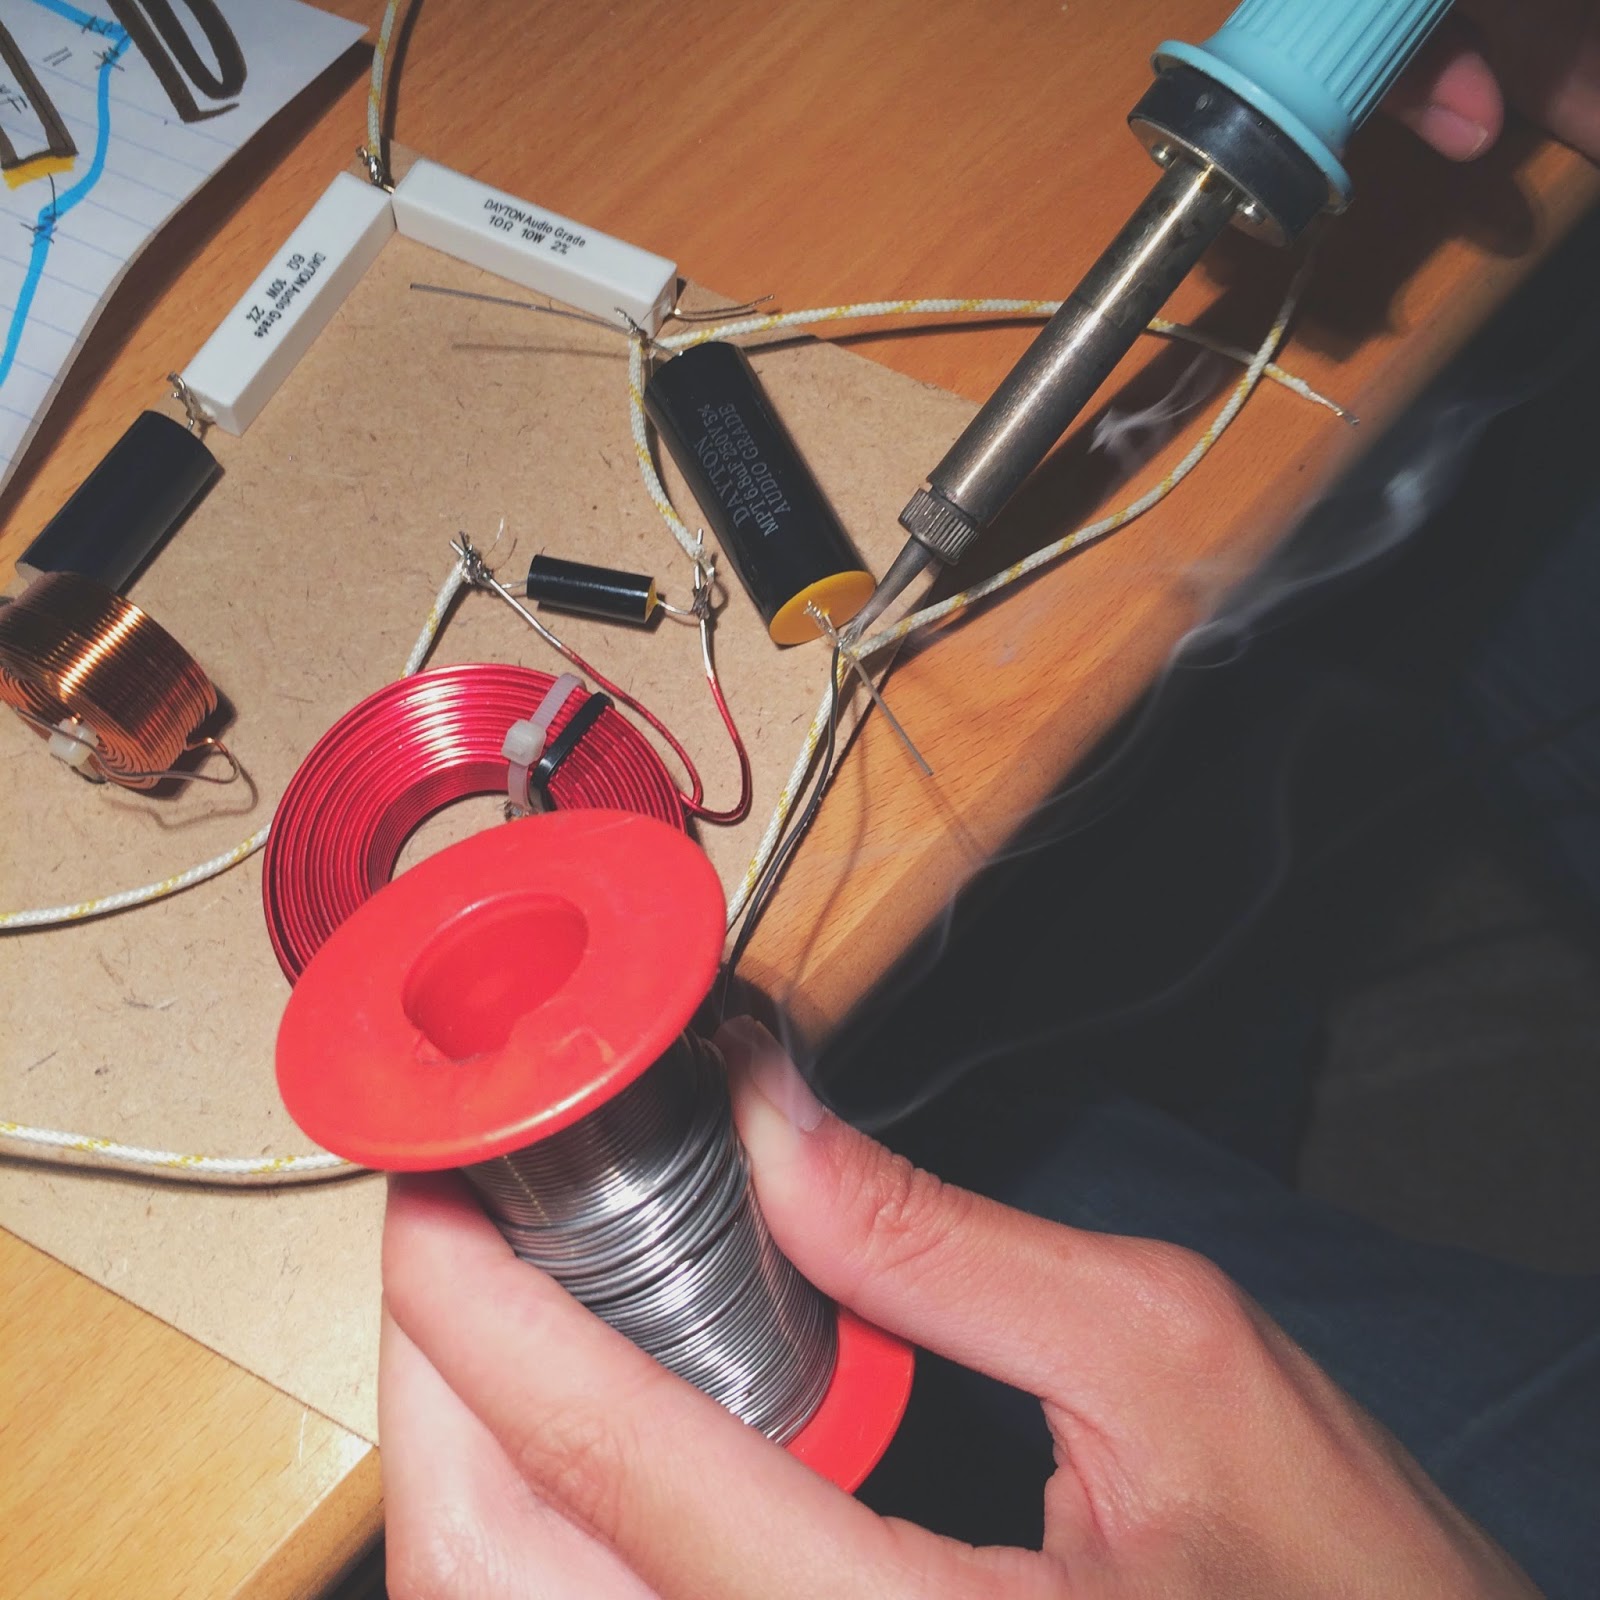
Lucas actually taught me how to solder about two or three years ago. (We had yanked all the keys out of his mechanical keyboard, attached new switches to them, and soldered everything back together.) I'm decent at soldering, but pretty terrible at un-soldering... luckily for me, this mainly just involved soldering parts together.
After assembling the crossover, we wanted to be 100% sure we had done it right. By connecting the speaker wires to an old battery, and the other ends to the bass, we found that tapping the wires to the battery would create a static sound. I have literally never been so thrilled to hear static in my life. Yes, you could even say I was ecSTATIC about it ;D
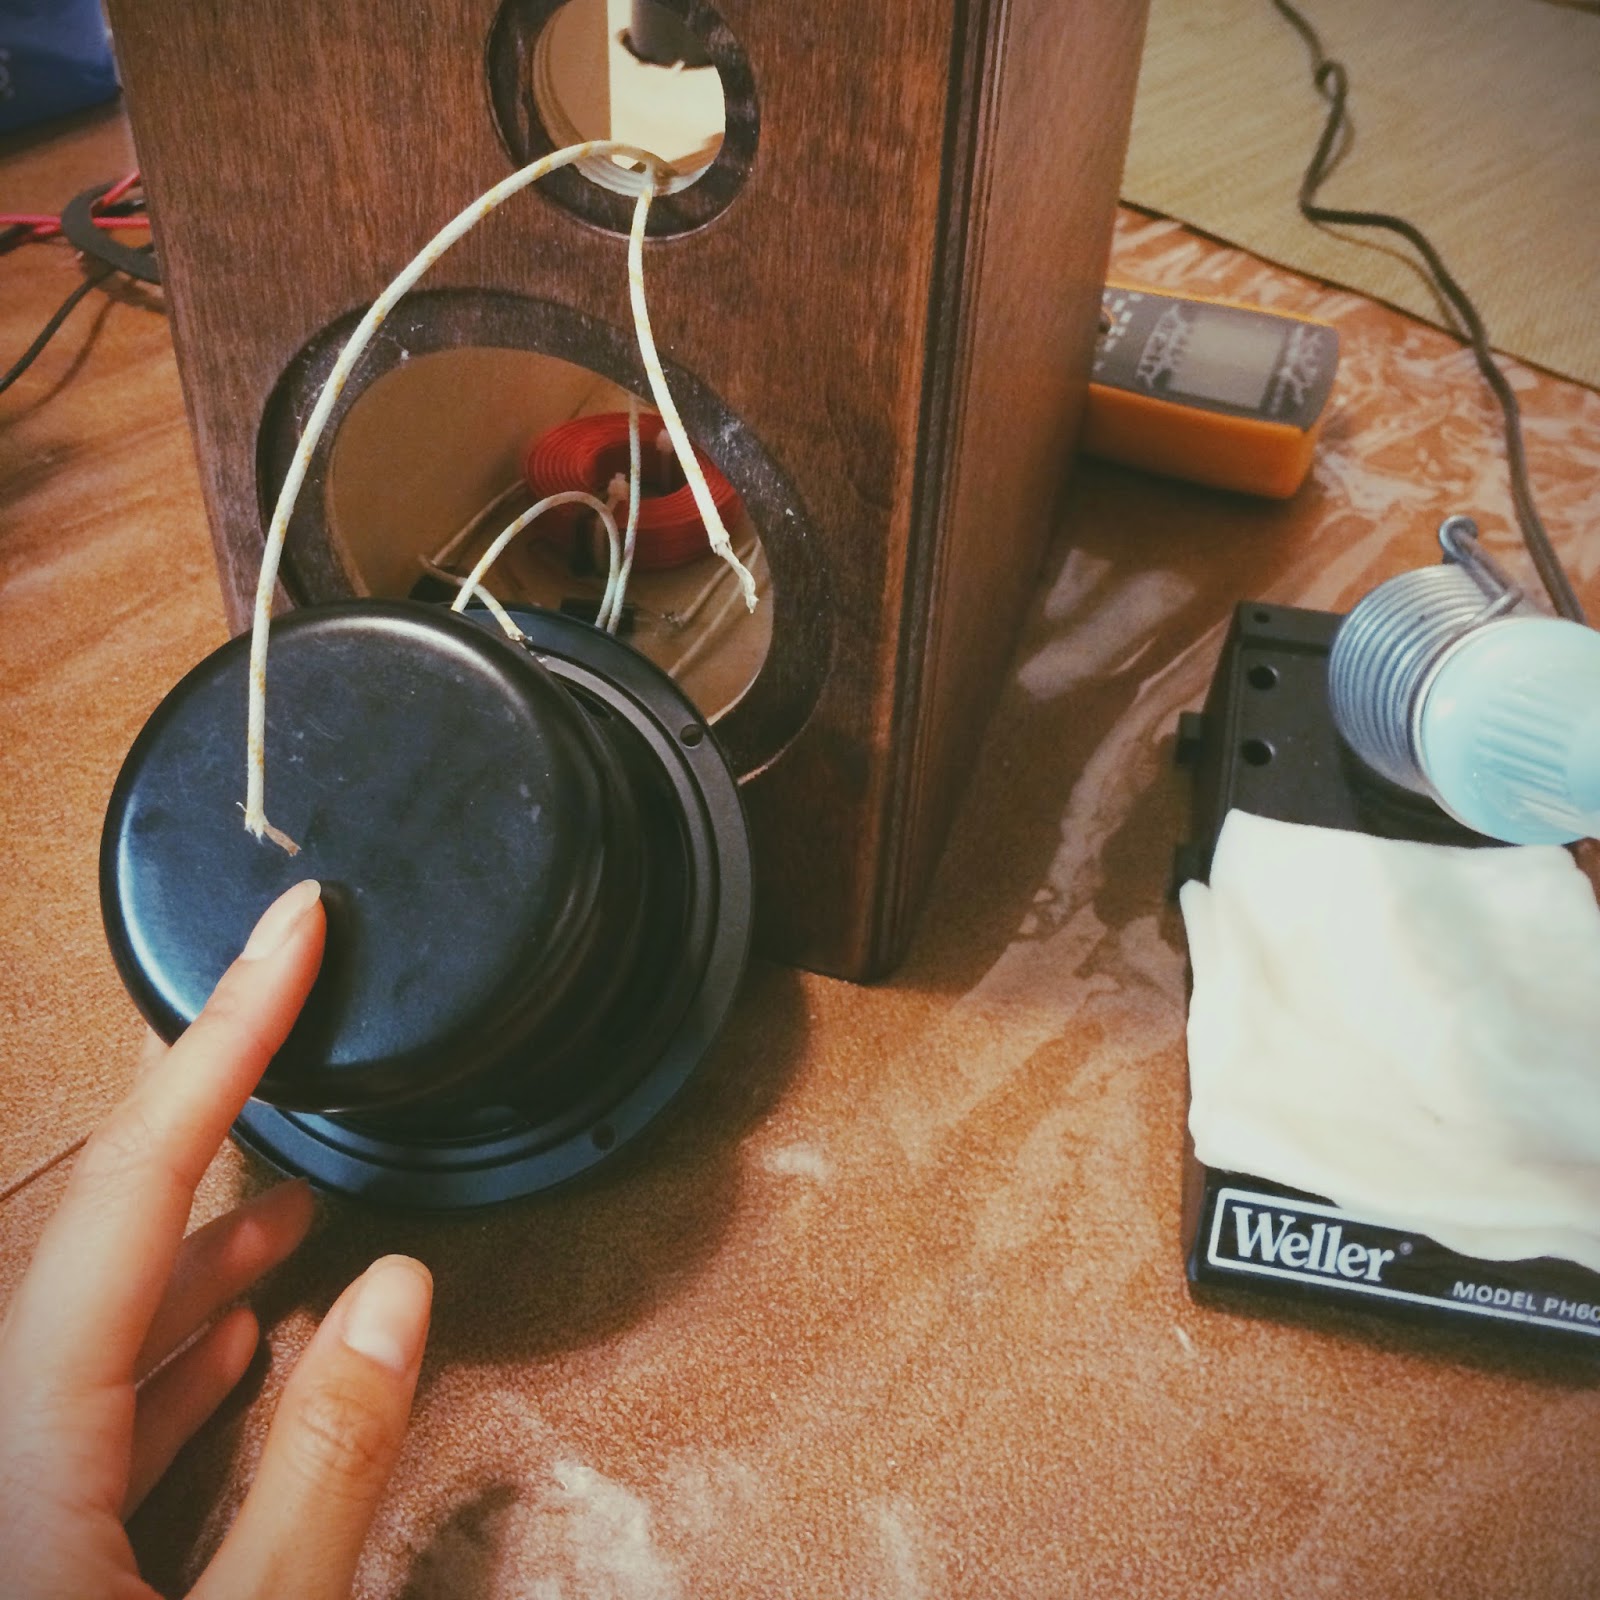
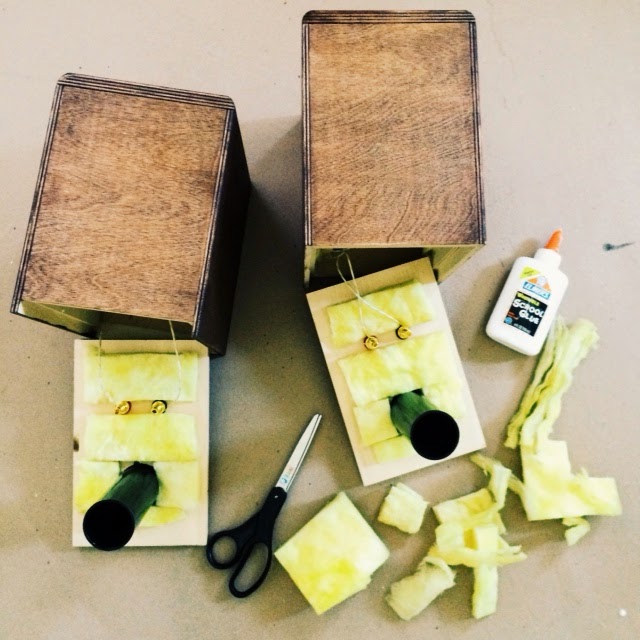
Now that we had the cabinets and the crossover assembled, it was time to put the entire thing together! Using hot glue, we glued the crossover to the bottom, making sure that the speaker wires were pointing the correct ways. The wire attaches to these teeny tiny forks coming from the bass and the tweeter, and getting it connected is kind of like threading a needle. Having needle-nose pliers at this step really helps.
 |
| Threading the speaker wire to the tweeter |
His dad punched some dents with an awl and then drilled very slowly using a tiny size drill bit, and we did the rest with a normal screwdriver. I originally wanted black screws, but the only screws we had on hand that were small enough were these tiny, rusted metal ones. Turns out, I actually really like the rusted screws because it matches the walnut-esque wood color, and it makes the speakers look vintage :)
We also had to drill holes for the binding posts, which twist onto the back panel and connect to another set of speaker wire ends. Unfortunately, I didn't get any photos of this part either.
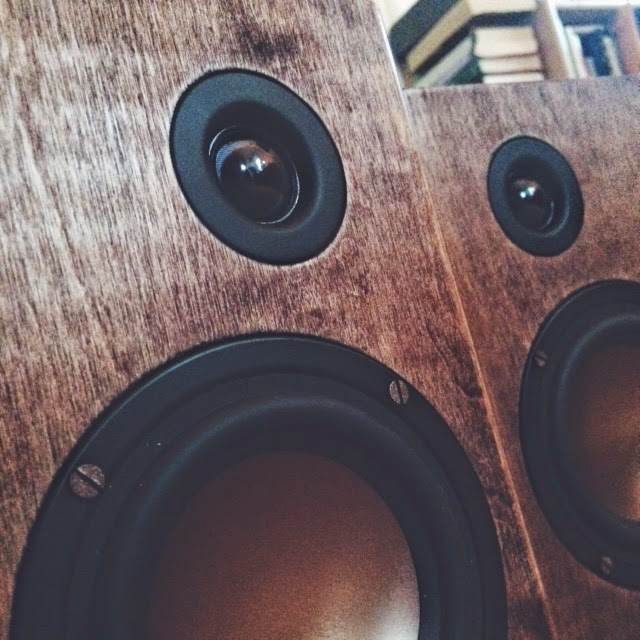
 |

This is what my speaker pair looks like when completed! I am really happy with how they turned out :) The bronze colored basses really go with the wood color, as well as the screws.
The next step was completed with the expertise of my dad, the audiophile. I could have purchased an amp from Parts Express, but at this point my dad wanted in on the fun. He occasionally goes to the flea market or swap meet to scout for electronic equipment, so he offered to look for a used one. A few weeks later, this showed up!

It's a Marantz SR7500. My homework was to read over the manual for this model, and play around! It's a pretty old amp, so it can only play CDs or radio. To connect it to my computer, I'll need a converter -- I'm currently working on that part.
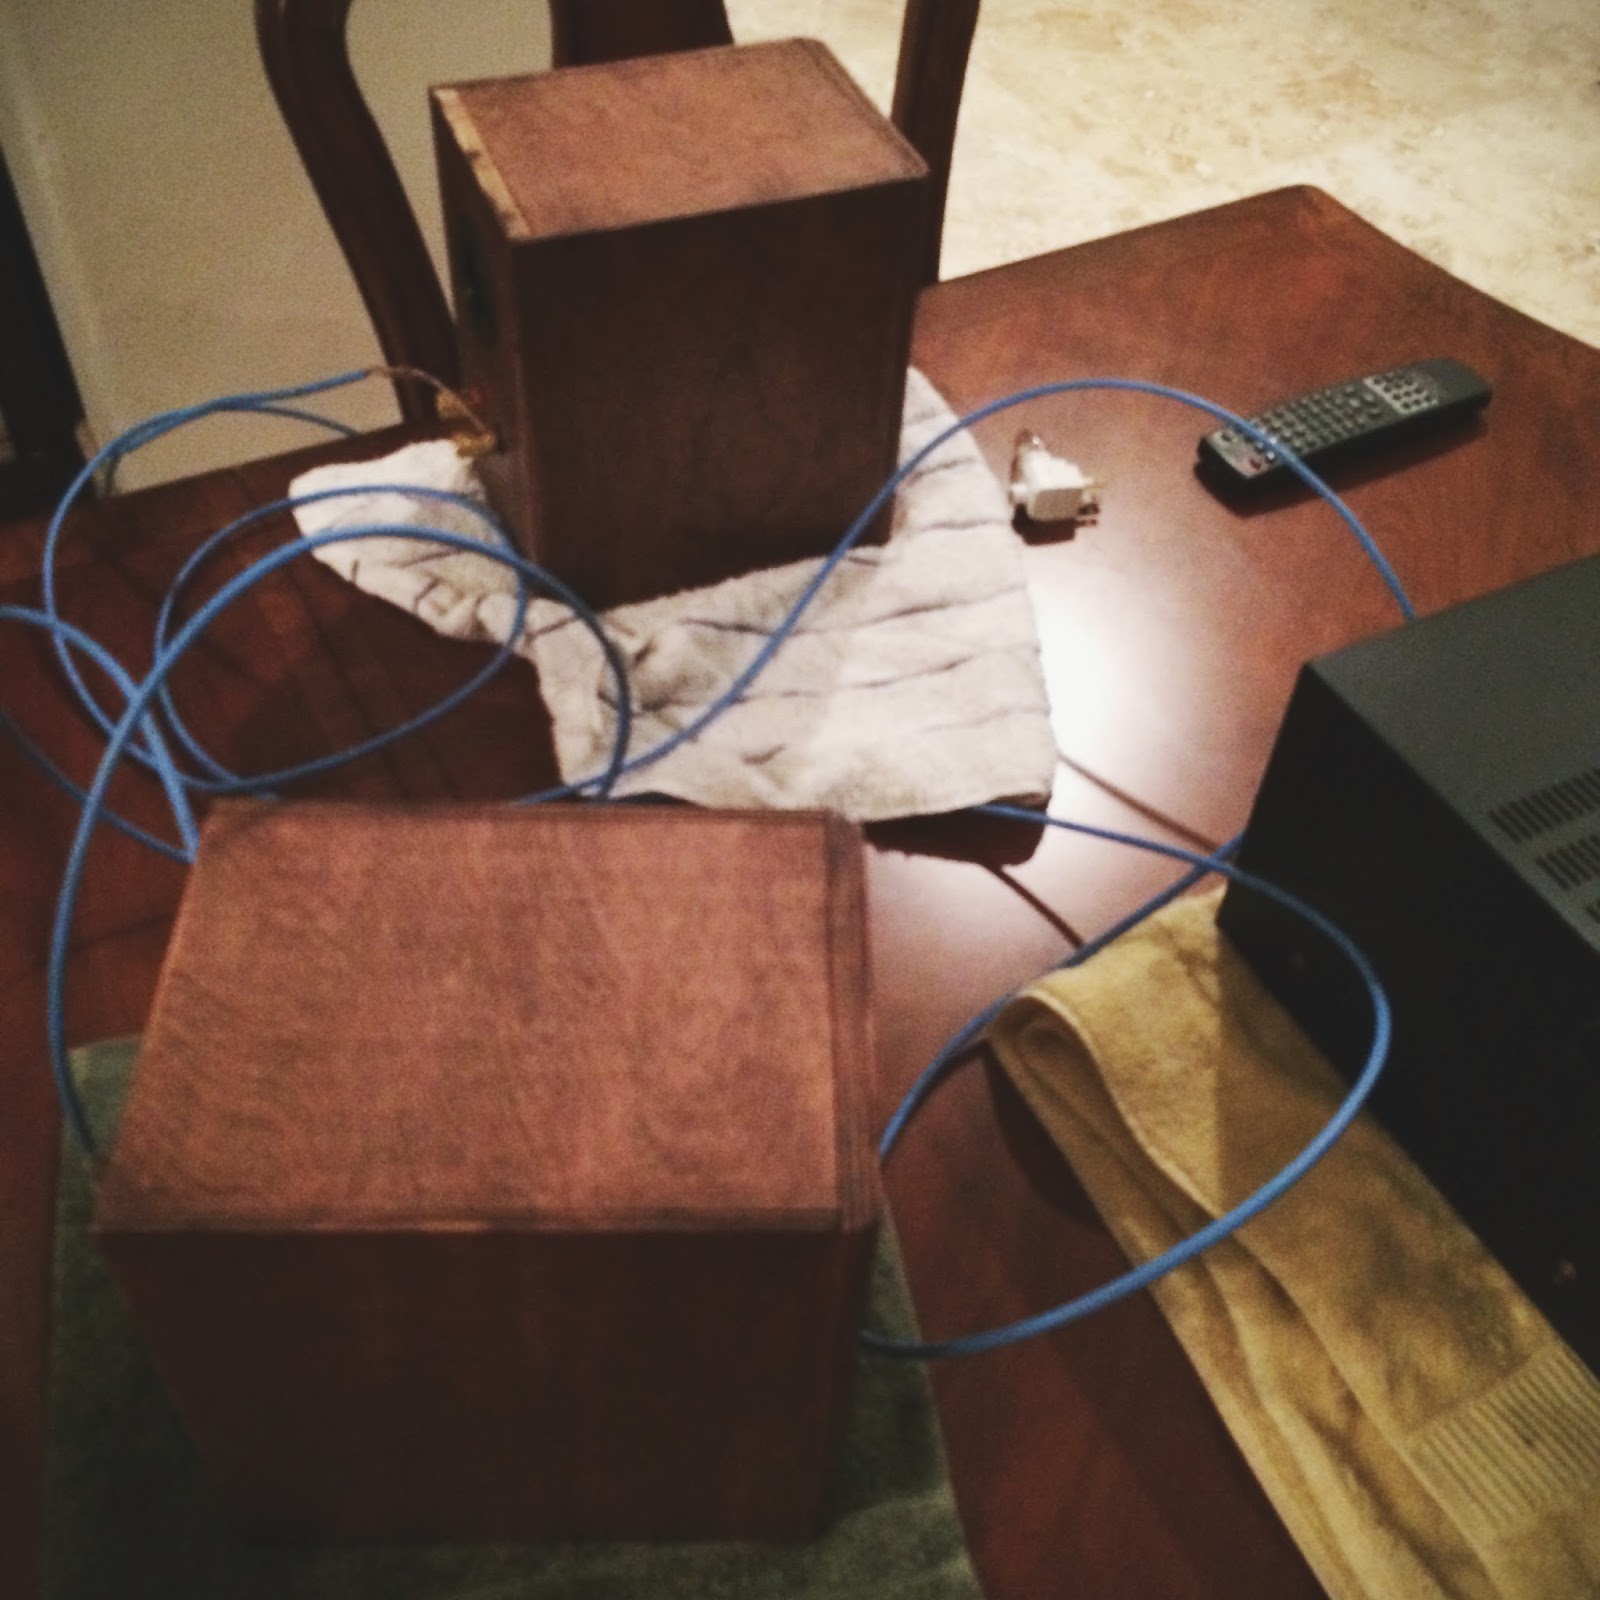
After making sure I had the red/black wires correct, we hooked the speakers up to the amp. The first song that came out was an opera piece, and I nearly cried. I mean, the opera song was beautiful, but it's just so exciting when something that you create by hand actually works!
Thus concludes my DIY Speaker project for now. Since I don't yet have the ability to connect to my computer, I've only been playing CDs. I don't own too many CDs, but all the ones I own are absolutely incredible with this new setup. My small collection includes some favorites that I scored from the KUCI album sale, Above and Beyond's acoustic album, two Sleepthief albums, and an older release by Sleeping at Last. I think I have a great reason to start collecting CDs now!
They say once you become an audiophile, you can never go back... I certainly don't have enough credibility nor experience to call myself an audiophile, but I can see why it's true. The sound is just so much larger than the tiny desk speakers I had before. If you dim the lights, it really feels like the orchestra is right beside you, and the singer is center stage just a few feet away from your seat.
I really recommend this project to anyone looking for a DIY craft with a very, very high return of enjoyment :) Even if you have no background in audio -- part of the fun is in learning something new!
The next step was completed with the expertise of my dad, the audiophile. I could have purchased an amp from Parts Express, but at this point my dad wanted in on the fun. He occasionally goes to the flea market or swap meet to scout for electronic equipment, so he offered to look for a used one. A few weeks later, this showed up!
It's a Marantz SR7500. My homework was to read over the manual for this model, and play around! It's a pretty old amp, so it can only play CDs or radio. To connect it to my computer, I'll need a converter -- I'm currently working on that part.
After making sure I had the red/black wires correct, we hooked the speakers up to the amp. The first song that came out was an opera piece, and I nearly cried. I mean, the opera song was beautiful, but it's just so exciting when something that you create by hand actually works!
Thus concludes my DIY Speaker project for now. Since I don't yet have the ability to connect to my computer, I've only been playing CDs. I don't own too many CDs, but all the ones I own are absolutely incredible with this new setup. My small collection includes some favorites that I scored from the KUCI album sale, Above and Beyond's acoustic album, two Sleepthief albums, and an older release by Sleeping at Last. I think I have a great reason to start collecting CDs now!
They say once you become an audiophile, you can never go back... I certainly don't have enough credibility nor experience to call myself an audiophile, but I can see why it's true. The sound is just so much larger than the tiny desk speakers I had before. If you dim the lights, it really feels like the orchestra is right beside you, and the singer is center stage just a few feet away from your seat.
I really recommend this project to anyone looking for a DIY craft with a very, very high return of enjoyment :) Even if you have no background in audio -- part of the fun is in learning something new!