

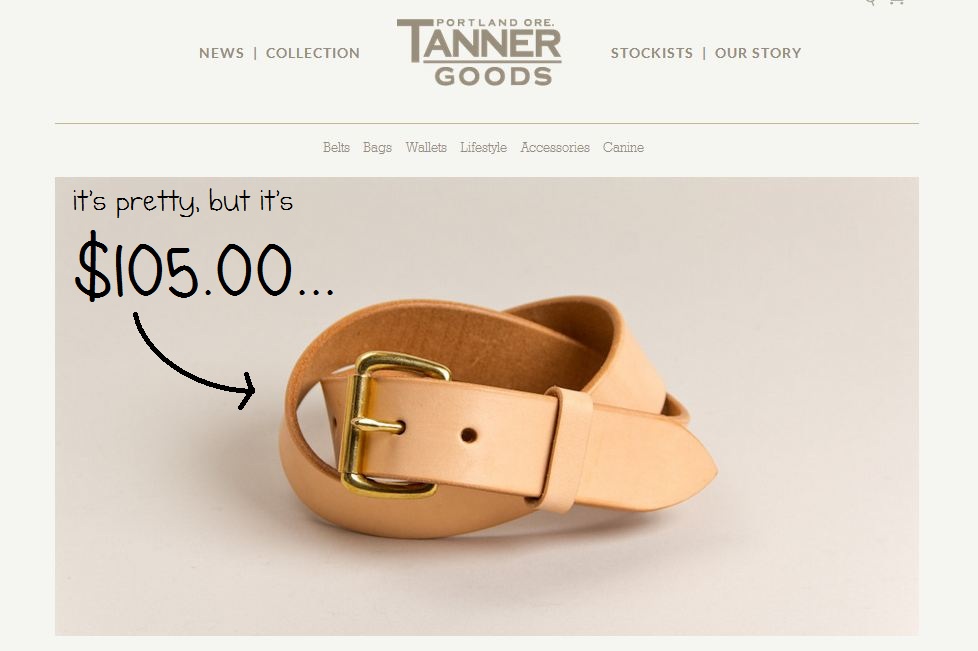
I've been eyeing this really nice Tanner belt for a while ever since I retired my old leather belt, but it is just so expensive that I couldn't justify the purchase.
So the next best thing was to make our own, at a fraction of the price ! We went to the nearby Tandy Leather Factory in Costa Mesa, which sells all sorts of leather goods, from full hides to straps, buckles, tools... even moccasins. The employees were really nice and helped us make sure we had everything we needed.
So, if you wanted to make your own natural leather belt for much cheaper, read on :)

Here are the materials you need:
- a belt blank (you can buy one with or without pre-punched rivets, we don't have any rivet-punching tools so we opted for a pre-punched one)
- buckle of your choice
- a leather hole punch (unless you want to be super badass and use a hammer and nails?)
- a bottle of leather sealant (to make sure your belt lasts !)

First, you'll have to trim the belt blank to your waist size. The easiest way to do this is to use an existing belt that fits you well. Use scissors to cut off the excess, and then make sure it fits snug around your waist.


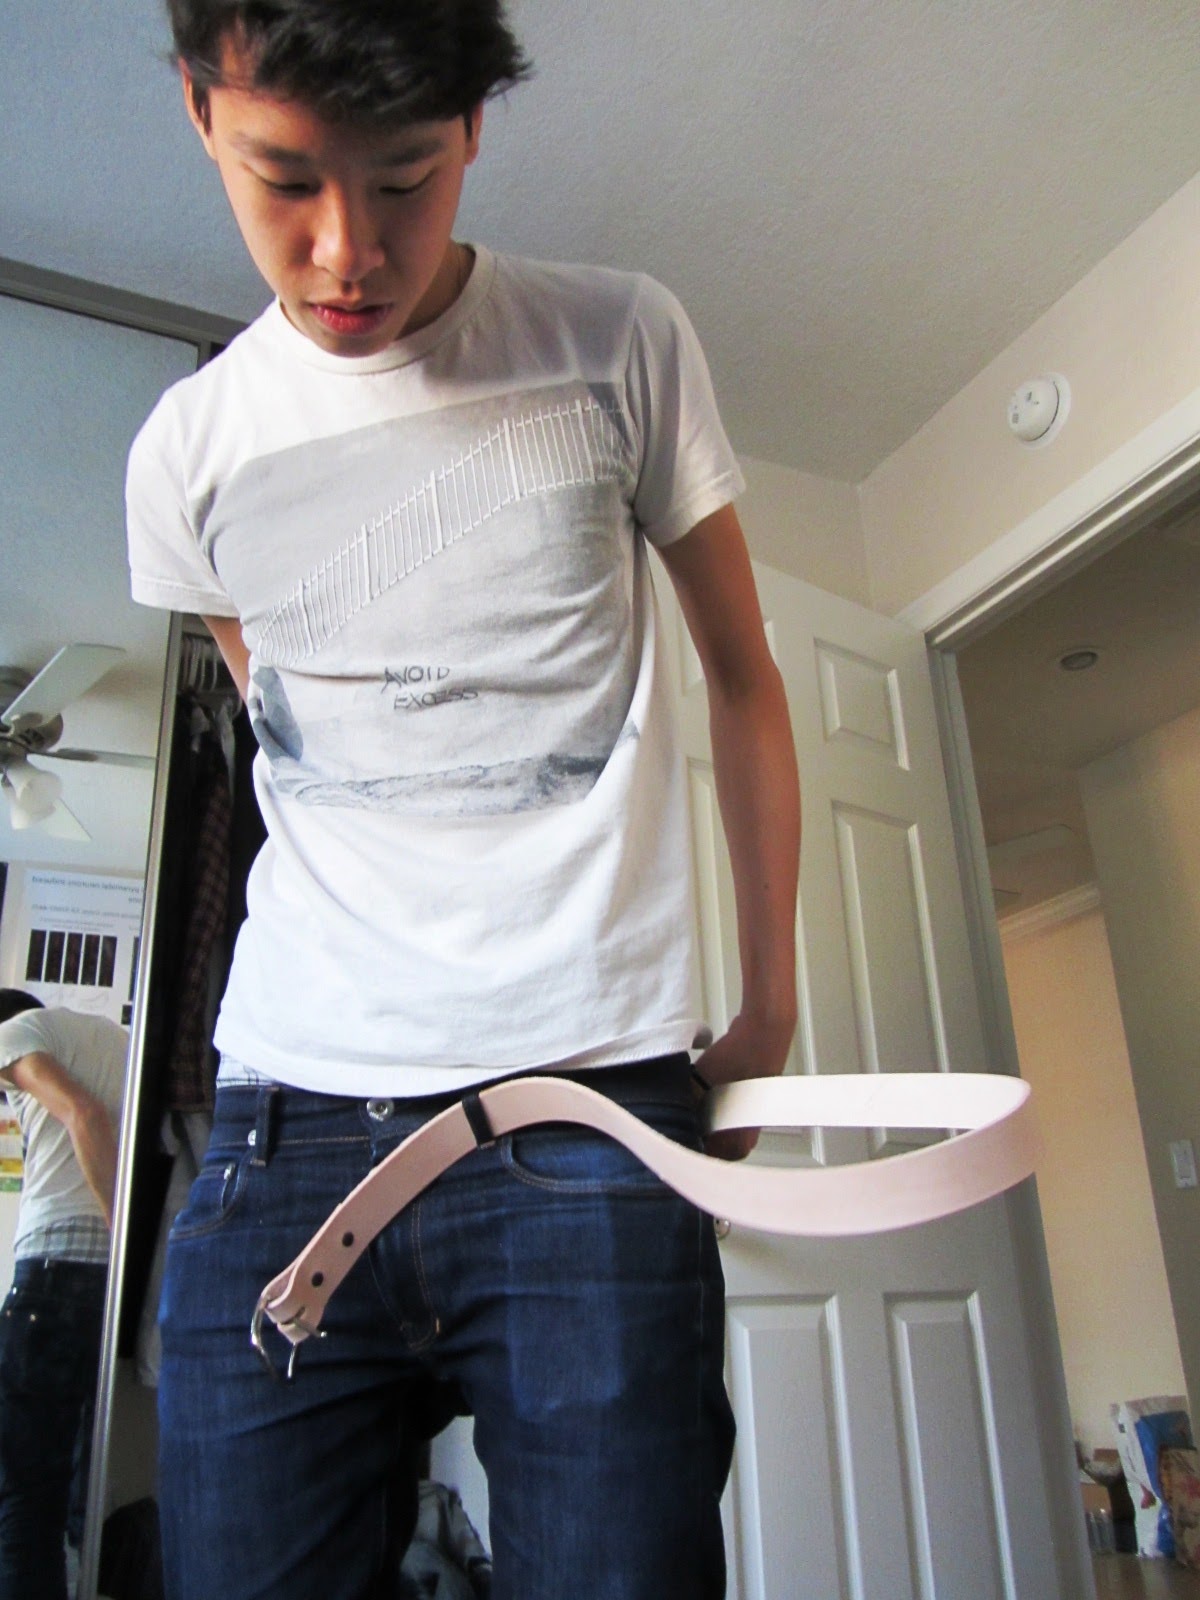
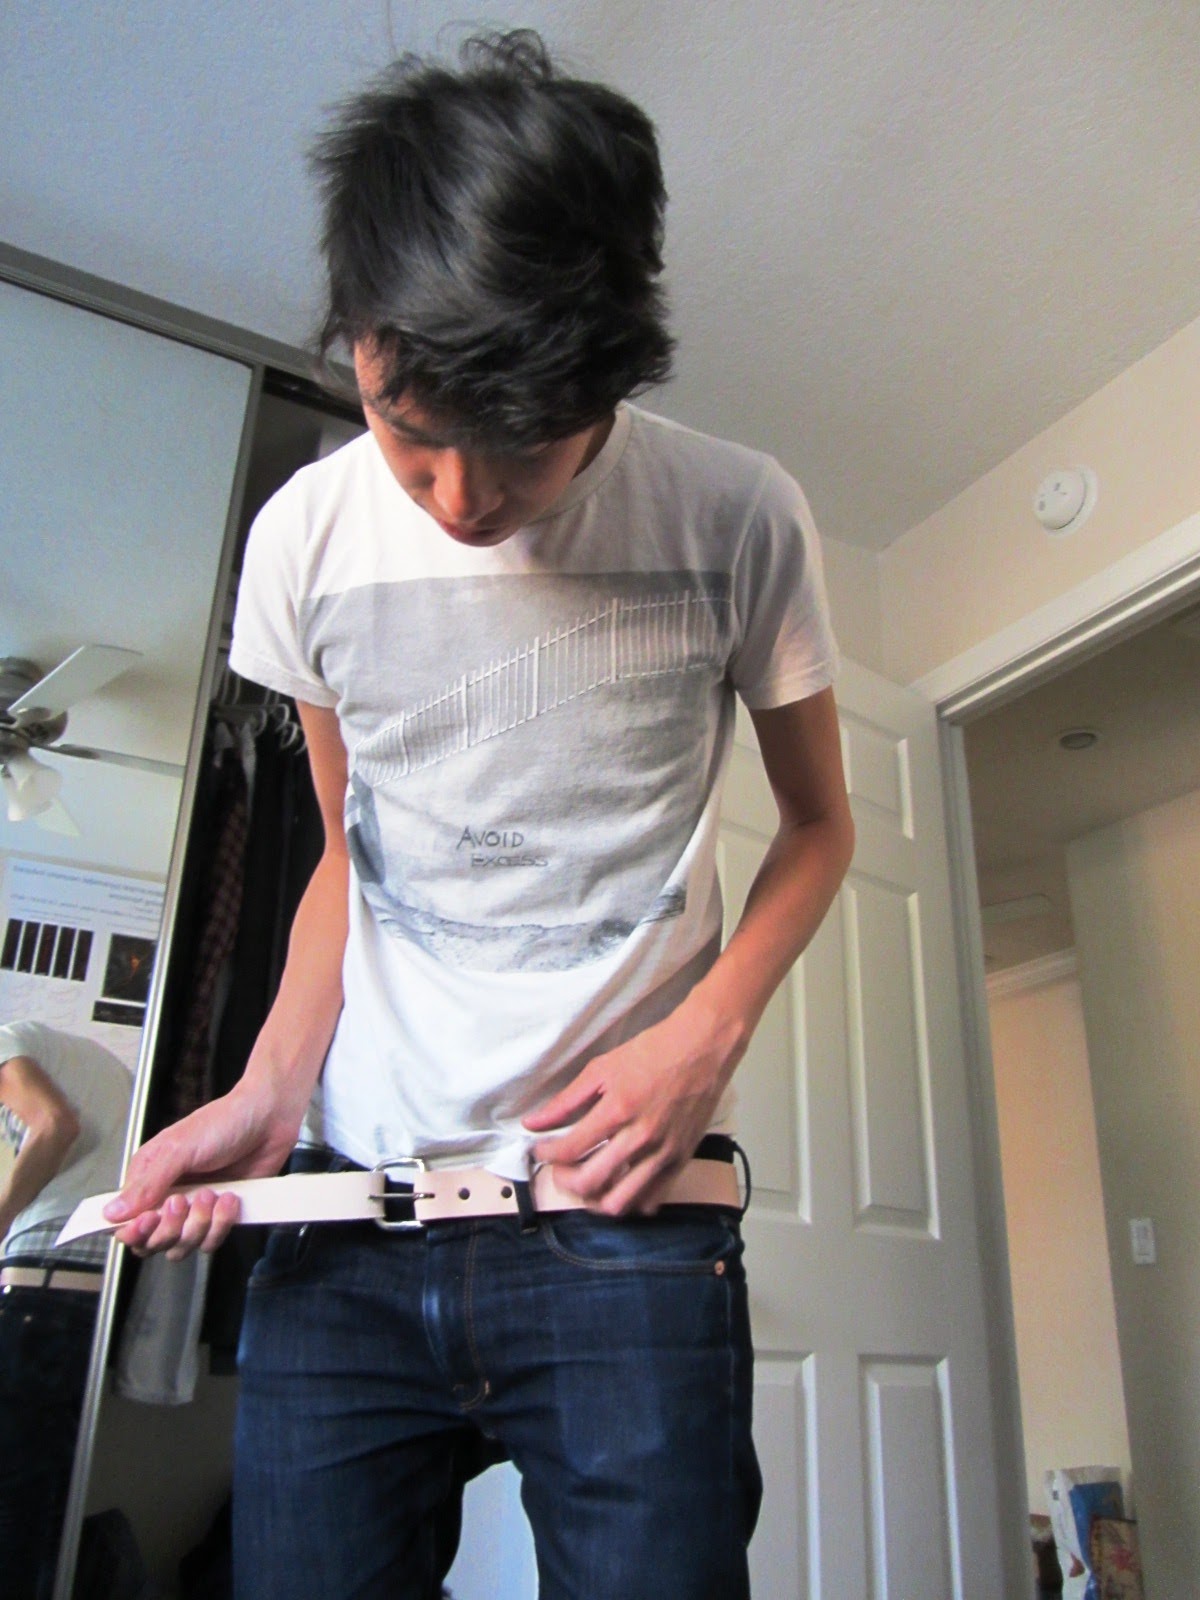
Next, you'll have to find out where the holes go. This can be tricky if your existing belt isn't already a perfect fit. With the belt around your waist, pull the end tight and mark where the middle hole should be.
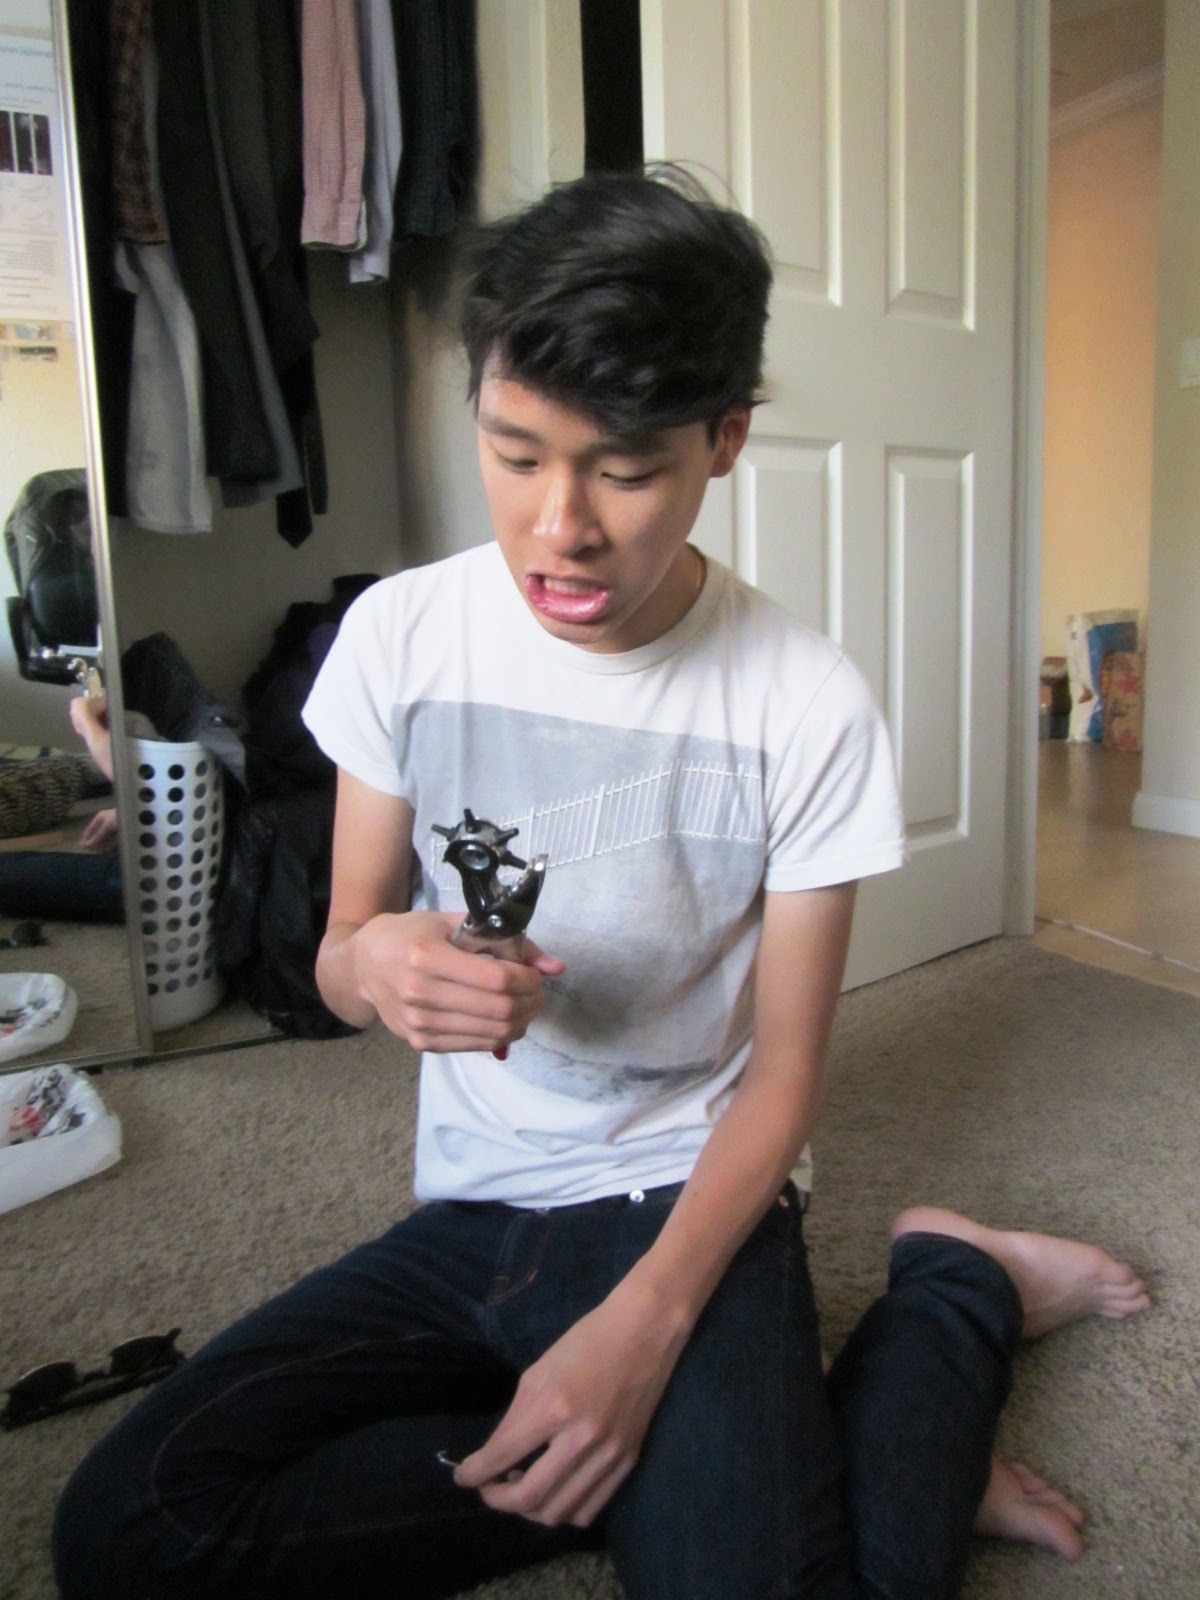
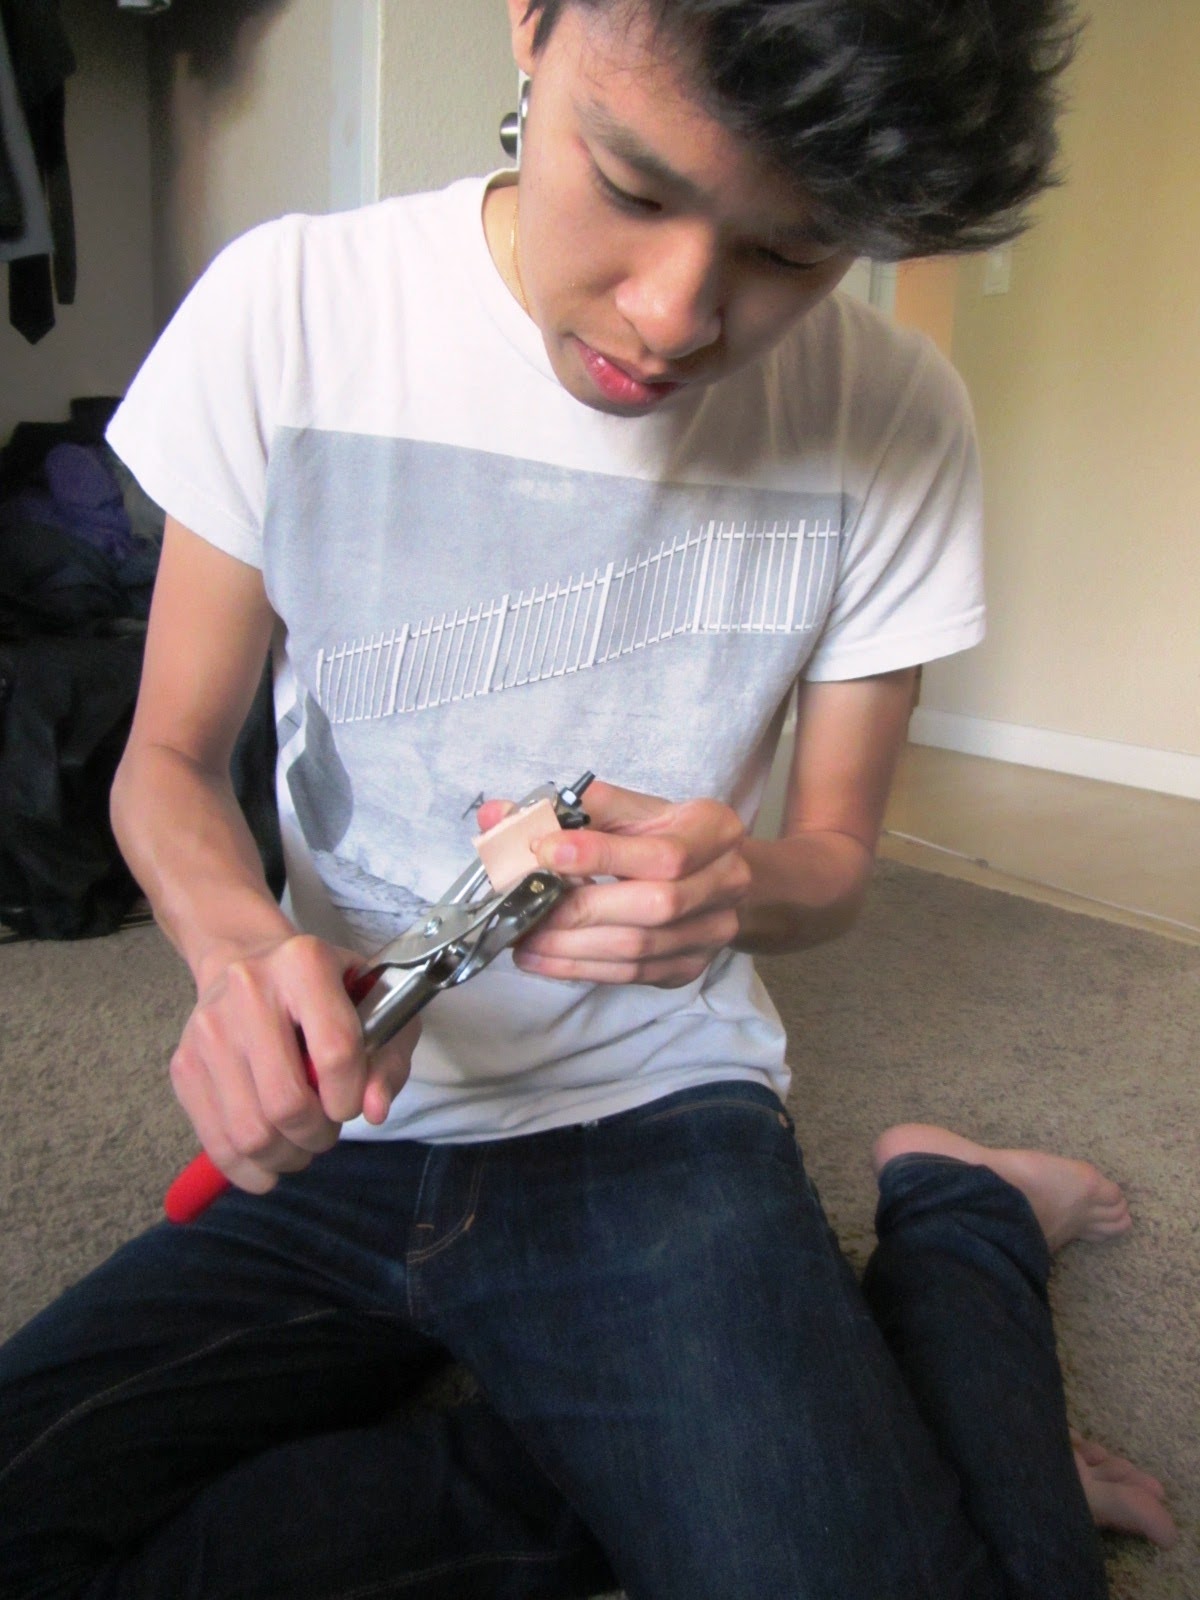
The rotary leather punch is a really funny looking tool. We practiced putting holes in the excess strip that we cut off the end of the belt blank, just to get a feel of how it works before tackling the final product. Leather is really tough, and it sounds like you are crunching bones when you punch through it O_o
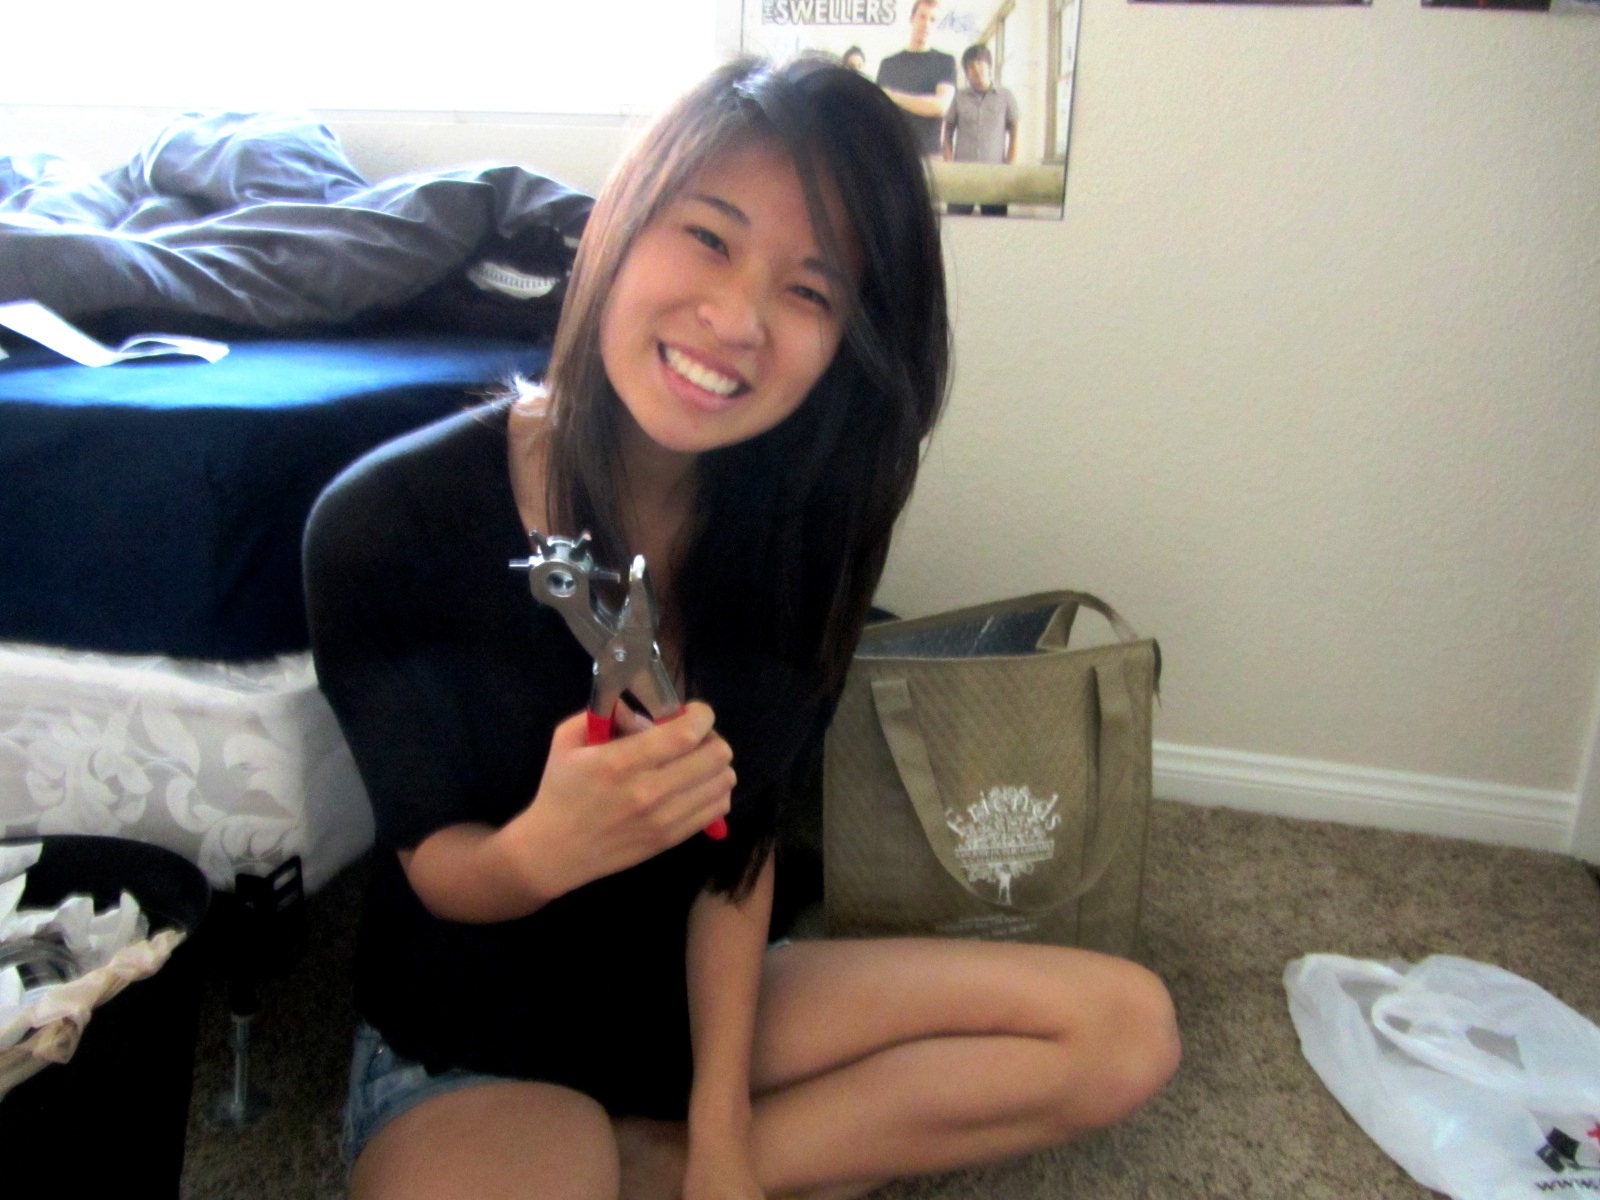 |
| watch out, I've got a scary looking hole punch |
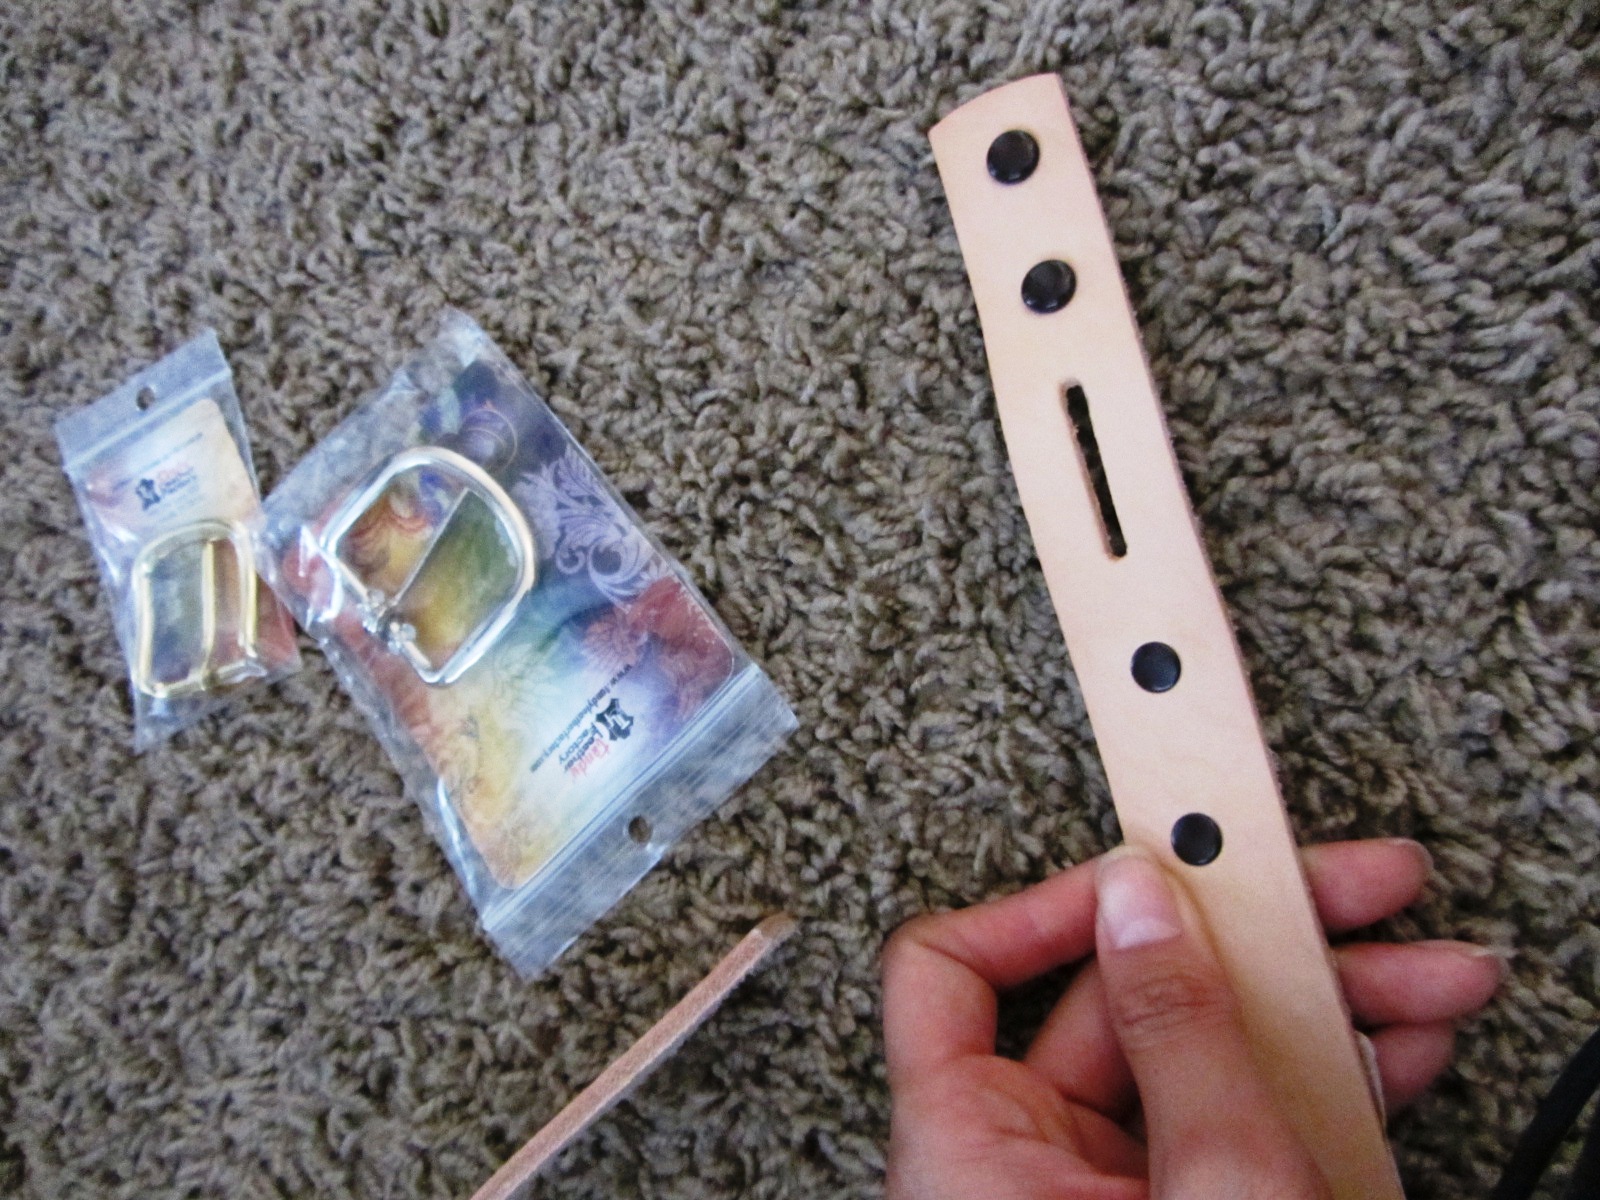
Anyways, so using the mark you made for the middle hole, mark two more holes on either side of it. This way, even if you get fat (or skinny) you're still covered. Then, punch away.

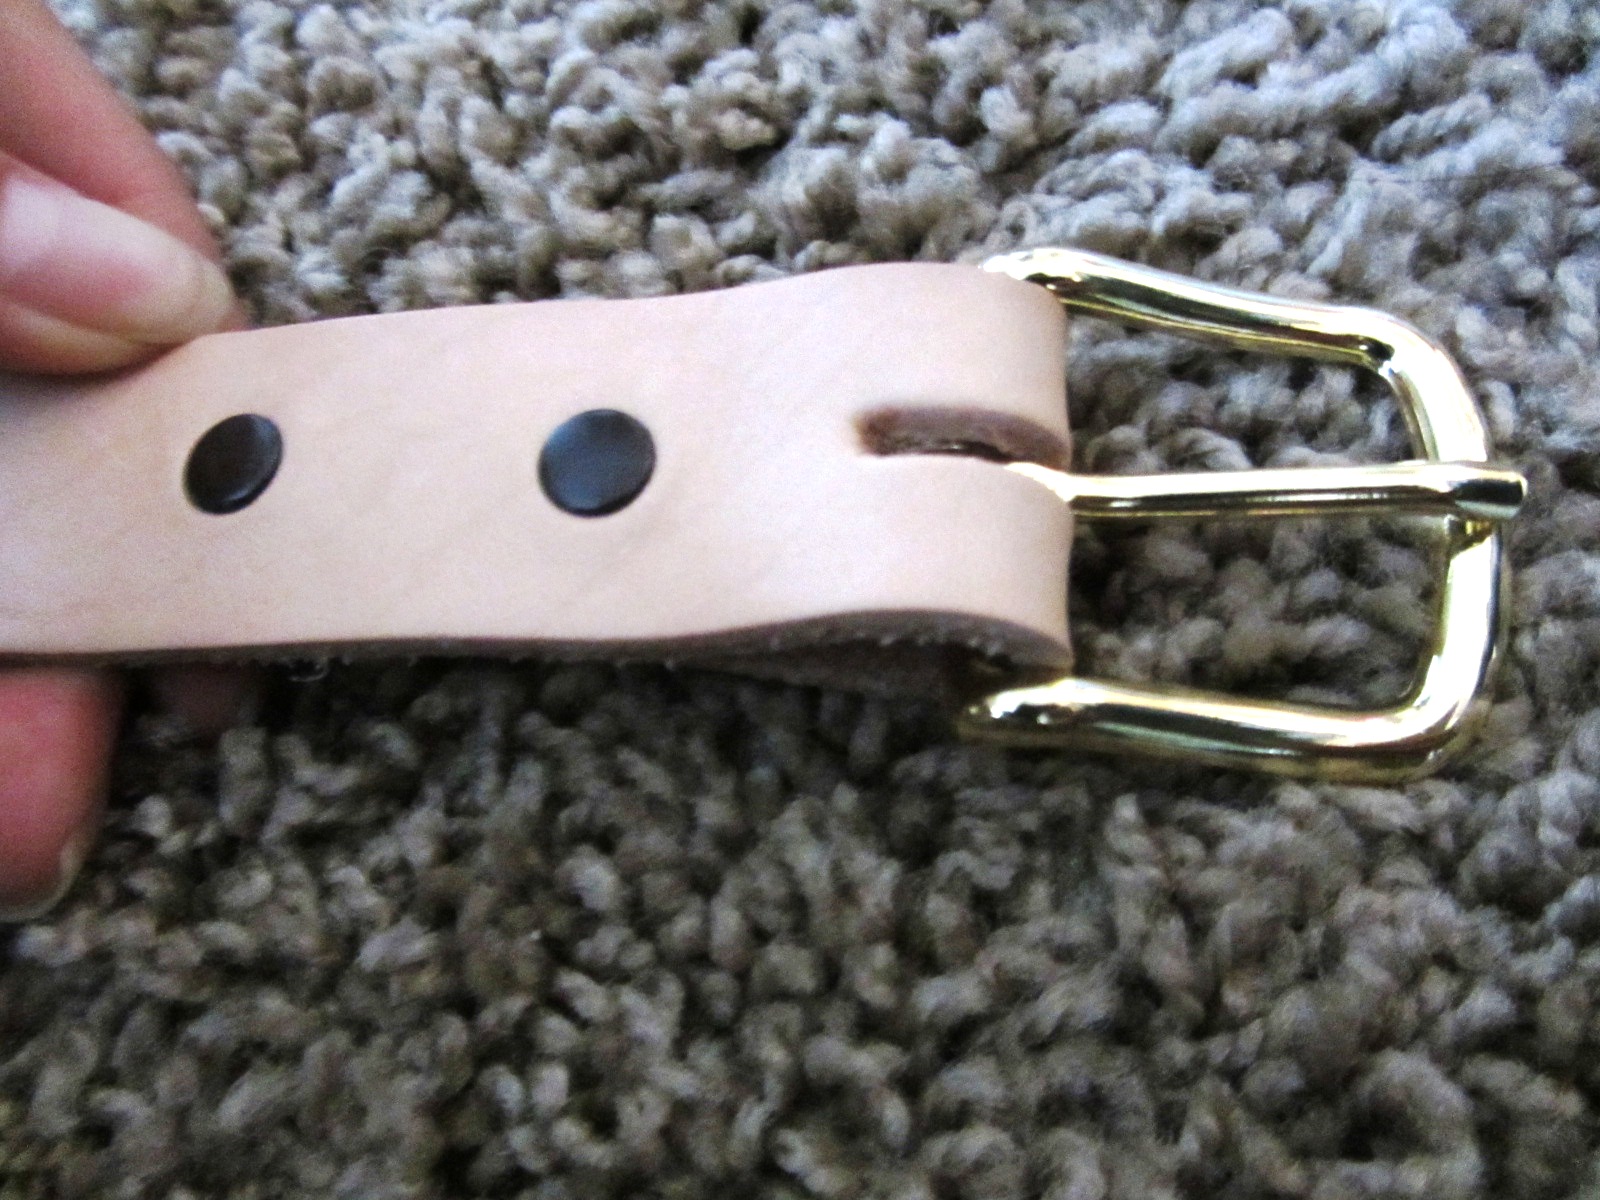
Now it's time to put the buckle in ! This is what the buckle end of the belt blank looks like.
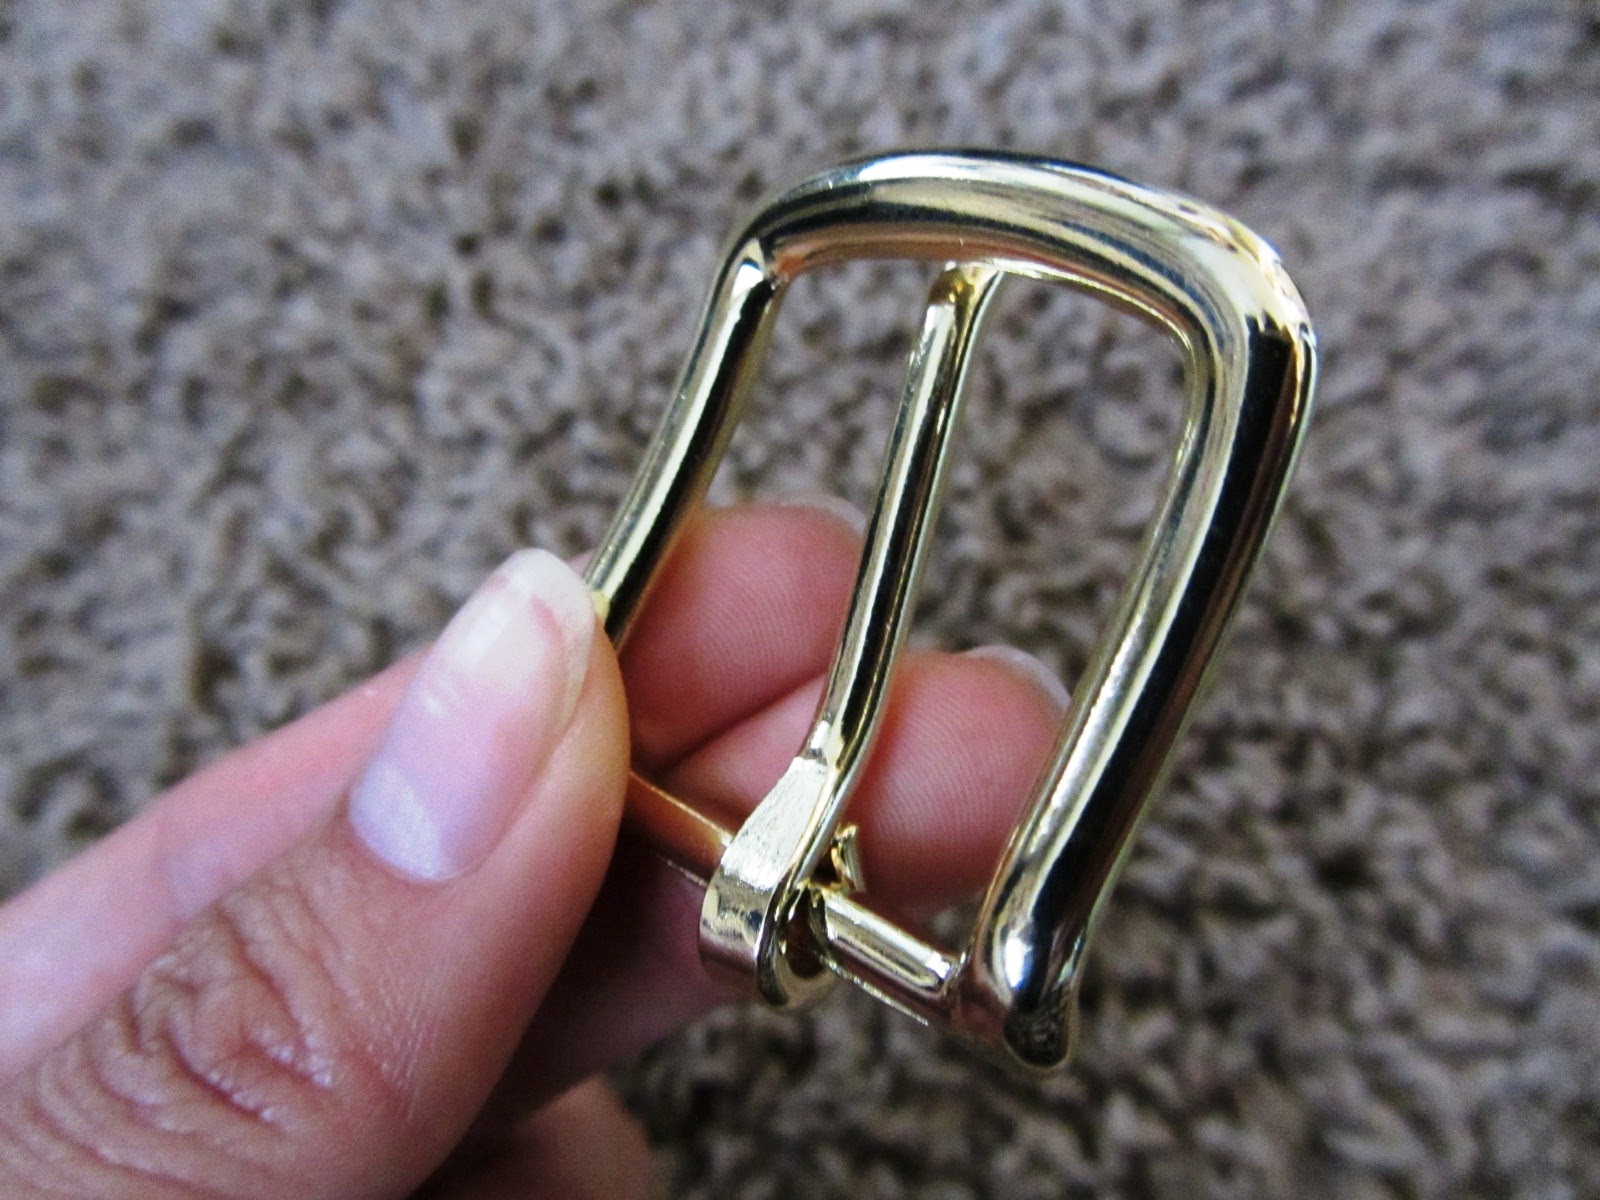 |
| shiny buckle ! |
Thread the belt through the buckle, and make sure the fastener goes through the little gap in the middle of the strap.

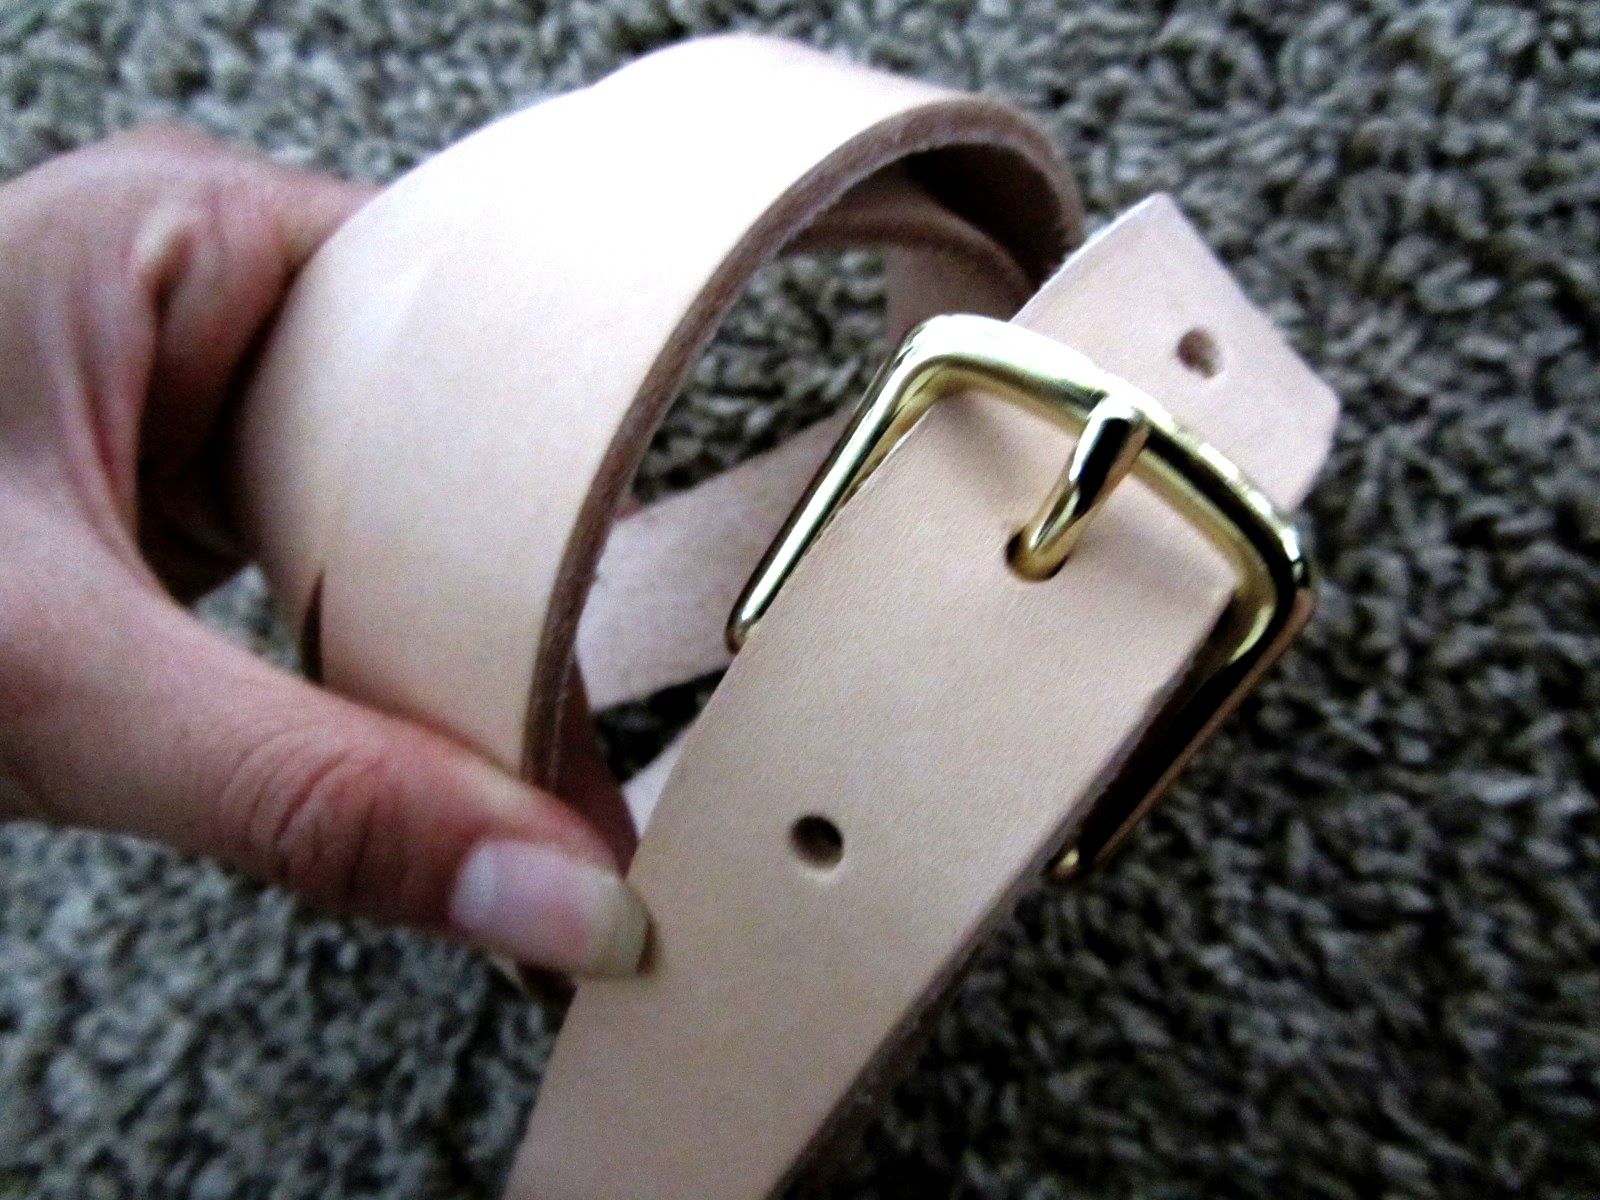
Fold the strap over the buckle and snap the rivets together.
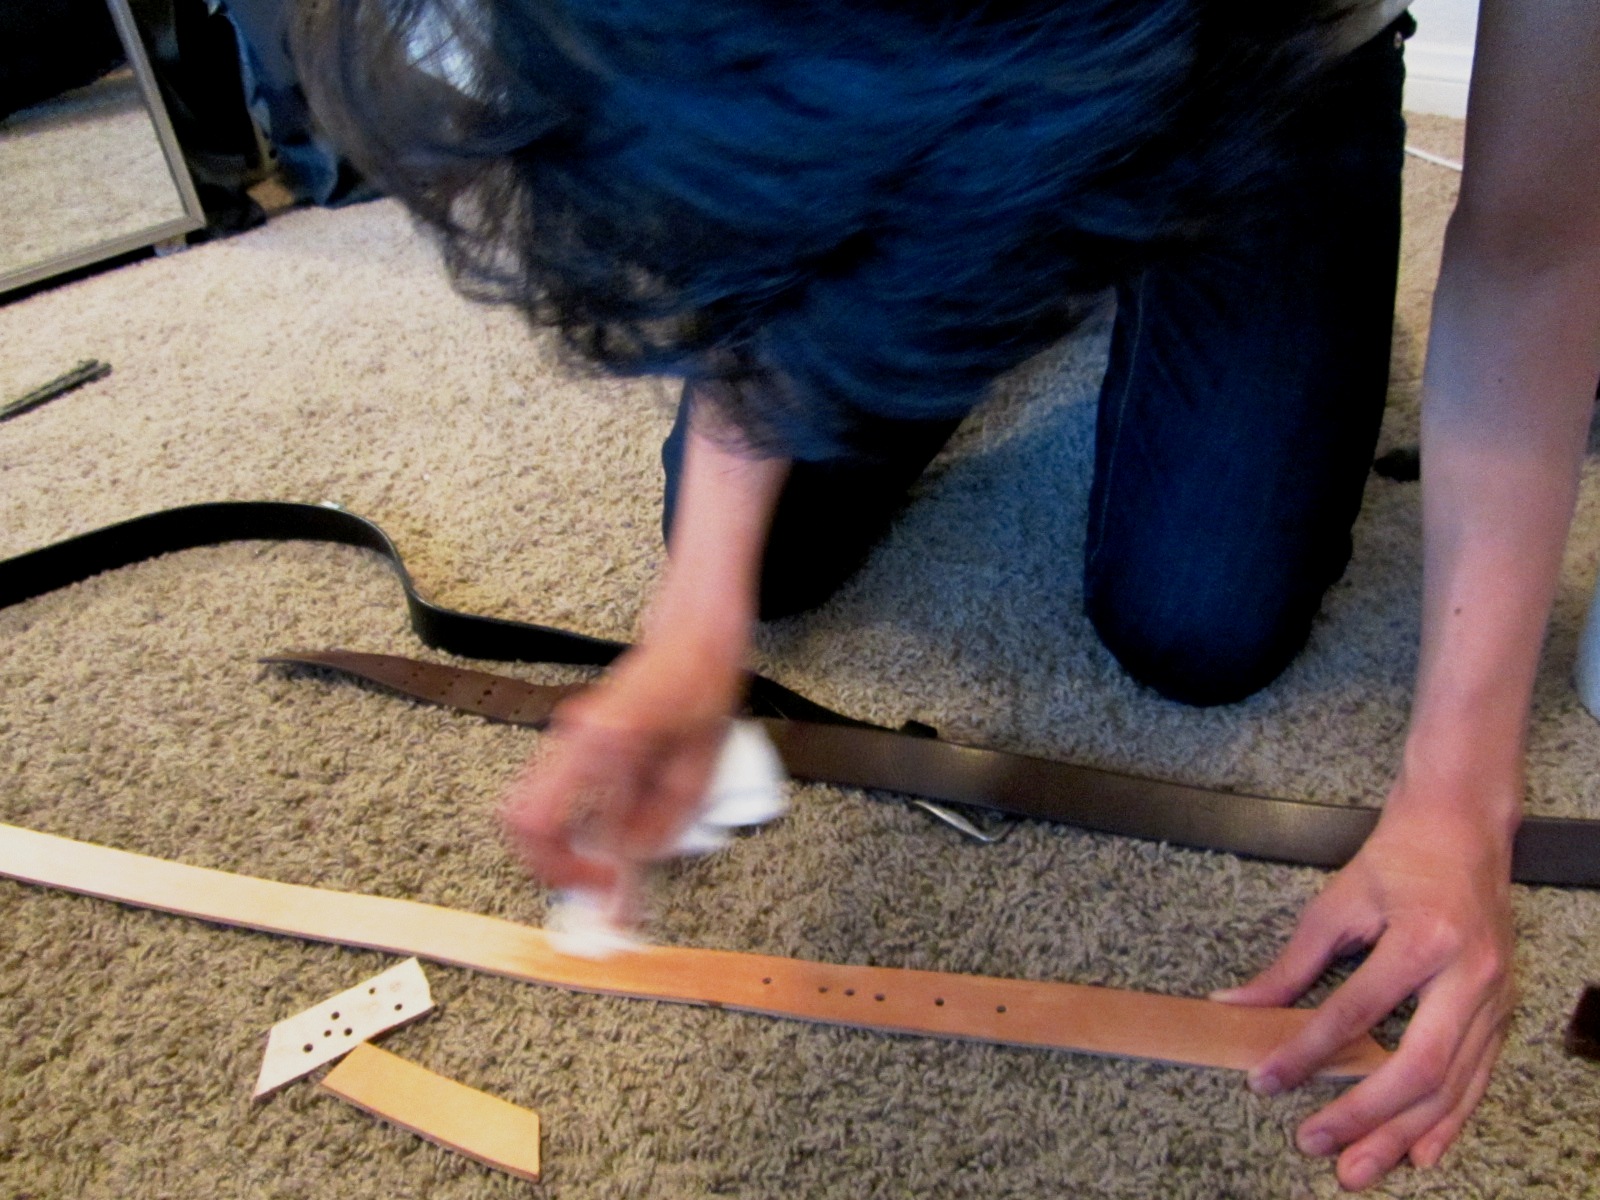
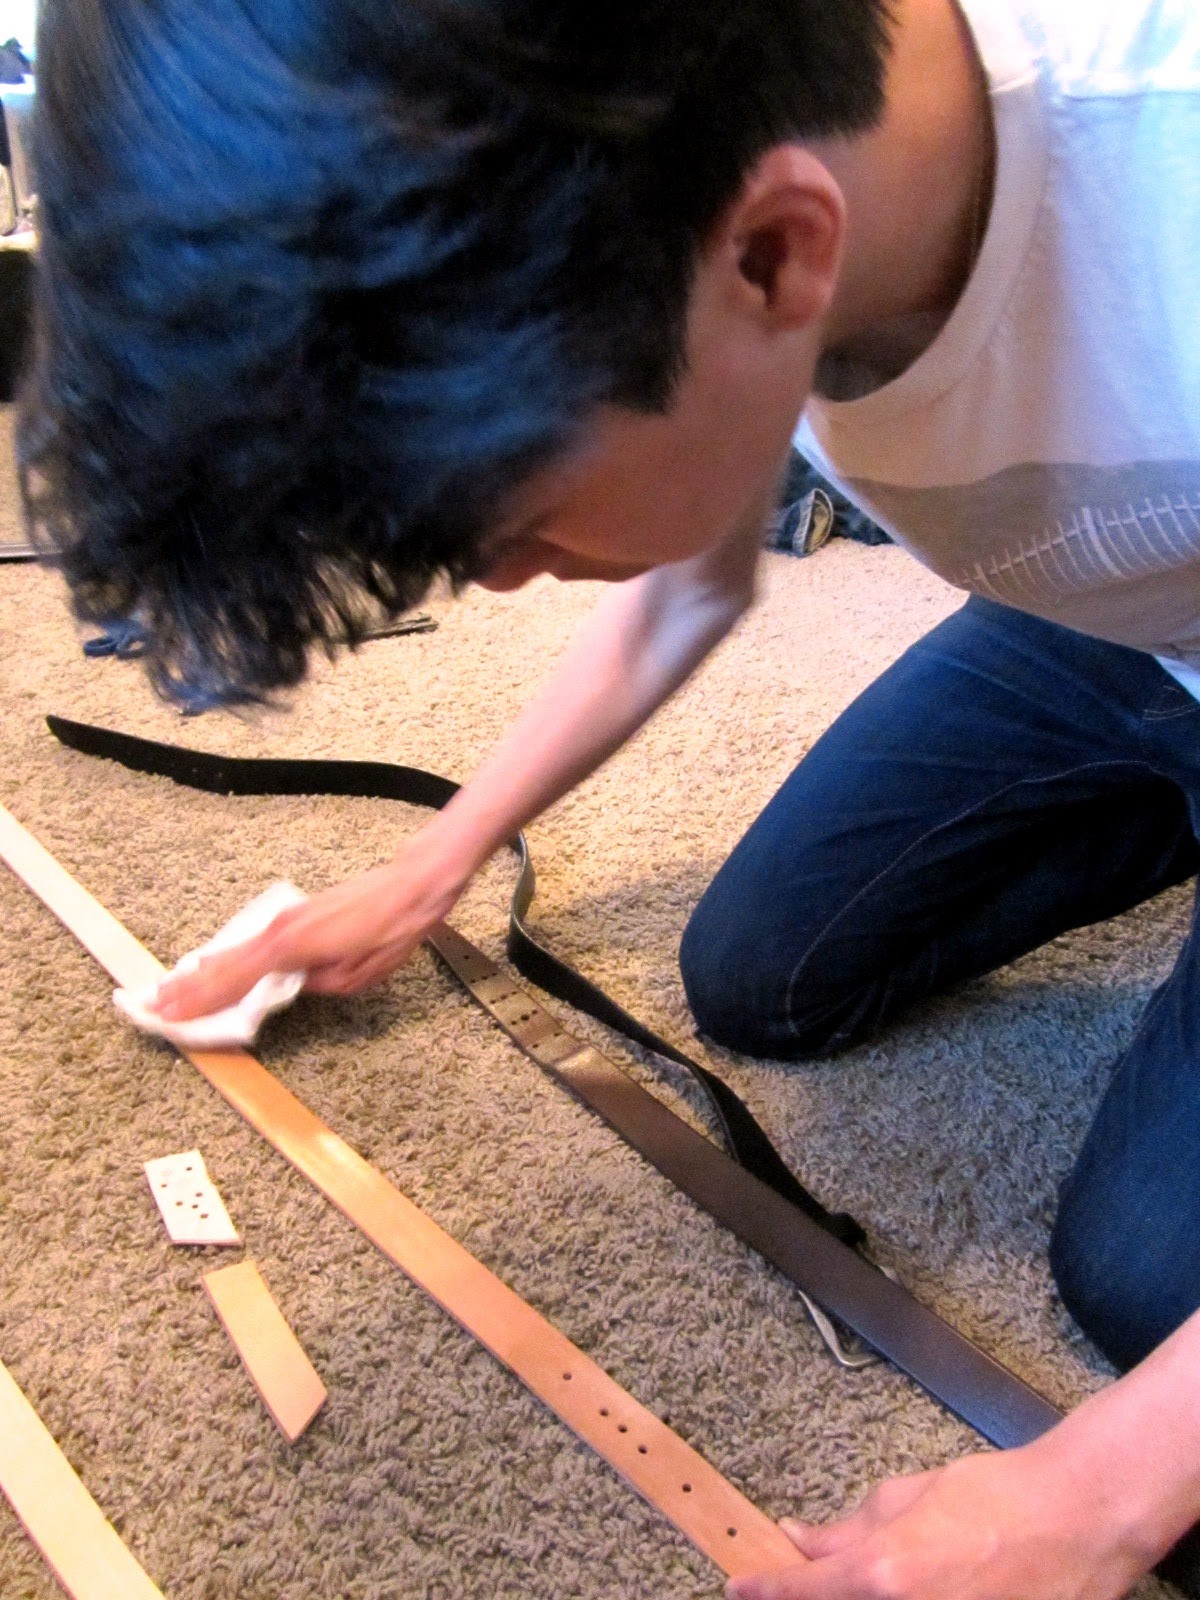
To protect the leather from water and other possible damages, you need to seal it. This is the small bottle of sealant we bought from the store, it was around $6.

Using a paper towel, generously wipe the sealant all over the belt. As the leather gets wet, it will turn darker, but it dries almost to its original, natural color. Make sure to seal the edges as well, but the back side does not need sealing.
Wait about two to three hours between coats (we cooked dinner and watched an episode of Game of Thrones).
Wait a day for the sealant to really settle in, and that's it ! Your natural leather belt is done :) The total cost of this project, for both of us, was around $50. That's around $25 per person! Way cheaper than $105...and much more satisfying !
The really neat thing about natural leather is that it will wear and tan due to sun exposure, natural oils, etc, so that over the years it will develop a much warmer look that is entirely unique to the wearer. This is why it's such a trend among the raw denim crowd. Since I just made this one, I don't have an 'after' pic to show you, but maybe I'll do an update post in a year or so.
I'm excited to see how mine will look in a year or two. I hope you found this helpful and that it might have inspired you to do some crafting on your own :)